Print Your Excel Sheets Efficiently: One Page Guide

Ever found yourself staring at an Excel spreadsheet, scratching your head over how to print it correctly? You're not alone. With the right approach, you can streamline your printing process to ensure your data fits perfectly on one page without losing legibility or valuable information. Here's a step-by-step guide to help you print your Excel sheets efficiently:
Setting Up Your Print Area


- Open your Excel workbook.
- Select the range of cells you want to print.
- Go to Page Layout > Print Area > Set Print Area. This tells Excel exactly which cells to include when printing.
Adjusting Page Margins and Orientation

- Navigate to Page Layout tab.
- Click on Margins to choose from default options or go for Custom Margins to set exact measurements.
- Adjust the orientation under Orientation. Portrait works for documents that are longer than wide; Landscape suits those wider than long.
Scaling and Fitting Content to One Page


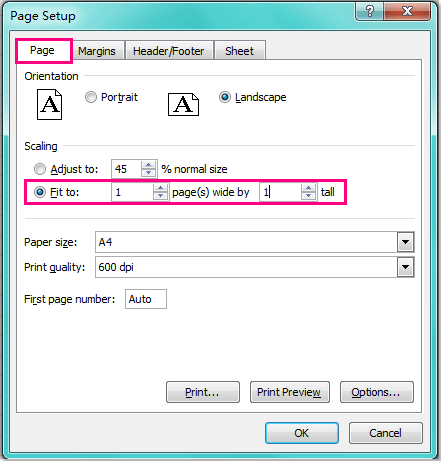
- Within the Page Layout tab, find Scale to Fit group.
- Set Width and Height dropdowns to 1 page each. Excel will automatically adjust the size of your content.
📝 Note: Remember that scaling down can make text too small to read. Use this feature wisely.
Using Print Preview to Check Your Setup

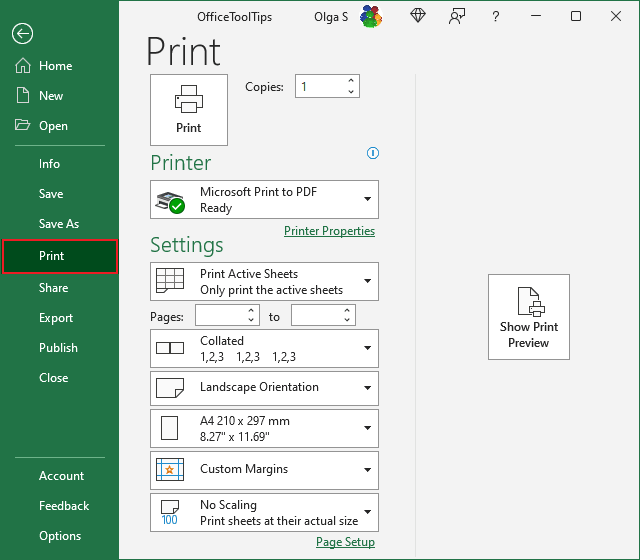
- Click on File > Print to access the print preview pane.
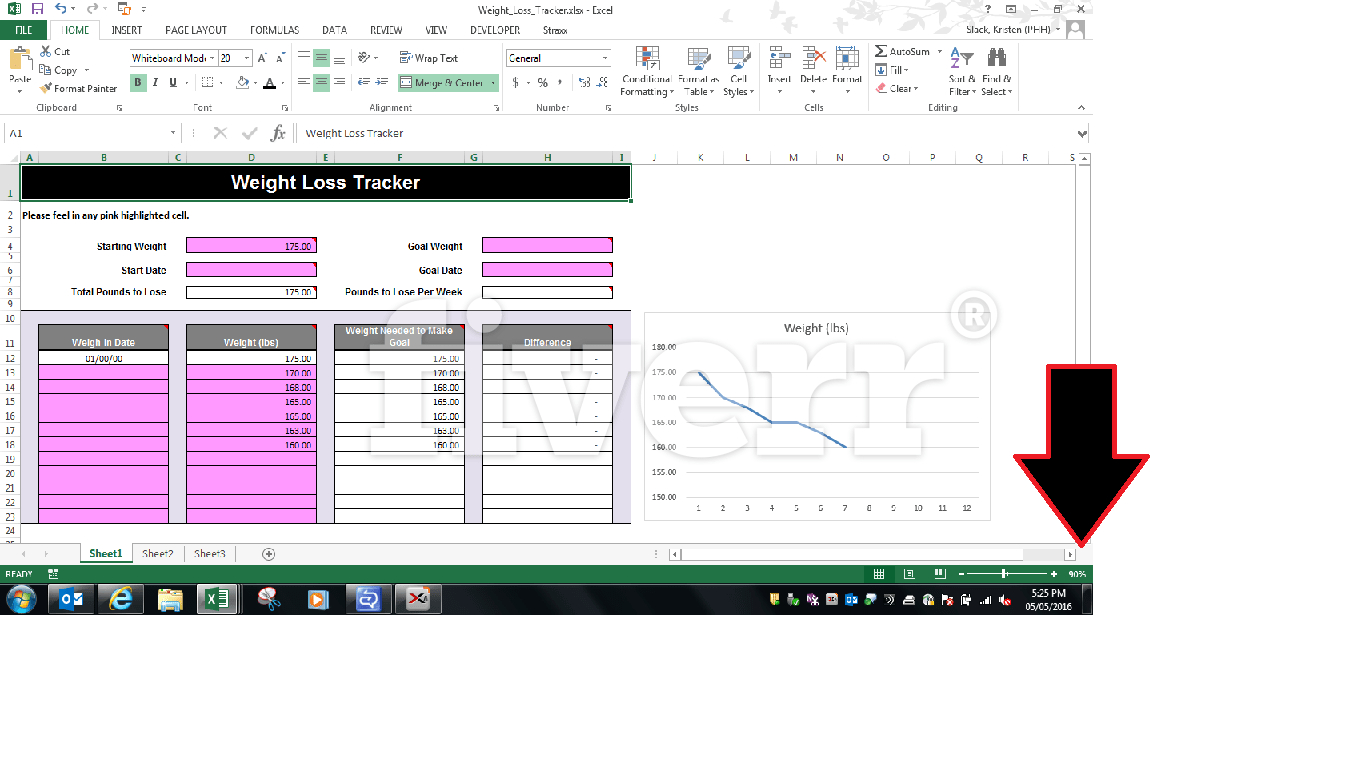
- Examine how your data will appear on the page. If it's too compressed or cut off, revisit your settings.
- Utilize the Show Margins to drag and adjust margins directly in the preview.
Formatting Headers and Footers


| Element | Description |
|---|---|
| &[Page] | Inserts the page number. |
| &[Date] | Adds the current date. |
| &[Time] | Includes the current time. |
| &[File] | Displays the file name. |
| &[Tab] | Shows the worksheet name. |

- Select Page Layout > Print Titles.
- In the Header/Footer tab, click Custom Header or Custom Footer.
- Add elements by typing in text or using the predefined options like page numbers, date, and file name.
Printing Grids and Headings

- Head to Page Layout tab.
- Check Print Gridlines if you need the cell borders to appear.
- For headings, ensure Print Headings is checked.
✅ Note: These options make your spreadsheet easier to follow on paper, especially if it’s a large dataset.
In conclusion, by following these steps, you can take control of your Excel printing, ensuring that your data looks professional and is easy to navigate on paper. Remember, printing efficiently isn’t just about fitting everything onto one page; it’s also about clarity, structure, and functionality.
What if my data doesn’t fit on one page even after scaling?

+
Consider hiding less important columns, reducing font size (while maintaining readability), or adjusting print margins. If necessary, print on multiple pages or summarize data for printing.
Why is my printer cutting off the right side of my Excel sheet?

+
This often happens when your sheet’s width exceeds the printer’s paper size. Adjust margins, scale down content, or change to landscape orientation to fit your data onto the page.
Can I print Excel comments and notes?

+
Yes, you can. Go to the Page Layout tab, then in the Sheet Options, under the comments section, choose how you want them printed: at end of sheet, as displayed on sheet, or none.