5 Simple Ways to Print an Entire Excel Spreadsheet

Introduction to Printing Entire Excel Spreadsheets

In today’s fast-paced business environment, the ability to print your Excel spreadsheets in their entirety can be crucial for presentations, reporting, or simply maintaining physical records. Excel, one of the most powerful tools for data organization and analysis, offers several ways to manage how your data is printed. In this post, we will explore 5 simple ways to ensure that your entire Excel spreadsheet is printed correctly, efficiently, and to your exact specifications.
Way 1: Using Print Area

Setting a print area is perhaps the most straightforward method to control exactly what parts of your spreadsheet get printed:
- Select the range of cells you want to print by clicking and dragging over them.
- Go to the ‘Page Layout’ tab on the Ribbon.
- Click on ‘Print Area’ in the ‘Page Setup’ group and choose ‘Set Print Area’. This defines the area that will be printed.
This method is perfect when you need to print specific parts of your spreadsheet repeatedly.
Way 2: Adjusting Page Layout and Scale

Sometimes, your data might not fit on one page. Here’s how you can adjust settings:
- Navigate to the ‘Page Layout’ tab.
- Use ‘Width’ and ‘Height’ under the ‘Page Setup’ group to scale your document to fit:
- For Width: Select ‘Fit to’ and choose 1 page.
- For Height: Similarly, select ‘Fit to’ and choose 1 page.
- Or, choose ‘Scale’ to manually adjust the scale percentage to fit your data on fewer pages.
Adjusting these settings helps prevent unnecessary page breaks and ensures comprehensive printing.
Way 3: Print Preview and Adjustments

Before hitting the print button, always check the Print Preview:
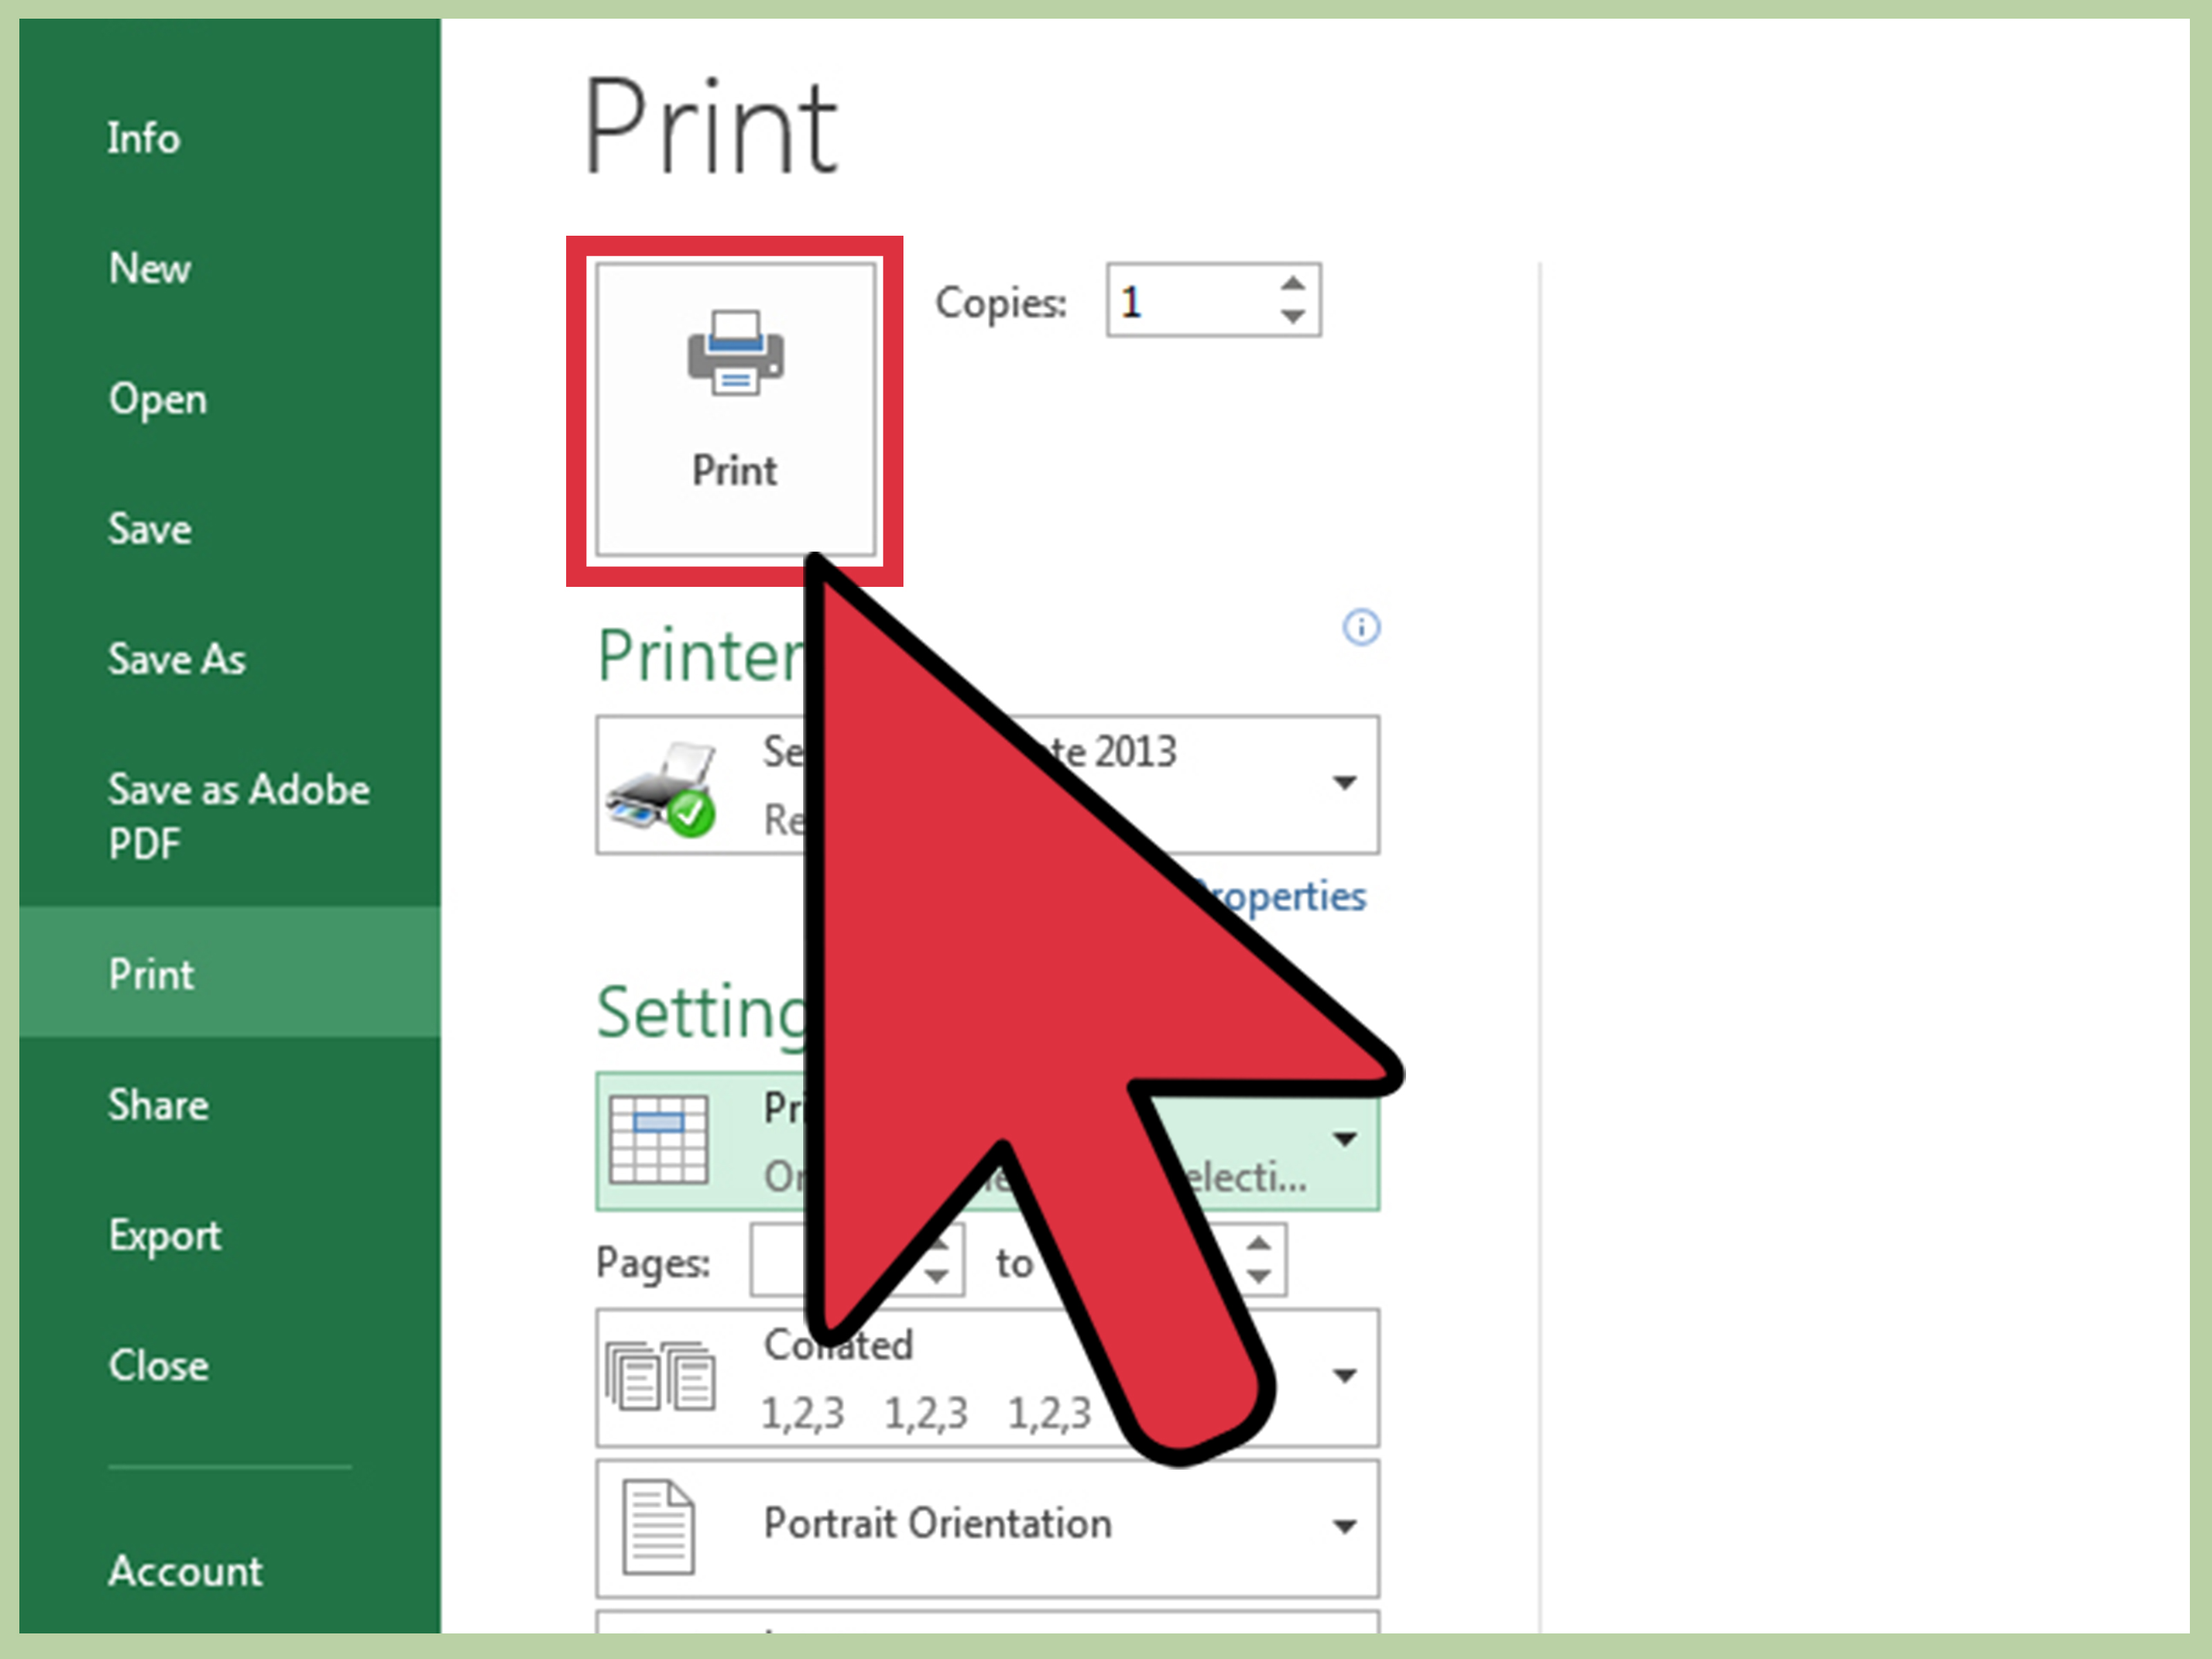
- Go to ‘File’ > ‘Print’ or use ‘Ctrl+P’.
- Check the preview on the right. If you see undesirable breaks, use the ‘Page Break Preview’ under the ‘View’ tab to adjust manually:
- Drag the blue lines to where you want the page to break.
- Make necessary adjustments by setting margins, orientation, and scaling from the preview screen.
Way 4: Print Titles for Multiple Pages

When printing across multiple pages, you might want to repeat headers or labels:
- Go to ‘Page Layout’ > ‘Print Titles’.
- In the ‘Page Setup’ dialog, under the ‘Sheet’ tab, set the rows or columns you want to repeat under ‘Rows to repeat at top’ or ‘Columns to repeat at left’.
📝 Note: This feature is particularly useful for multi-page spreadsheets to maintain data context across pages.
Way 5: Using Page Break Preview for Complex Sheets

Excel’s ‘Page Break Preview’ is a powerful tool for managing complex spreadsheets:
- Select ‘View’ > ‘Page Break Preview’. This mode shows you how your sheet will break onto different pages:
- Drag the blue lines to adjust where pages should break. This gives you direct control over how your data is divided for printing.
- Check the layout in this mode to ensure readability and data integrity when printed.
💡 Note: Use this view when your spreadsheet has varied data and you need precise control over print output.
To sum up, printing an entire Excel spreadsheet can be made simple and efficient by using Excel's built-in features like print area settings, scaling options, print preview, print titles, and page break adjustments. Each method serves a unique purpose, allowing you to tailor how your data is presented on paper. Whether you're printing for internal meetings, client presentations, or compliance audits, these techniques ensure that your Excel data is represented accurately and in the best light.
Can I print multiple sheets at once?

+
Yes, you can print multiple sheets at once by selecting them while holding down the ‘Ctrl’ key and then choosing ‘Print’. Excel will print each selected sheet as a separate job.
What should I do if my printout is too small or too large?

+
You can adjust the scale in the ‘Page Layout’ tab. Choose ‘Fit to’ or manually adjust the ‘Scale’ percentage to make your printout fit better on the page.
How do I print a range that includes hidden rows or columns?

+
Excel doesn’t print hidden rows or columns by default. To print them, unhide them first by selecting the rows or columns around them and choosing ‘Unhide’ from the right-click menu.