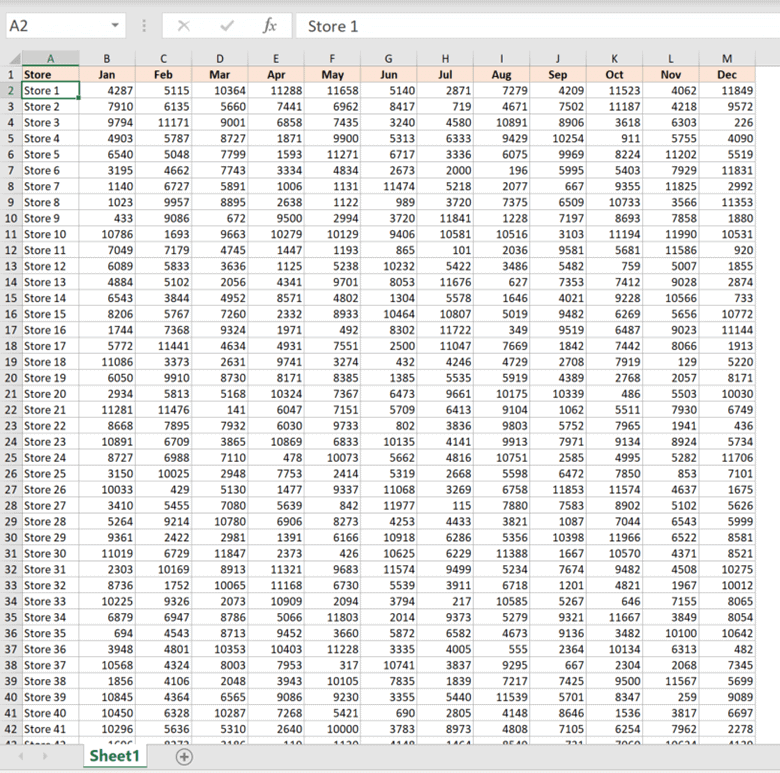
5 Tips to Print Excel Header on Every Page

In the world of business, the significance of Excel spreadsheets cannot be overstated. From managing inventory to analyzing financial data, spreadsheets are a staple in the office environment. However, as you print multiple pages of data, keeping track of what each page represents can be challenging. This is where printing Excel headers on every page becomes invaluable. Not only does it maintain continuity, but it also professionalizes your documents. Here are five essential tips to ensure your headers appear on every printed page seamlessly.
1. Configure Print Titles

One of the most straightforward ways to ensure your headers print on every page is by using the “Print Titles” feature in Excel:
- Go to Page Layout > Print Titles.
- Under the Sheet tab, in the Rows to repeat at top box, enter the row references you want to print on each page.
- Click OK to apply your settings.
This feature will repeat the selected rows at the top of each printed page.
🔍 Note: Ensure your headers contain critical information like table titles, column names, or any identifying details that aid in document navigation.
2. Adjust Page Layout

Adjusting your page layout can sometimes require additional steps, especially when you need to print headers on different pages with varying content:
- Use Page Break Preview from the View tab to see where Excel will divide the data for printing.
- Adjust the breaks or the Margins in the Page Layout tab to ensure headers fit properly on each page.
🔧 Note: Remember to review your document in Print Preview to ensure headers appear as intended on all pages.
3. Leverage Print Areas

Excel allows you to set print areas, which can be beneficial when dealing with complex spreadsheets:
- Select the area you want to print, go to Page Layout, and choose Print Area > Set Print Area.
- If your header row is outside of the print area, adjust the print area to include it or set the header row to repeat as mentioned in the previous tip.
This can help in situations where you want to print specific sections of a large worksheet.
4. Manage Page Layout Options

There are additional page layout settings that can enhance how headers are printed:
- In Page Layout, under Scale to Fit, adjust the Width or Height to fit your headers onto each page.
- Choose the Print Titles option from the Sheet Options section to repeat rows or columns as required.
🎯 Note: Experiment with scaling options if headers are not appearing as expected due to size constraints.
5. Header Customization

Customizing your headers can also improve the print outcome:
- Access Insert > Header & Footer to add custom headers. Use the Page Setup dialog box to repeat custom headers on each page.
- Consider using different headers for odd and even pages for a more professional look.
Ensuring that your Excel headers print on every page can significantly enhance the usability and professionalism of your documents. By following these five tips, you'll master the art of printing headers effectively, keeping your data organized and easily navigable, even across multiple pages.
Why are my headers not printing on every page?

+
Ensure that you have properly set up the print titles or checked the page breaks. Excel might not repeat headers automatically if they are outside of the set print area or if the page breaks do not align correctly.
Can I print different headers on odd and even pages?

+
Yes, Excel supports different headers for odd and even pages through the Page Setup dialog. Use this feature to differentiate headers for better document management.
How can I scale my headers to fit on each page without reducing readability?

+
Adjust the ‘Width’ or ‘Height’ options under ‘Scale to Fit’ in the Page Layout tab. Experiment with these settings to find the optimal balance between header size and document readability.