Print Specific Excel Sheets: Easy Guide

Excel, Microsoft's robust spreadsheet software, provides a versatile platform for managing data. One often overlooked feature is the ability to print specific sheets from a workbook, which can be incredibly useful for both professional and personal use. This guide aims to walk you through the steps to print specific Excel sheets, enhancing your productivity and making your workflow smoother.
Why Print Specific Sheets?


Before diving into the mechanics of printing, it's important to understand why this feature is beneficial:
- Efficiency: Selectively printing only the necessary sheets saves time and reduces paper waste.
- Professionalism: Tailor your printouts to meet the needs of different stakeholders, keeping sensitive information confidential.
- Customization: You can customize each sheet before printing, adjusting headers, footers, or even changing the layout.
Steps to Print Specific Excel Sheets

Step 1: Open Your Excel Workbook

Begin by opening the Excel workbook that contains the sheets you wish to print. Ensure that the workbook is saved to avoid any data loss.
Step 2: Select the Sheets


- Click on the first sheet you want to print. If it’s adjacent, hold the Shift key, and click on the last sheet to select all sheets in between.
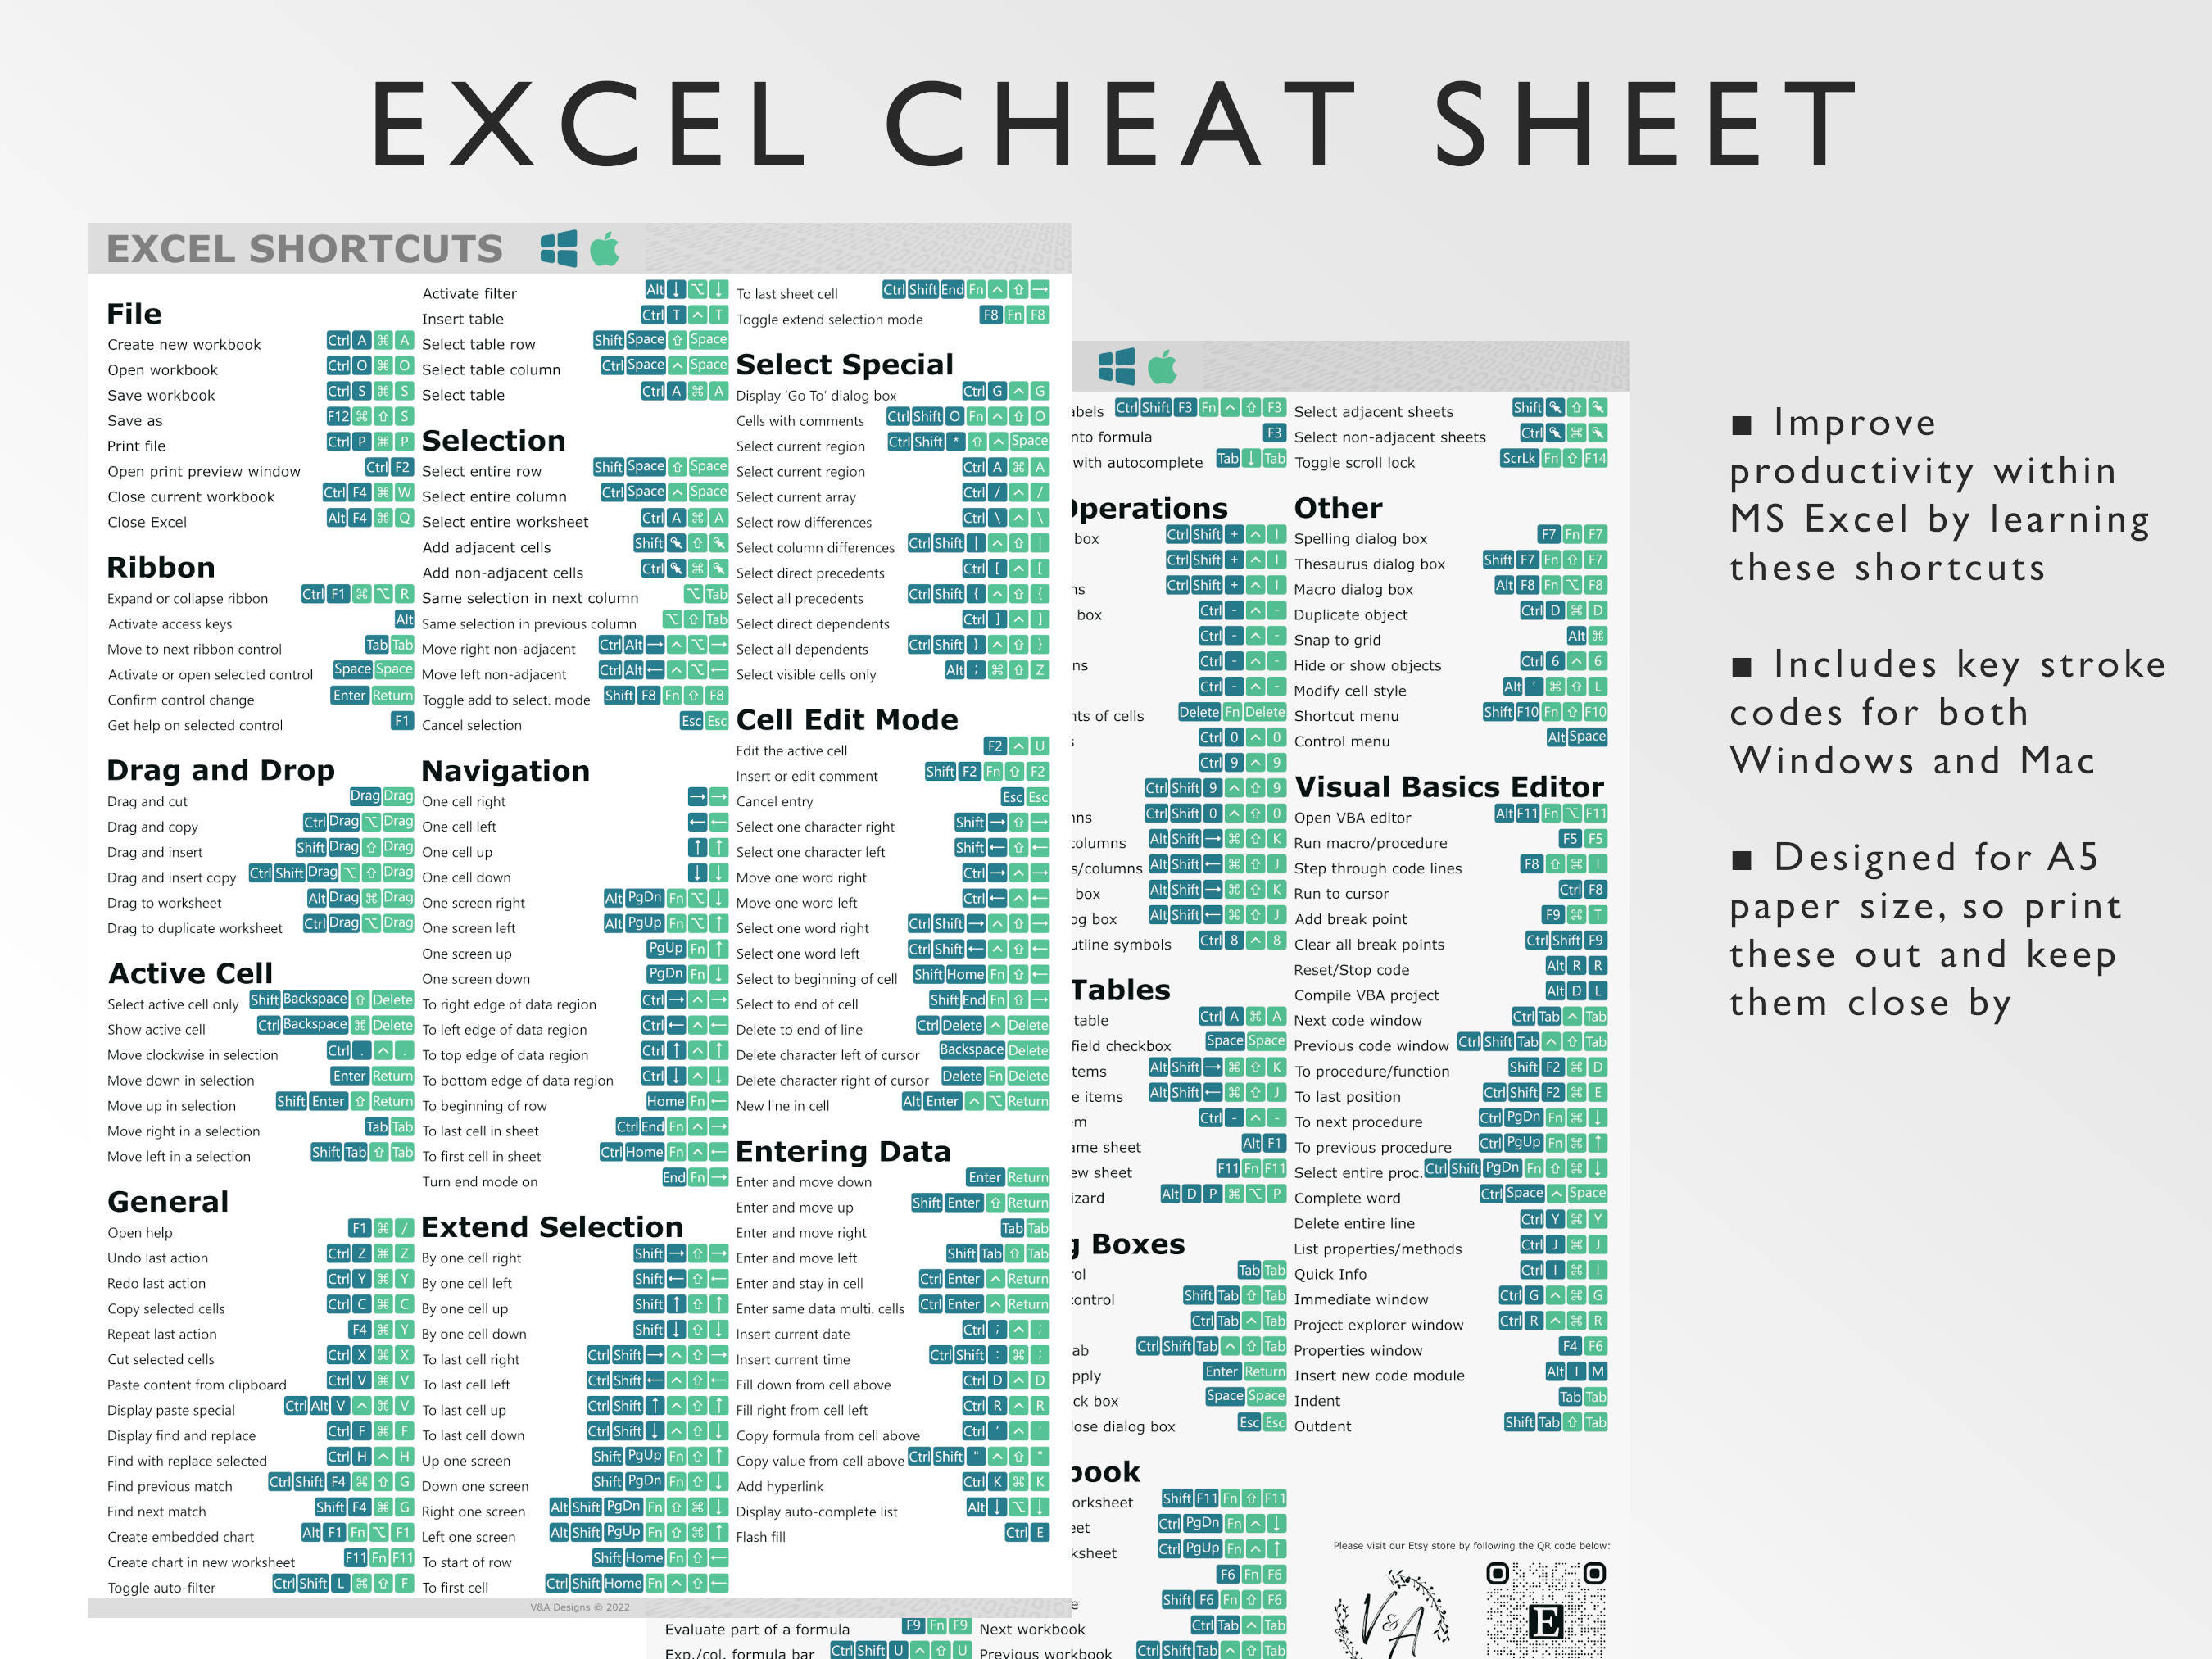
- For non-adjacent sheets, hold the Ctrl key (CMD on Mac) and click on each sheet you want to include.
Step 3: Configure Printing Options

With the sheets selected:
- Navigate to the “File” tab and select “Print,” or press Ctrl+P (CMD+P on Mac).
- In the “Settings” section, ensure “Print Active Sheets” is chosen.
- Adjust your printer settings as needed for orientation, margins, or scaling.
Step 4: Print Preview

Before you hit “Print,” take a moment to review the preview:
- Check how the data appears on each page. Scroll through to ensure everything looks correct.
- If adjustments are needed, go back and tweak the sheet or printer settings.
Step 5: Print Your Sheets

Once satisfied with the setup:
- Click “Print” to send the sheets to your printer.
- If printing multiple sheets, make sure your printer has enough paper or confirm your print options for a continuous print job.
⚠️ Note: Printing multiple sheets might require a printer that supports batch printing. If your printer only prints one sheet at a time, ensure you select "Print to File" to create a PDF first.
Having followed these steps, you should now have a clear understanding of how to print specific Excel sheets. This process not only streamlines your print tasks but also contributes to a more eco-friendly approach by reducing unnecessary printing.
Wrapping up, this guide has explored the essentials of printing specific sheets in Excel. By mastering this skill, you can better control your document workflow, ensuring that you print precisely what you need when you need it. Remember to customize your sheets before printing and always preview your output to avoid costly mistakes. Tailoring your Excel print jobs to meet specific needs can significantly enhance your productivity, professionalism, and efficiency in handling data.
Can I print multiple sheets to separate PDF files?

+
Yes, by selecting each sheet individually and using the “Print to File” option, you can generate separate PDF files for each sheet.
How can I print multiple sheets into one continuous document?

+
Select all sheets you want to print by holding the Ctrl key and clicking each sheet, then choose “Print Active Sheets” in the print settings to print them as a single document.
Why are my sheets not printing correctly?

+
This might be due to incorrect page setup settings. Check each sheet for consistent settings like page orientation, margins, and scaling options. Also, ensure your printer drivers are up to date.