5 Simple Steps to Print Excel Sheets Separately
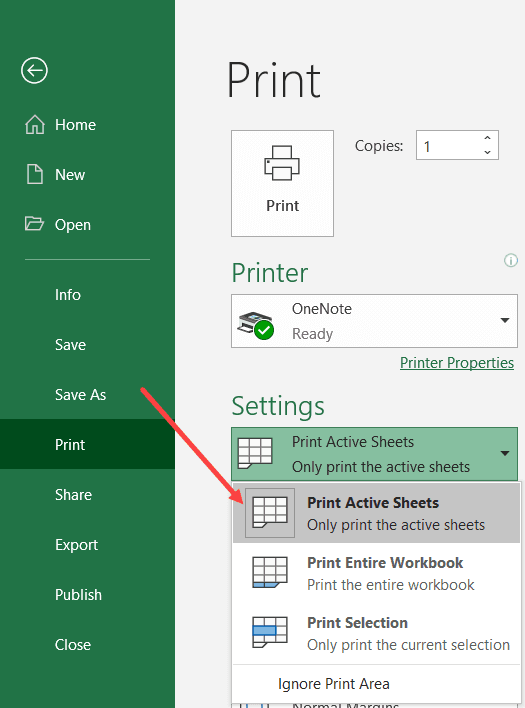
Printing individual Excel sheets can be a challenge, especially when working with large datasets or reports that require separate attention to each sheet within a workbook. Here, we explore five simple, yet effective, steps to print your Excel sheets separately, ensuring you manage your data with precision and maintain document organization.
Step 1: Understanding the Workbook and Sheets
First, it's vital to understand the structure of your Excel workbook:
- Workbook: The entire file that contains multiple sheets.
- Worksheet: An individual tab within the workbook where you organize data.
By knowing which sheets to print, you can easily focus on selecting only the necessary pages for your printing task.
Step 2: Selecting and Preparing Sheets for Printing
Here’s how to prepare individual sheets for printing:
- Go to the sheet you want to print.
- Click on the sheet name to select it. If you need to select multiple sheets, hold the Ctrl key while clicking on each sheet.
- Adjust print settings for each sheet by going to File > Print or pressing Ctrl + P.
👉 Note: Remember that Excel prints the active sheet by default. Always double-check which sheet is active before printing.
Step 3: Adjusting Print Settings

To customize how each sheet prints:
- Change the Orientation to Landscape or Portrait.
- Set Page Range to print specific pages if necessary.
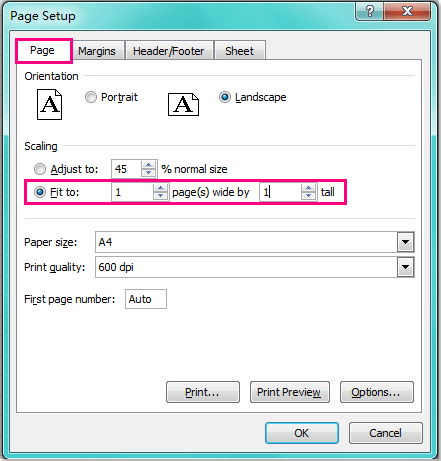
- Modify Margins, Scaling, and other settings to fit the content appropriately.
Here’s a simple table showing how to adjust common print settings:
| Setting | Description |
|---|---|
| Orientation | Choose Landscape for wider data, Portrait for longer lists. |
| Page Range | Print specific pages or print all pages within a sheet. |
| Margins | Adjust margins to make data fit better on the page. |

Step 4: Preview Your Print Job
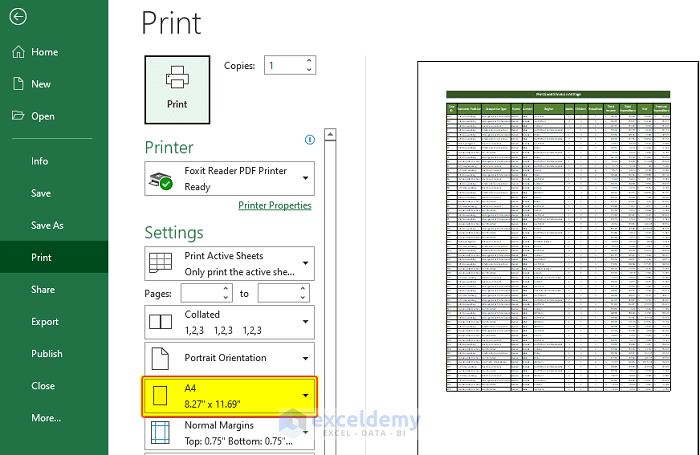
Before sending your sheets to the printer, use Excel's print preview feature:
- Click the Print Preview button to see how the sheet will look on paper.
- Check for any unwanted page breaks or alignment issues.
👉 Note: The print preview helps in identifying potential printing issues like improper scaling or layout errors.
Step 5: Execute the Print Command
Finally, after verifying settings and preview:
- Click Print in the Print window to start printing.
- Ensure the printer is selected and the number of copies is correct.
- Check for any printer-specific options like double-sided printing or stapling.
In these few steps, you've managed to print your Excel sheets separately, ensuring that each sheet is presented clearly and effectively. This method is particularly useful when dealing with reports or documents where each sheet contains unique information that needs to be printed and distributed individually.
By following these steps, you can print sheets in Excel with precision, optimizing the presentation of your data. Whether for office reports, presentations, or personal finance tracking, this guide will streamline your printing tasks.
Can I print multiple sheets simultaneously?
+
Yes, by holding the Ctrl key while selecting sheets, you can print multiple sheets in one go, maintaining their individual settings.
How do I avoid empty pages?
+
Use the Print Preview feature and adjust your Margins and Scaling settings to fit the content neatly on the page without leaving empty pages.
What should I do if the data extends beyond the margins?

+
You can either adjust the Scaling to fit the data or go to Page Layout > Page Setup and change the Print Area to include only the necessary columns or rows.