Print Your Personal Data Sheet Easily in Excel

Introduction to Personal Data Sheets

Excel is an incredibly versatile tool for managing all sorts of data, from financial ledgers to event guest lists. Among its many uses, creating a Personal Data Sheet (PDS) stands out as particularly useful for organizing information about individuals. This guide will walk you through how to create a personal data sheet in Excel, tailored for different needs such as HR records, event registrations, or personal contact lists. Whether you're a business owner, an HR professional, or just someone looking to organize personal information, this tutorial is designed to assist you.
Setting Up Your Excel Workbook

Before diving into the creation of your personal data sheet, ensure you start with a blank Excel workbook. Here’s how to set it up:
- Open Microsoft Excel and start a new workbook.
- Ensure your workbook is blank and has no existing data that could interfere with your personal data sheet creation.
👉 Note: If you are using an older version of Excel, some features might be slightly different, but the fundamental steps remain the same.
Creating the Structure for Your Personal Data Sheet
Designing Headers

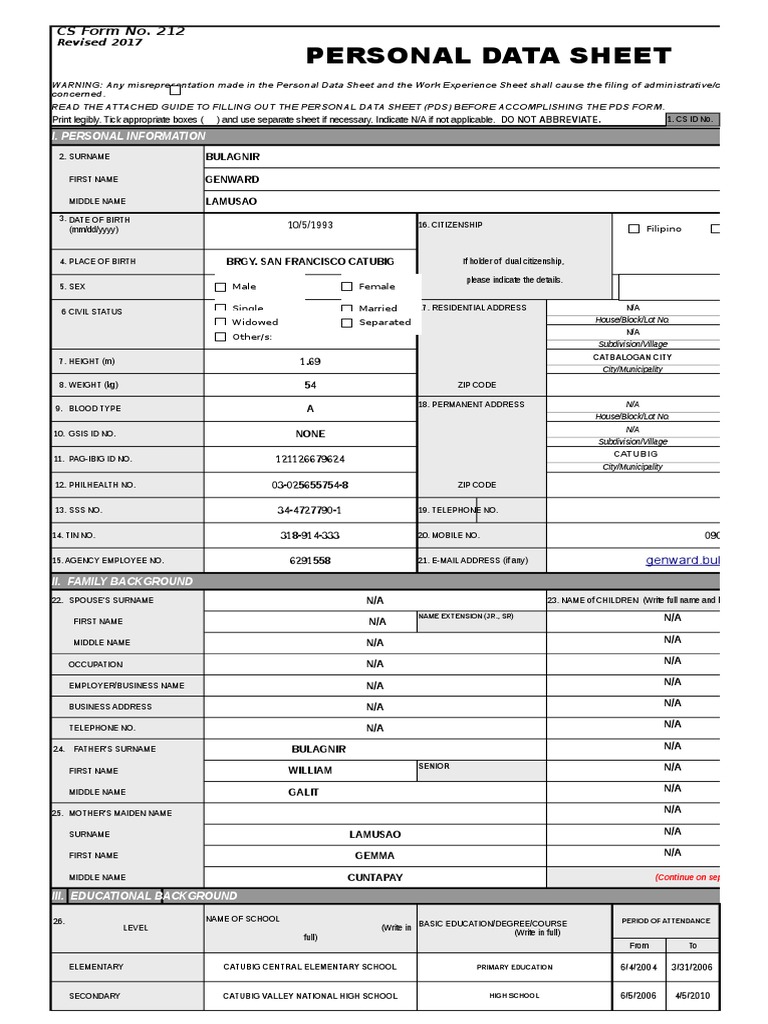
To begin, let's outline the structure for your PDS:
- First Name
- Last Name
- Email Address
- Phone Number
- Address
- Date of Birth
- Emergency Contact
Start by entering these headers in the first row of your Excel sheet. Here's how to do it:
- Click on cell A1, then type "First Name" and press Enter.
- Move to B1 for "Last Name," and continue to enter the remaining headers.
- Use the 'Format Cells' option to bold your headers for better visibility:
- Select Row 1, right-click, choose 'Format Cells', then click on 'Font' and select 'Bold'.
Formatting and Data Validation

With headers in place, you can start formatting:
- Merge and Center: If your headers span across multiple columns (like 'Address'), use 'Merge and Center' to create a single wide cell for clarity.
- Conditional Formatting: Set rules to highlight cells based on certain criteria, like marking a cell red if left blank.
- Data Validation:
- For the 'Phone Number' column, use data validation to ensure only numbers are entered:
Select the column > 'Data' tab > 'Data Validation' > 'Allow: Number' > 'Data: Between' > Min: 0, Max: 9999999999 - For 'Email Address', you can add a basic validation for an email format:
Select the column > 'Data' tab > 'Data Validation' > 'Custom' > Formula: =SEARCH("@",A2)
- For the 'Phone Number' column, use data validation to ensure only numbers are entered:
🌐 Note: Data Validation enhances data integrity, reducing errors in your PDS.
Data Entry

Entering Personal Data
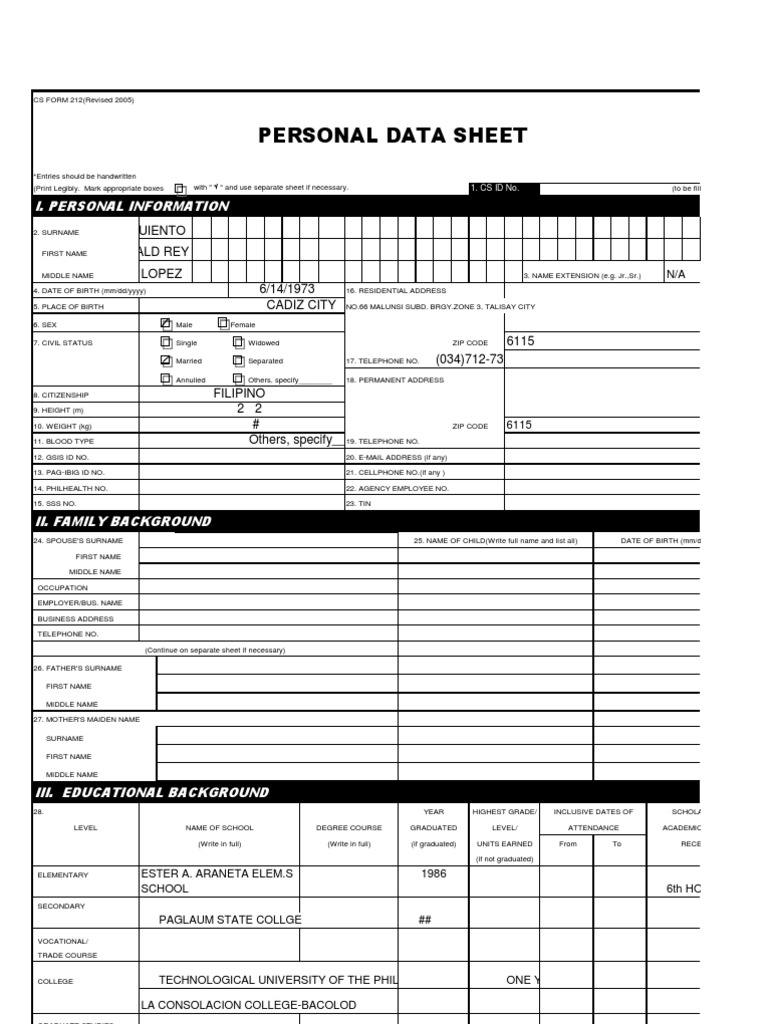
Begin entering data row by row, ensuring each entry corresponds to the correct column. Here's a simple process:
- Enter the first person's data in the second row, starting from cell A2.
- Move horizontally to enter all relevant information, using tab or arrow keys to navigate.
- Use Excel’s auto-complete and data validation features to reduce typing errors and ensure consistency.
- If you need to input a date, use the 'Date' format from the 'Number' tab to automatically convert dates for easier sorting and filtering later.
Advanced Features
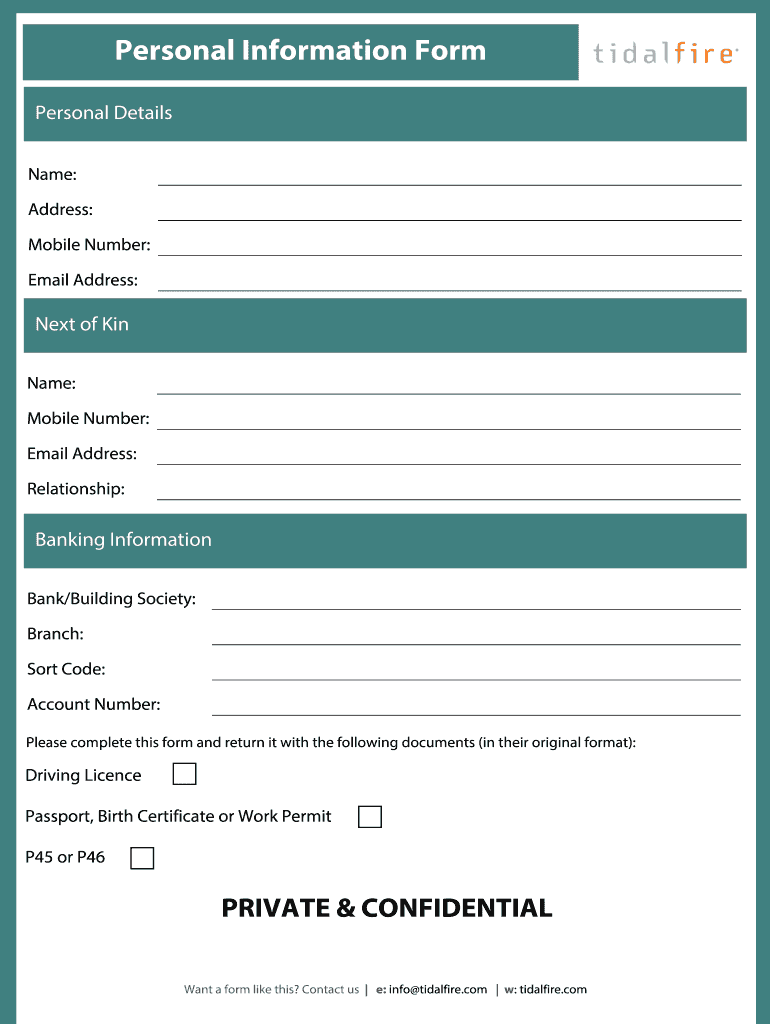
Excel offers various advanced features that can enhance your PDS:
- Sorting and Filtering: Use 'Sort & Filter' tools to manage your data effectively:
- Right-click on the header row, choose 'Sort & Filter', and then use 'Sort Ascending/Descending' or 'Filter' to narrow down data.
- Formulas: Add formulas for calculations or data manipulation:
- To calculate age, you can use:
=DATEDIF(A2, TODAY(), "Y") - Or concatenate fields to create unique identifiers:
=CONCATENATE(A2, B2)
- To calculate age, you can use:
Protecting and Sharing Your PDS
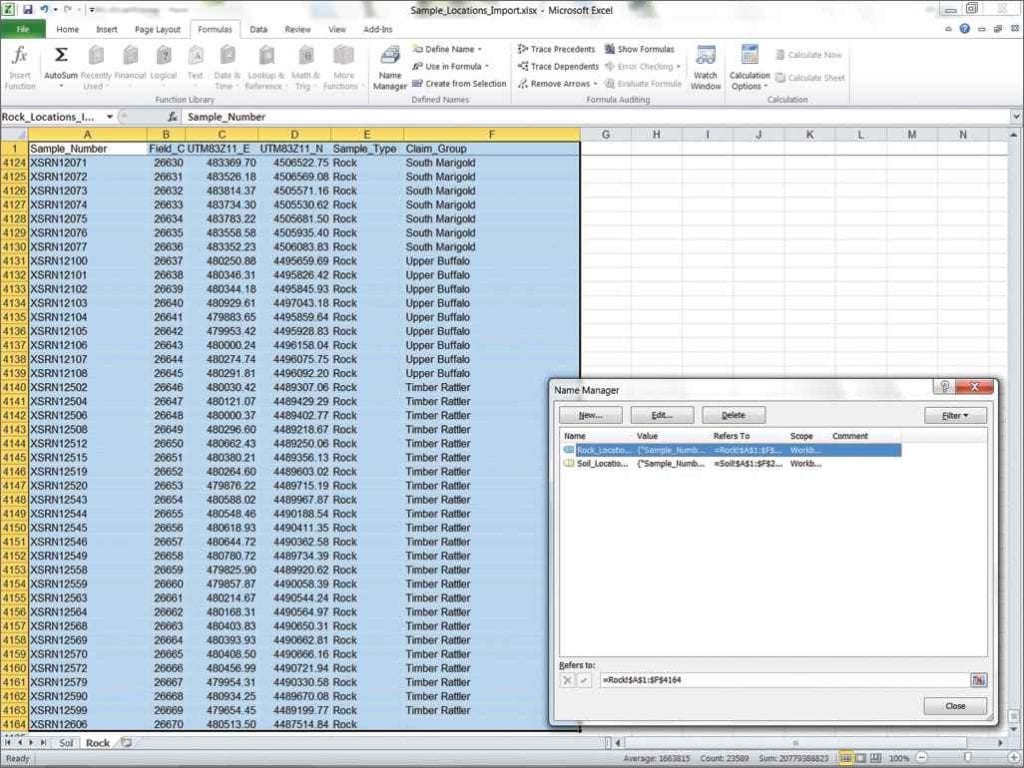
Once your personal data sheet is populated, you’ll need to secure it and possibly share it:
- Protecting the Sheet:
- From the 'Review' tab, select 'Protect Sheet'. You can set a password to prevent unauthorized edits.
- Sharing Options:
- Use the 'Share' feature or save your workbook in a shared location like OneDrive or SharePoint.
- If you're sending the sheet via email or transferring files, ensure you’re complying with data protection regulations.
🔐 Note: Always consider data privacy laws when sharing personal information.
Utilizing Excel for Advanced Management
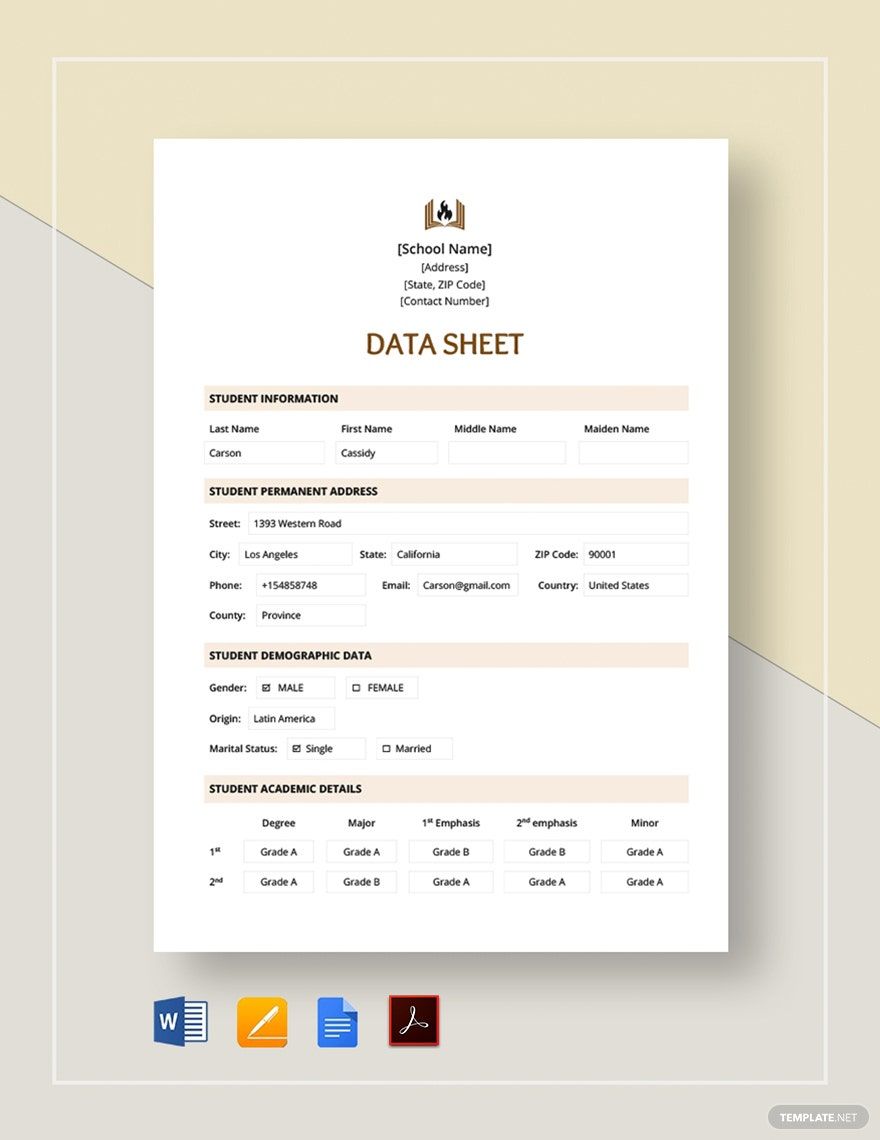
Here are some more advanced techniques to manage your personal data sheet:
- PivotTables: Summarize your data:
- Select your data > 'Insert' tab > 'PivotTable' to summarize, sort, and filter data dynamically.
- Macros: Automate repetitive tasks:
- From the 'Developer' tab (enable it if not visible), 'Record Macro' to capture your actions for later use.
These features allow you to not only manage data but also analyze it in ways that can provide valuable insights or save time on repetitive tasks.
Final Thoughts
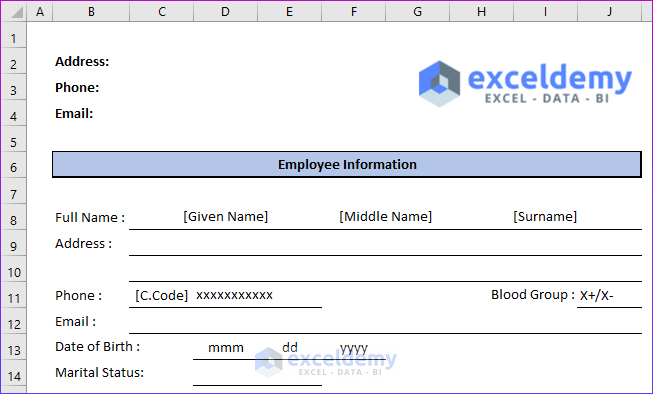
Creating a personal data sheet in Excel offers a straightforward yet powerful way to manage personal and professional data. By setting up your workbook with well-structured headers, formatting it correctly, and utilizing Excel's data validation and security features, you ensure that your data remains organized, consistent, and secure. Remember to update your sheet regularly and consider the privacy implications when sharing information.
This guide has shown you how to build a PDS from scratch, add validation rules for data integrity, employ sorting and filtering for better data management, and use advanced features for further analysis. With these tools at your disposal, managing personal data in Excel becomes not just a necessity but a powerful asset for any data-driven task or project.
Why should I use Excel for my Personal Data Sheet?
+
Excel offers a versatile platform for managing various types of data, including PDS. It supports robust data validation, sorting, filtering, and analysis tools, making it ideal for organizing and analyzing personal information.
Can I print my PDS from Excel?
+
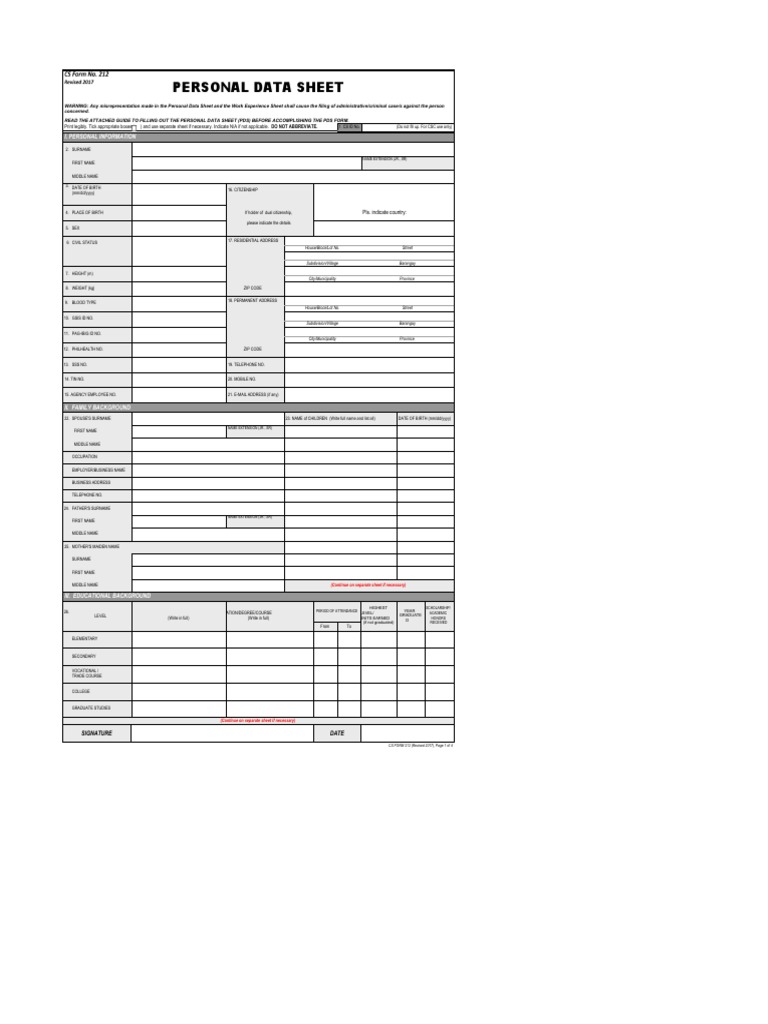
Yes, Excel provides options to print your PDS. You can adjust print settings to either print all data, specific ranges, or just the selected cells. Ensure to use ‘Print Preview’ to check layout before printing.
How do I ensure the privacy of the data in my PDS?
+
To protect privacy, use Excel’s ‘Protect Sheet’ feature, set passwords, and follow data protection regulations when sharing or transferring the data. Regularly review access permissions and ensure secure storage locations.