5 Tips to Print Excel Sheet on Two Pages

Introduction to Printing Excel Sheets

Mastering the art of printing Excel sheets can significantly enhance productivity and presentation quality, especially when dealing with large datasets. Whether it's for business presentations, client reports, or personal projects, printing your Excel data accurately and efficiently can make all the difference. This post will guide you through five essential tips to ensure your Excel sheet prints perfectly on two pages, minimizing confusion and maximizing clarity.
Tip 1: Adjusting Page Layout

Before you start printing, ensure your Excel sheet is set up to print on two pages. Here's how:
- Navigate to the Page Layout tab in Excel.
- Click on Page Setup.
- Under the Page tab, set the Orientation to either Landscape or Portrait as per your document's content.
- In the Scaling options, choose Fit to: and set it to 2 pages wide by 1 page tall, or adjust the number of pages accordingly.
💡 Note: Your data should be formatted in such a way that columns and rows fit well within the confines of two pages without being overly stretched or squeezed.
Tip 2: Scaling Your Data

Sometimes, simply fitting to two pages isn't enough; you need to scale your data for readability:
- Under Page Setup, navigate to the Sheet tab.
- Click on Options, then go to Scaling.
- Select Adjust to: and enter a percentage, often reducing to 90% or 95% might work well for fitting data onto two pages.
📝 Note: Ensure that your document remains legible when scaled down. If the text becomes too small, consider other methods to fit your data.
Tip 3: Choosing What to Print

Printing unnecessary data can clutter your printed documents. Here's how to print only what you need:
- In Page Setup, under Sheet tab, specify the Print Area to include only the relevant cells.
- Use Set Print Area to select the range of cells you want to print.
- Check Print Titles if you want headers or labels to appear on each page for clarity.
Tip 4: Managing Headers and Footers

Headers and footers can add context and branding to your prints. Here's how to manage them:
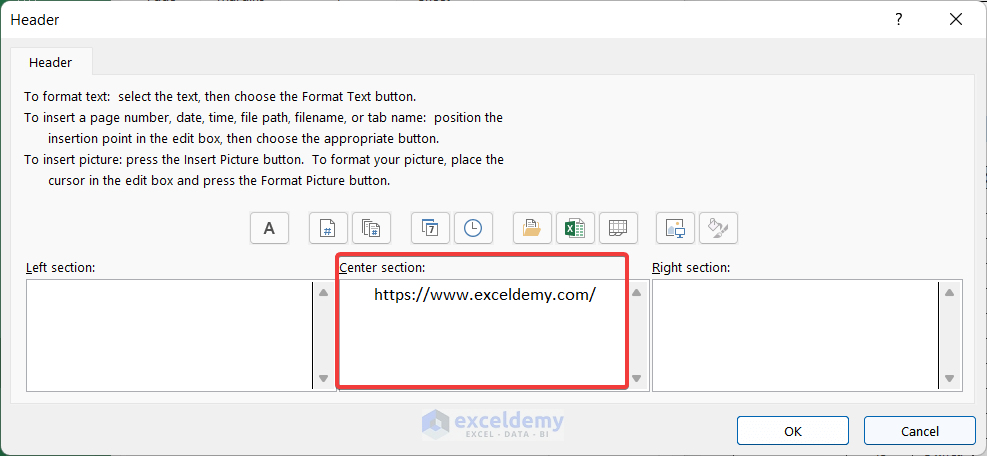
- In Page Setup, go to Header/Footer tab.
- Customize your headers and footers to include document titles, page numbers, or company logos.
📄 Note: Ensure that headers and footers do not obstruct the data on the pages. Keep them concise.
Tip 5: Previewing Before Printing

Always preview your document before sending it to the printer:
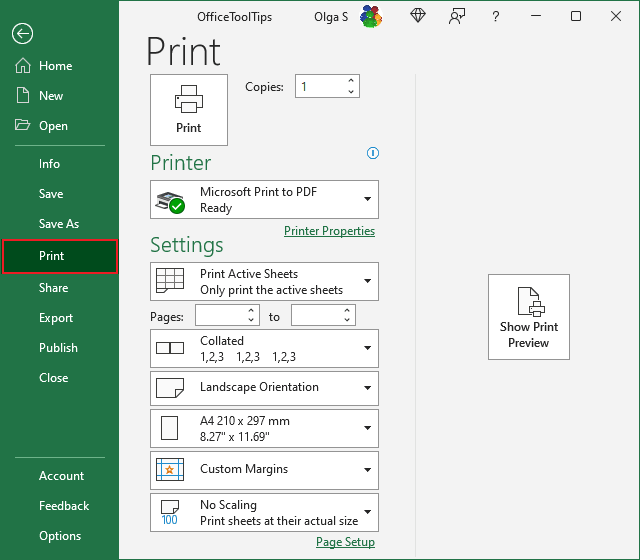
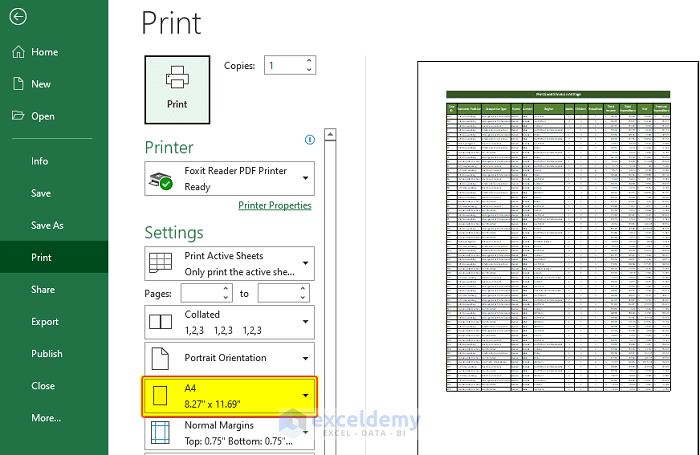
- Use Excel's Print Preview feature by clicking on the File menu, then Print.
- Check for layout issues, page breaks, and ensure all data is visible and neatly arranged.
- If you need to adjust anything, go back to Page Setup to tweak your settings.
🔎 Note: This step can save time, ink, and paper by preventing incorrect prints.
Summing Up the Journey

When it comes to printing Excel sheets on two pages, mastering these five tips ensures your documents look professional and are easy to read. By adjusting the page layout, scaling, choosing what to print, managing headers and footers, and previewing your prints, you can produce high-quality reports that communicate your data effectively.
What if my Excel sheet exceeds two pages?

+
If your data exceeds two pages, consider summarizing or condensing the information or splitting it into multiple print jobs.
Can I print my Excel sheet on more than two pages?

+
Yes, you can print your Excel sheet on as many pages as needed by adjusting the Fit to: option to specify the number of pages.
How do I make sure my data fits on two pages without losing any information?

+
Use the Adjust to: option to scale down your data while ensuring the text remains readable. If necessary, adjust the margins and page breaks manually.
Why is my header cutting off text?

+
Your header might be too large for the page margin. Reduce the header size or adjust the print area to ensure all text is visible.