5 Easy Steps to Print Mailing Labels from Excel

Printing mailing labels directly from an Excel spreadsheet can significantly streamline the process of organizing and mailing large quantities of letters or packages. Whether you're managing a mailing list for your business or organizing invitations for an event, this guide will walk you through the 5 easy steps to print mailing labels from Excel. Here's how you can turn your data into professional-looking labels without the fuss.
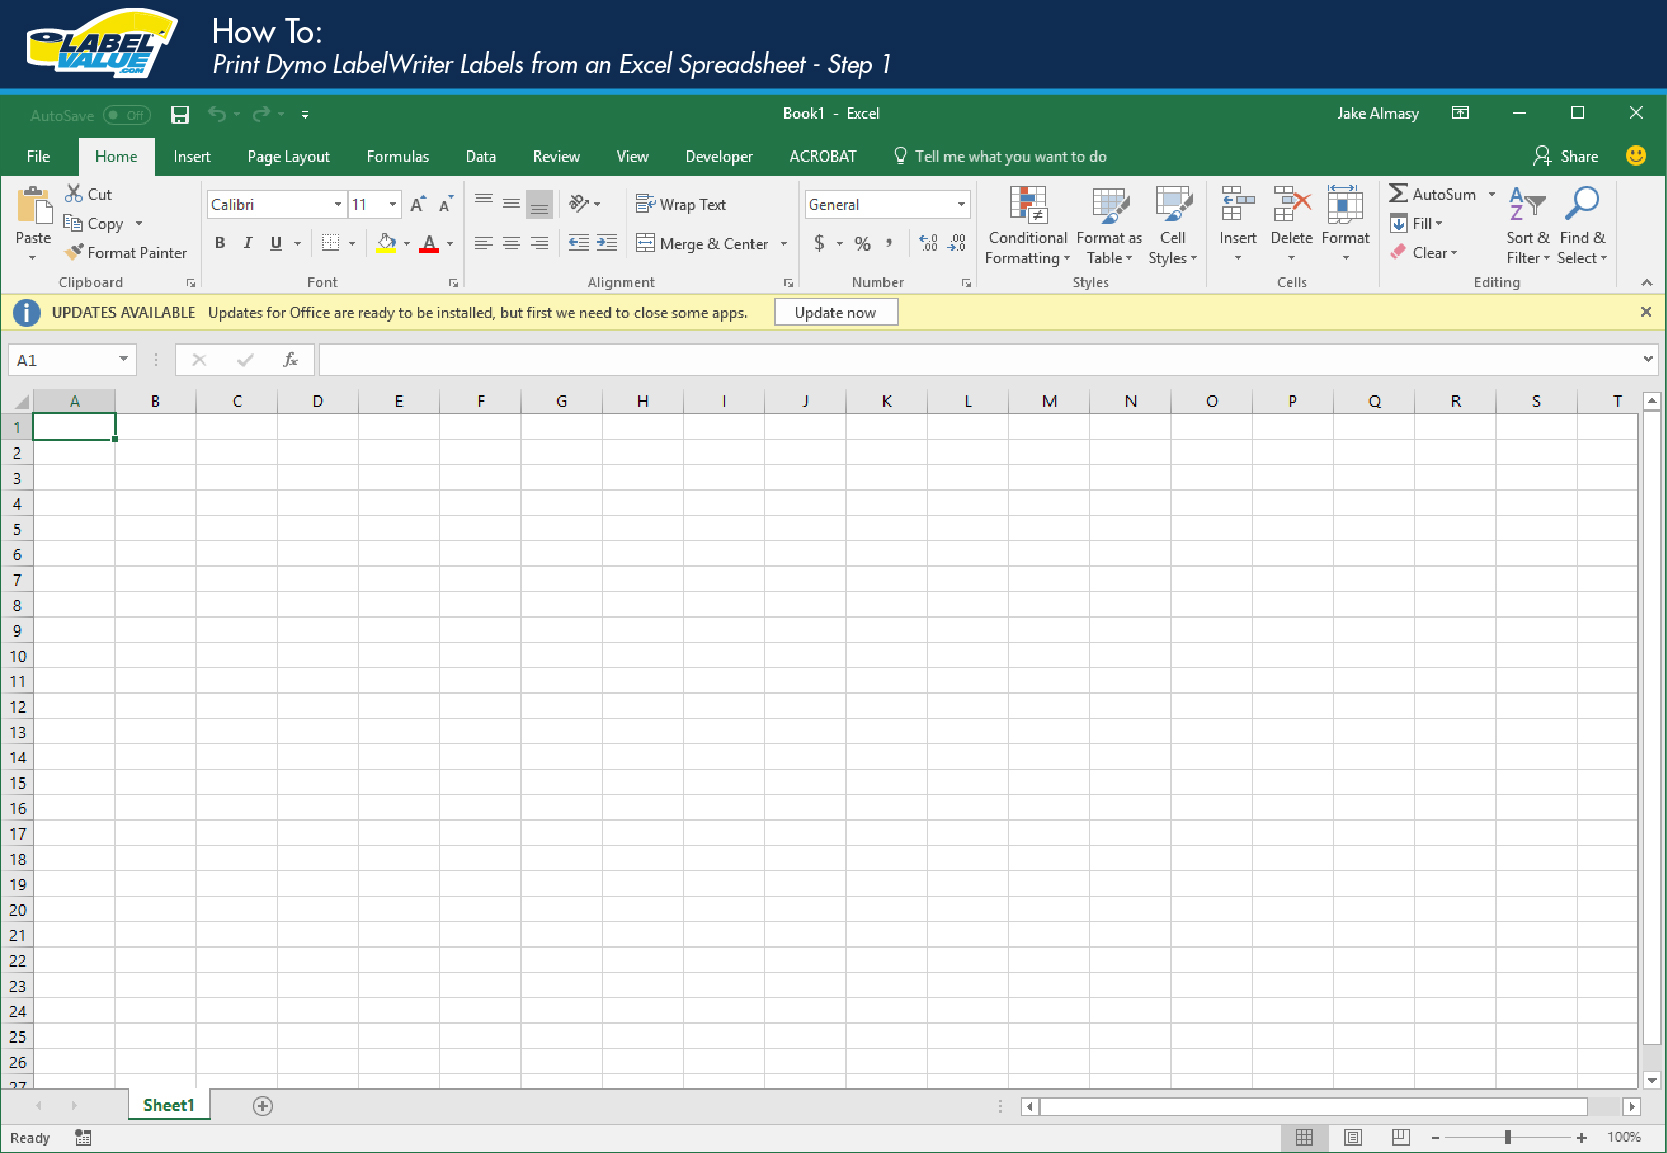
Step 1: Preparing Your Excel Spreadsheet

Begin by ensuring that your data in Excel is neatly organized:
- Headers: Use clear headers for your columns, like “First Name”, “Last Name”, “Address Line 1”, “Address Line 2”, “City”, “State”, “Zip”, and “Country” if applicable.
- Data Consistency: Ensure that all data follows a consistent format to avoid errors during mail merge.
- Column Order: Arrange your data in the order you want it to appear on the labels.
When your data is prepared, save the file in an accessible location.
Step 2: Open Microsoft Word and Start Mail Merge

Launch Microsoft Word:
- Go to the ‘Mailings’ tab on the Ribbon.
- Select ‘Start Mail Merge’ then choose ‘Labels’ from the dropdown menu.
- In the Label Options window, select your printer type and label brand, then pick the specific label you are using, for example, ‘Avery US Letter 5160’.
- Click ‘OK’ to set the label parameters.
💡 Note: If you’re using custom or non-standard labels, you might need to set up a new label size or choose ‘New Label’ to enter the dimensions.
Step 3: Connect Excel as Your Data Source

Now, you’ll link Word to your Excel spreadsheet:
- On the ‘Mailings’ tab, select ‘Select Recipients’ > ‘Use an Existing List’.
- Browse and select your Excel file. Ensure the correct worksheet is chosen if your file has multiple sheets.
- Click ‘OK’ to link the data.
Step 4: Design and Layout Your Labels

Creating your labels involves:
- Click on ‘Address Block’ in the ‘Write & Insert Fields’ group.
- Select the appropriate format for your address labels, ensuring each field corresponds correctly to your Excel data.
- Optionally, insert merge fields for additional information (like company names or titles).
- Use the ‘Preview Results’ button to see how your labels will look when printed.
| Field | Excel Column Header |
|---|---|
| Address Block | First Name, Last Name, Address Line 1, Address Line 2, etc. |
| Additional Fields | Company Name, Title |

Step 5: Print Your Labels

Once you’re satisfied with the layout:
- Click on ‘Finish & Merge’ and select ‘Print Documents’.
- Choose whether to print all records or select a range.
- Load your label sheets into the printer, making sure they align correctly with the printer settings.
- Print a test page first to ensure alignment.
- If everything looks good, proceed to print your labels.
⚠️ Note: Test with a single sheet first to check alignment. Labels are expensive, so avoid wasting them by ensuring everything is set up correctly.
In summary, printing mailing labels from Excel is a straightforward process if you follow these 5 steps. It allows you to efficiently manage and send out large amounts of mail without the hassle of manually writing each address. By keeping your Excel data organized, utilizing Word’s mail merge capabilities, and ensuring your labels are correctly aligned, you can achieve professional-looking mailing labels with minimal effort.
Can I Use This Method With Other Label Brands?

+
Yes, you can use this method with any label brand as long as you know the label size or dimensions. Microsoft Word supports a wide variety of label sizes from different manufacturers.
What If My Data Has Errors or Duplicate Entries?

+
Before merging, you should clean your data in Excel. Use Excel’s functions like ‘Remove Duplicates’, ‘Data Validation’, and manual review to ensure accuracy.
How Can I Ensure My Labels Print Correctly?

+
Always print a test page first. Also, make sure your printer’s settings match the label dimensions, and the paper type is set to ‘Labels’ to avoid smudging or paper jams.
What If I Need to Add Extra Information?

+
You can add extra fields by including them in your Excel data and selecting them during the merge process in Word. Adjust the label layout accordingly.