5 Tips to Print Large Excel Sheets Easily

Managing large datasets in Microsoft Excel can be a daunting task, especially when it comes to printing. Large spreadsheets often span multiple pages, leading to issues with readability and organization. In this comprehensive guide, we'll explore five practical tips that will help you master the art of printing large Excel sheets with ease. Whether you're preparing reports, managing inventory, or organizing complex data, these tips will ensure your spreadsheets are printed clearly and efficiently.
1. Use Page Layout View

Before diving into the specifics, it’s essential to set up your Excel sheet correctly for printing:
- Navigate to the ‘View’ tab in Excel.
- Select ‘Page Layout’ from the Workbook Views section to see how your sheet will appear when printed.
This view allows you to adjust margins, orientation, and other settings to fit your data onto pages correctly.

🗒️ Note: In Page Layout View, you can see page breaks as blue dashed lines which help you understand how your data will be segmented when printed.
2. Adjust Print Area and Margins

Controlling what gets printed is crucial when dealing with large sheets:
- Go to ‘Page Layout’ and select ‘Print Area’ → ‘Set Print Area’ to define the range of cells to print.
- Use ‘Margins’ to adjust space around the content. Narrow margins can fit more content on each page.
Table for Margin Settings:
| Setting | Description |
|---|---|
| Normal | Standard margin settings (1" on all sides). |
| Wide | Wider margins than normal (1.5" on all sides). |
| Narrow | Provides space for more content on each page (0.5" on all sides). |
| Custom | User-defined margins. |

📌 Note: When setting the print area, ensure that critical headers or labels are included to make the printout understandable.
3. Scale to Fit

Excel offers an easy way to make your data fit on fewer pages:
- In the Page Layout tab, under Scale to Fit, adjust:
- Width: Fit the data to one page wide or more.
- Height: Fit the data to one page tall or more.
By scaling down, you can ensure that your entire table fits on one or fewer pages, although some readability might be sacrificed.
4. Control Page Breaks

Managing where Excel breaks your data across pages can improve the logical flow of information:
- Enter Page Break Preview from ‘View’ → ‘Workbook Views’ → ‘Page Break Preview’.
- Manually adjust page breaks by dragging the blue lines. This can help keep related data together.
🔧 Note: To prevent automatic page breaks from disrupting logical groupings, manually insert page breaks where necessary.
5. Print Headers on Each Page

When your data spans multiple pages, printing row and column headers on each page can significantly increase readability:
- Go to ‘Page Layout’ → ‘Print Titles’ → ‘Rows to repeat at top’ to select header rows.
- Similarly, set columns to repeat at left under ‘Page Setup’ → ‘Columns to repeat at left’.
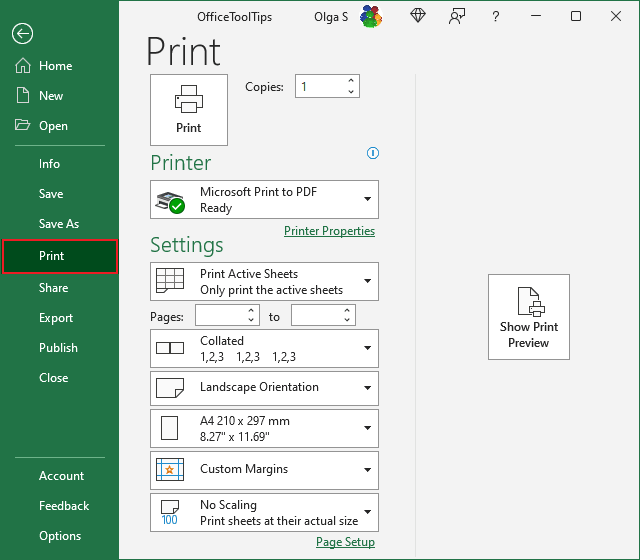
Ensure that these settings are applied through the ‘Print Preview’ to see how they affect the printed document.
👁️ Note: Always check the print preview before printing to avoid wasting paper on incorrect layouts.
In conclusion, handling large Excel sheets for printing doesn't have to be an overwhelming task. By following the tips we've explored—setting up the correct view, managing print areas, adjusting scale, controlling page breaks, and ensuring headers are visible—you can make your printed Excel documents clear, professional, and easy to navigate. Remember, the key to effective printing lies in preparation and understanding the printing functionalities within Excel. With these techniques in your toolkit, you'll be able to print complex datasets with confidence, ensuring that your data is presented clearly and efficiently every time.
What if I want to print a large sheet on multiple pages?

+
If your spreadsheet is too large for a single page, Excel’s Page Break Preview allows you to control where pages break, ensuring that logical groups of data are not split across multiple pages unnecessarily.
Can I save these printing settings?

+
Yes, once you’ve set up your print settings, they can be saved with the workbook. However, if you share the file or open it on a different computer, you might need to adjust the settings again due to different default printer settings.
How can I print only the parts of the sheet I need?

+
Using the ‘Set Print Area’ feature from the Page Layout tab, you can select only the cells you want to print. This helps in printing specific parts of a large sheet without printing unnecessary data.


