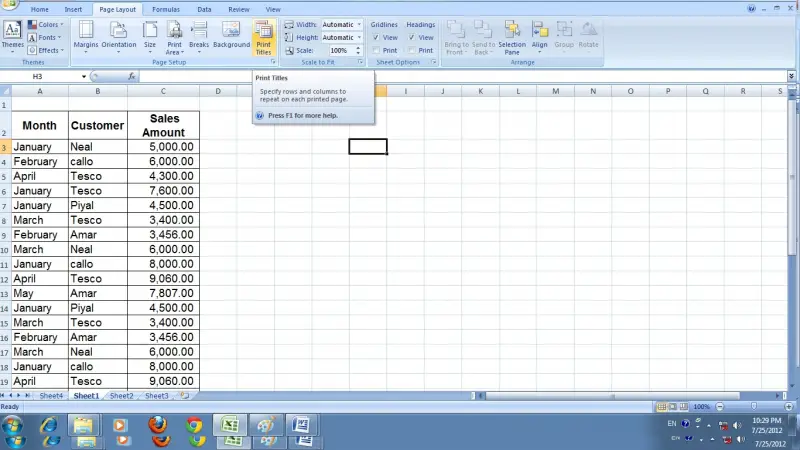
Print Headings on Every Excel Sheet Easily

Have you ever found yourself needing to add a consistent header or footer across multiple sheets in an Excel workbook? While Excel doesn't offer a straightforward feature to automatically add uniform headers to all sheets, there are several techniques you can use to achieve this efficiently. In this guide, we will walk through how to print headings on every Excel sheet with ease, ensuring your documents maintain a professional look and are easy to navigate.
Using Excel's Built-In Features for Headers/Footers

Excel does provide a way to insert headers and footers in individual sheets, but here's how you can do it for multiple sheets:
- Select Sheets: Begin by selecting multiple sheets in your workbook. Hold down Ctrl and click on the tabs of the sheets you wish to edit.
- Open Header/Footer: Go to the Insert tab and choose Header & Footer. This will switch your view to Page Layout, and you can now add headers or footers.
- Enter Text: Click inside the header or footer area and start typing your text. You can also insert page numbers, dates, or document properties.
- Save: After customizing your headers, ensure to save your workbook or use File > Print > Page Setup to set the headers for printing.

✅ Note: After modifying headers in a group of sheets, all changes apply to all selected sheets uniformly. Be careful not to alter any other settings unintentionally.
Macro for Printing Headers on Every Sheet

When dealing with a large number of sheets or for regular workflows, creating a macro to automate header insertion can save considerable time:
- Open VBA Editor: Use Alt + F11 to access the Visual Basic for Applications (VBA) editor.
- Create Module: Right-click on any VBA project, select Insert > Module.
- Write Macro Code: Copy and paste the following code into the new module:
Sub AddHeaderToAllSheets()
    Dim ws As Worksheet
    For Each ws In ThisWorkbook.Worksheets
        With ws.PageSetup
            .LeftHeader = "&LYour Left Header Here"
            .CenterHeader = "&CYour Center Header Here"
            .RightHeader = "&RYour Right Header Here"
        End With
    Next ws
End Sub
- Run the Macro: Close the VBA editor, and use Alt + F8 to select and run your new macro.
- Save as Macro-Enabled Workbook: Remember to save your workbook as an Excel Macro-Enabled Workbook (.xlsm).

💡 Note: While this method ensures uniform headers, it's crucial to understand that macros can pose security risks if you receive files from untrusted sources.
Using Excel Formulas to Insert Dynamic Headers

Instead of static text, you might prefer headers that change based on data or other criteria. Here’s how you can achieve dynamic headers:
- Create a Header Formula: For instance, to include the sheet name in the header, insert
&[Tab]in your header or footer area. - Using Cell References: You can also use cell references for more complex headers. Suppose cell A1 contains a date or title you want to use, insert:
&C=A1for center header placement.&L=A1for left header placement.&R=A1for right header placement.

👍 Note: This approach ensures headers dynamically adjust if you change the content of the referenced cells.
Ensuring Consistency Across Documents

When you've established how headers will appear in your Excel workbook, here are some tips to maintain consistency:
- Template Creation: Save your formatted workbook as a template (File > Save As > Excel Template), so new documents start with your defined headers.
- Sharing Settings: Use File > Options > Save to set a default path for saving templates, ensuring easy access for all team members.
- Consistency Checks: Before printing or distributing, review all sheets for header consistency, making adjustments as necessary.

In summary, printing headers on every Excel sheet can be achieved in multiple ways, each offering its advantages depending on your needs and workflow. Whether you choose to utilize Excel’s built-in header/footer features, create macros, or implement dynamic headers, you'll enhance document professionalism and usability. Remember to check for consistency, especially when working on collaborative projects, to ensure that headers are uniform across all sheets. Employing these strategies will streamline your Excel usage, making your data presentation clear, structured, and easy to follow.
Can I use different headers for different sheets in the same workbook?

+
Yes, you can customize headers individually for each sheet. However, for bulk application, use macros or select sheets in groups.
How do I change headers in Excel for sheets already filled with data?

+
You can change headers using the Page Layout view or via VBA macros without affecting your existing data.
Will dynamic headers update automatically when printed or viewed in print preview?

+
Yes, Excel dynamically updates headers based on cell references or formulas when you enter print preview or print the document.