3 Simple Ways to Print First Sheets in Excel

In the world of Microsoft Excel, one common task that users often need to perform is printing specific sheets from a workbook. Whether you're compiling a monthly report, managing inventory, or handling a large dataset, knowing how to print only the sheets you need can streamline your workflow significantly. This article will guide you through three straightforward methods to print the first sheet in Excel, providing tips for different versions of Excel, how to ensure your documents are printer-ready, and useful notes to keep in mind.
1. Selecting the First Sheet Manually

The simplest method to print the first sheet is by manually selecting it before sending it to the printer. Here's how you can do it:
- Open Your Excel Workbook: Launch Excel and open the workbook containing the sheets you wish to print.
- Navigate to the First Sheet: Click on the tab of the sheet you want to print. If the sheet you need to print is not the first one you see, use the navigation arrows at the bottom left to find it.
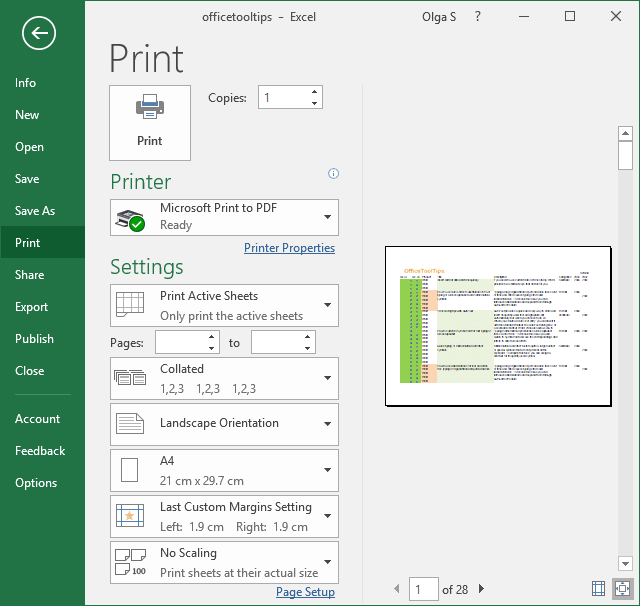
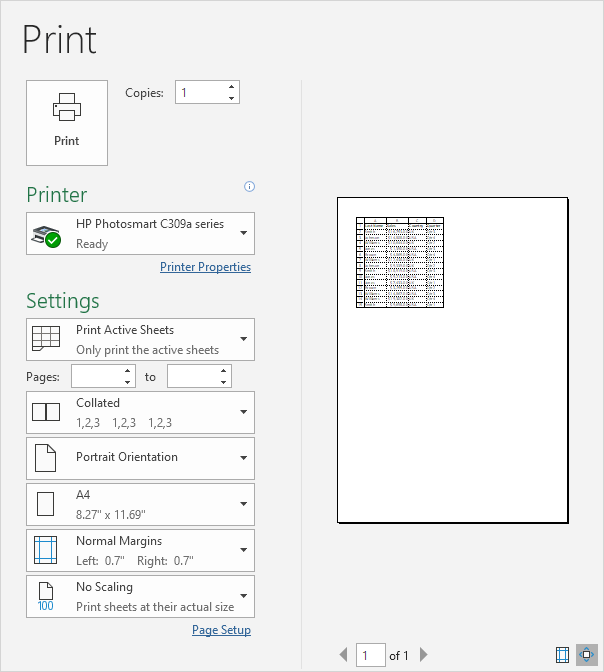
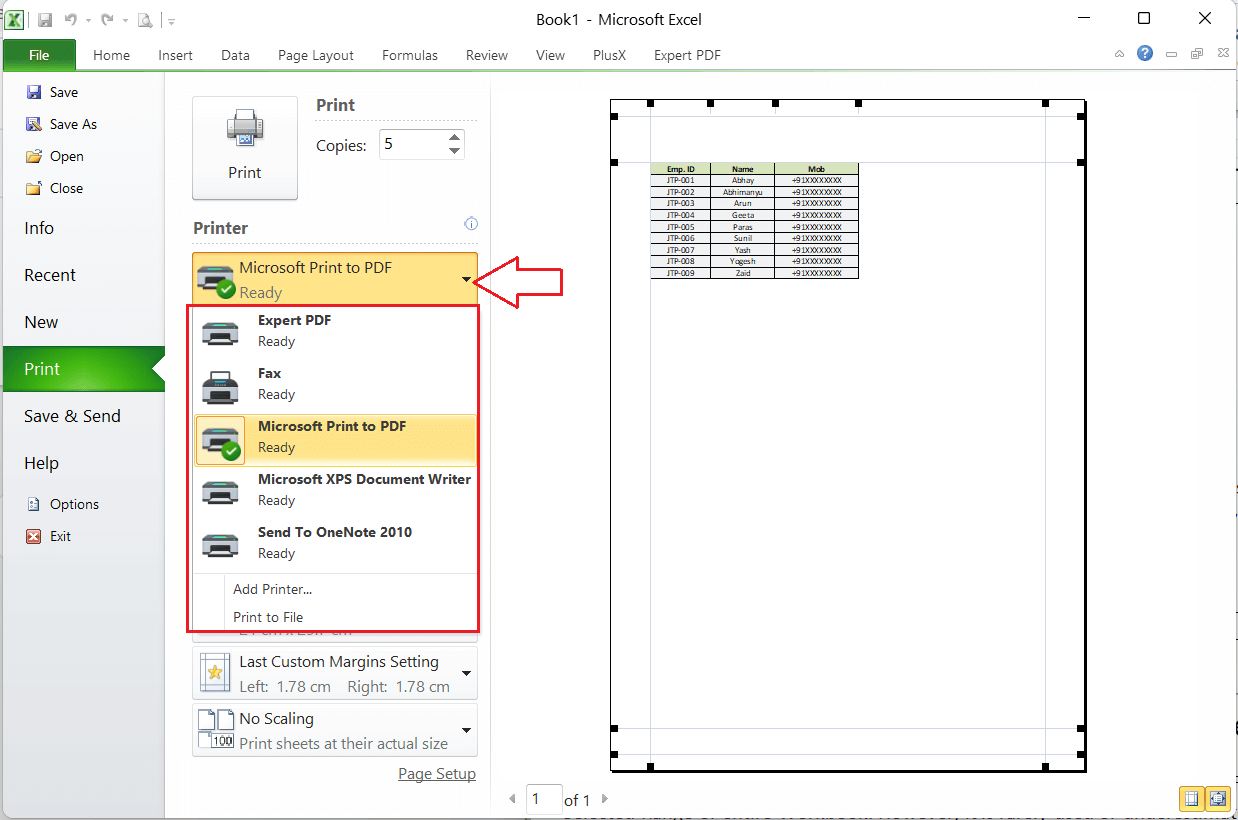
- Print: Press Ctrl + P to open the Print dialog, where you can adjust settings like orientation, margins, and print range.
Here's an image to help visualize selecting the sheet:
Considerations for Older Excel Versions:

- Older versions like Excel 2003 might not support all the features of the newer Print dialog, so ensure you select the sheet before printing.
2. Using Excel's Quick Access Toolbar

For frequent users, adding a custom Print button to the Quick Access Toolbar (QAT) can save time:
- Customize the QAT: Click on the small down arrow at the end of the QAT and choose "More Commands."
- Add Print: From the "Choose commands from" dropdown, select "File Tab". Find "Print" and add it to the list on the right.
- Select Sheet: Navigate to the first sheet you want to print.
- Print: Click the newly added Print button in the QAT.
⚠️ Note: This method assumes you've already set up your printer with your PC.
Steps for Excel Online:

- If using Excel Online, directly click on the three dots in the upper right corner and select "Print" to view and adjust print options.
3. Using Macros and VBA

For advanced users or those who need to automate repetitive tasks, using VBA (Visual Basic for Applications) can be very effective:
- Access the VBA Editor: Press Alt + F11 to open the VBA editor.
- Insert a New Module: In the VBA Editor, right-click on any of the objects in the Project Explorer window, click "Insert" then "Module."
- Write the Macro: Enter the following code into the module:
Sub PrintFirstSheet()
    ThisWorkbook.Worksheets(1).PrintOut
End Sub
- Run the Macro: Close the VBA Editor, then run the macro by going to "Developer" tab (enable this if not visible), clicking on "Macros," selecting "PrintFirstSheet" and click "Run."
👁 Note: Ensure macros are enabled in your Excel settings before running any code.
This method prints the first sheet according to the order in the workbook, not necessarily the leftmost visible sheet in your window.
In summary, selecting the first sheet manually is the most straightforward approach, suitable for infrequent printing needs. Using the Quick Access Toolbar or VBA macros offers automation for frequent users, reducing the time spent on navigating and adjusting print settings. Remember, each method has its place depending on your Excel proficiency, version, and frequency of use. By following these methods, you can print your first sheets efficiently, saving time and reducing the risk of printing errors.
Can I print multiple sheets at once?

+
Yes, by holding the Ctrl key, you can select multiple sheets before printing. This can be done in all three methods outlined above.
What if the first sheet is not visible?

+
If the sheet is hidden, you can make it visible by unchecking the “Hide” option in the sheet’s properties or by using VBA to print hidden sheets.
How do I ensure my printer settings are saved for next time?

+
Excel usually remembers your last used settings for printing, but for consistency, consider saving these as the default settings under “File” > “Options” > “Advanced” > “Print.”