Excel Printing Guide: Add Sheet Name at Bottom

Mastering the art of Excel printing can significantly enhance the professionalism and clarity of your spreadsheets. If you're presenting financial models, detailed data sets, or reports, adding the sheet name at the bottom of each page in your printouts can offer your documents a more organized look and helps in quickly identifying the content. Here’s an in-depth guide on how to add a sheet name at the bottom when printing in Excel, ensuring your documents are both functional and aesthetically pleasing.
Why Add Sheet Names in Printouts?

Including sheet names in your printouts provides several key benefits:
- Navigational ease: Readers can quickly identify the sheet they are looking at in large document sets.
- Professional appearance: It gives your documents a polished and organized appearance.
- Document integrity: Ensures that pages stay intact, making it easier to collate loose sheets back into their original sets.
How to Add the Sheet Name at the Bottom in Excel

To add the sheet name at the bottom of each printed page in Excel, follow these steps:
Step 1: Access the Page Setup Dialog

- Open your Excel workbook.
- Navigate to the Page Layout tab on the Ribbon.
- Click on the small square icon with an arrow in the Page Setup group to open the Page Setup dialog box.
⚠️ Note: If you are working on a different version of Excel, the location of the Page Setup might differ. Ensure you are on the Page Layout tab.
Step 2: Add the Sheet Name in the Footer

- In the Page Setup dialog box, click the Header/Footer tab.
- Click Custom Footer.
- Choose where you want to place the sheet name - Left Section, Center Section, or Right Section. For uniformity, placing it in the center might be a good choice.
- Click in the chosen section, then click the Insert Sheet Name button. This button appears as an icon showing two pages with a gear, or you might need to select from a dropdown if on older versions.
Step 3: Preview Your Changes

Before you proceed to print, make sure to:
- Click Print Preview to see how your sheets will look when printed. This step ensures the footer is visible and correctly aligned.
Step 4: Save Your Settings

To ensure these settings persist:
- Click OK to close the Page Setup dialog.
- Save your workbook to retain the page setup for future uses.
Ensuring Consistency Across Sheets

If your workbook contains multiple sheets, here’s how to ensure each one has the sheet name footer:
- Use the Apply to All Sheets option in the Page Setup dialog box when you are adjusting settings for one sheet. This copies the settings across all sheets in the workbook.
- Alternatively, you can individually apply the footer settings to each sheet, or use a macro for more automated workflows.
🔍 Note: Ensure all sheets need the footer; otherwise, you might want to apply it selectively.
Final Touches for Professional Printing

Apart from adding the sheet name, consider these additional tips for professional-looking printouts:
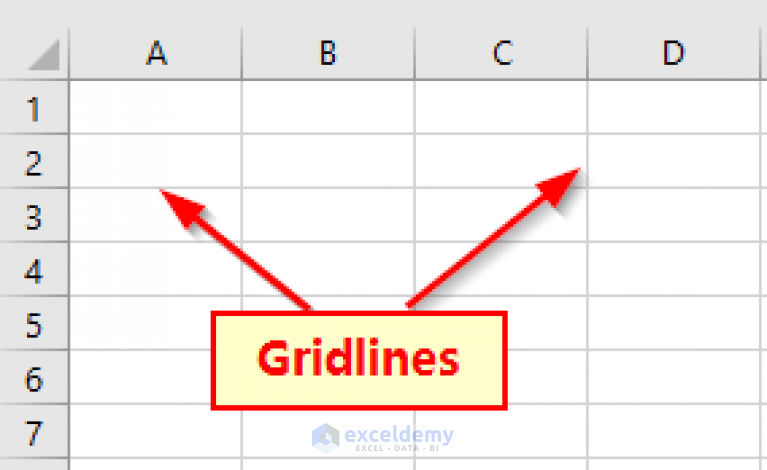
- Gridlines: If your data relies on gridlines, ensure they’re visible in your print setup.
- Repeat Headers/Footers: Set your headers and footers to appear on every page, enhancing readability.
- Print Titles: Use Print Titles to have row and column headers print on every page.
In summary, by following these steps, you can easily add sheet names to the bottom of your printouts in Excel, making your documents more organized and reader-friendly. Remember to save your settings for future consistency. This practice not only improves the professional quality of your printouts but also aids in navigating through complex documents.
Can I add sheet names automatically across all sheets in a workbook?

+
Yes, using the “Apply to All Sheets” option in the Page Setup dialog will ensure the sheet name footer is applied to every sheet within the workbook. However, remember to check each sheet as different sheets might have different printing requirements.
What if I don’t see the “Insert Sheet Name” button in my version of Excel?

+
If the button isn’t visible, you can manually type the formula &B&A in the footer section to insert the sheet name. Here, &B is for bold text, and &A inserts the sheet name.
How can I preview my document before printing?

+
Click on Print Preview in the Page Layout or File tab. This feature lets you see how your document will look when printed, allowing you to make any last-minute adjustments.