Print Excel Sheets on One Page: 2010 Guide
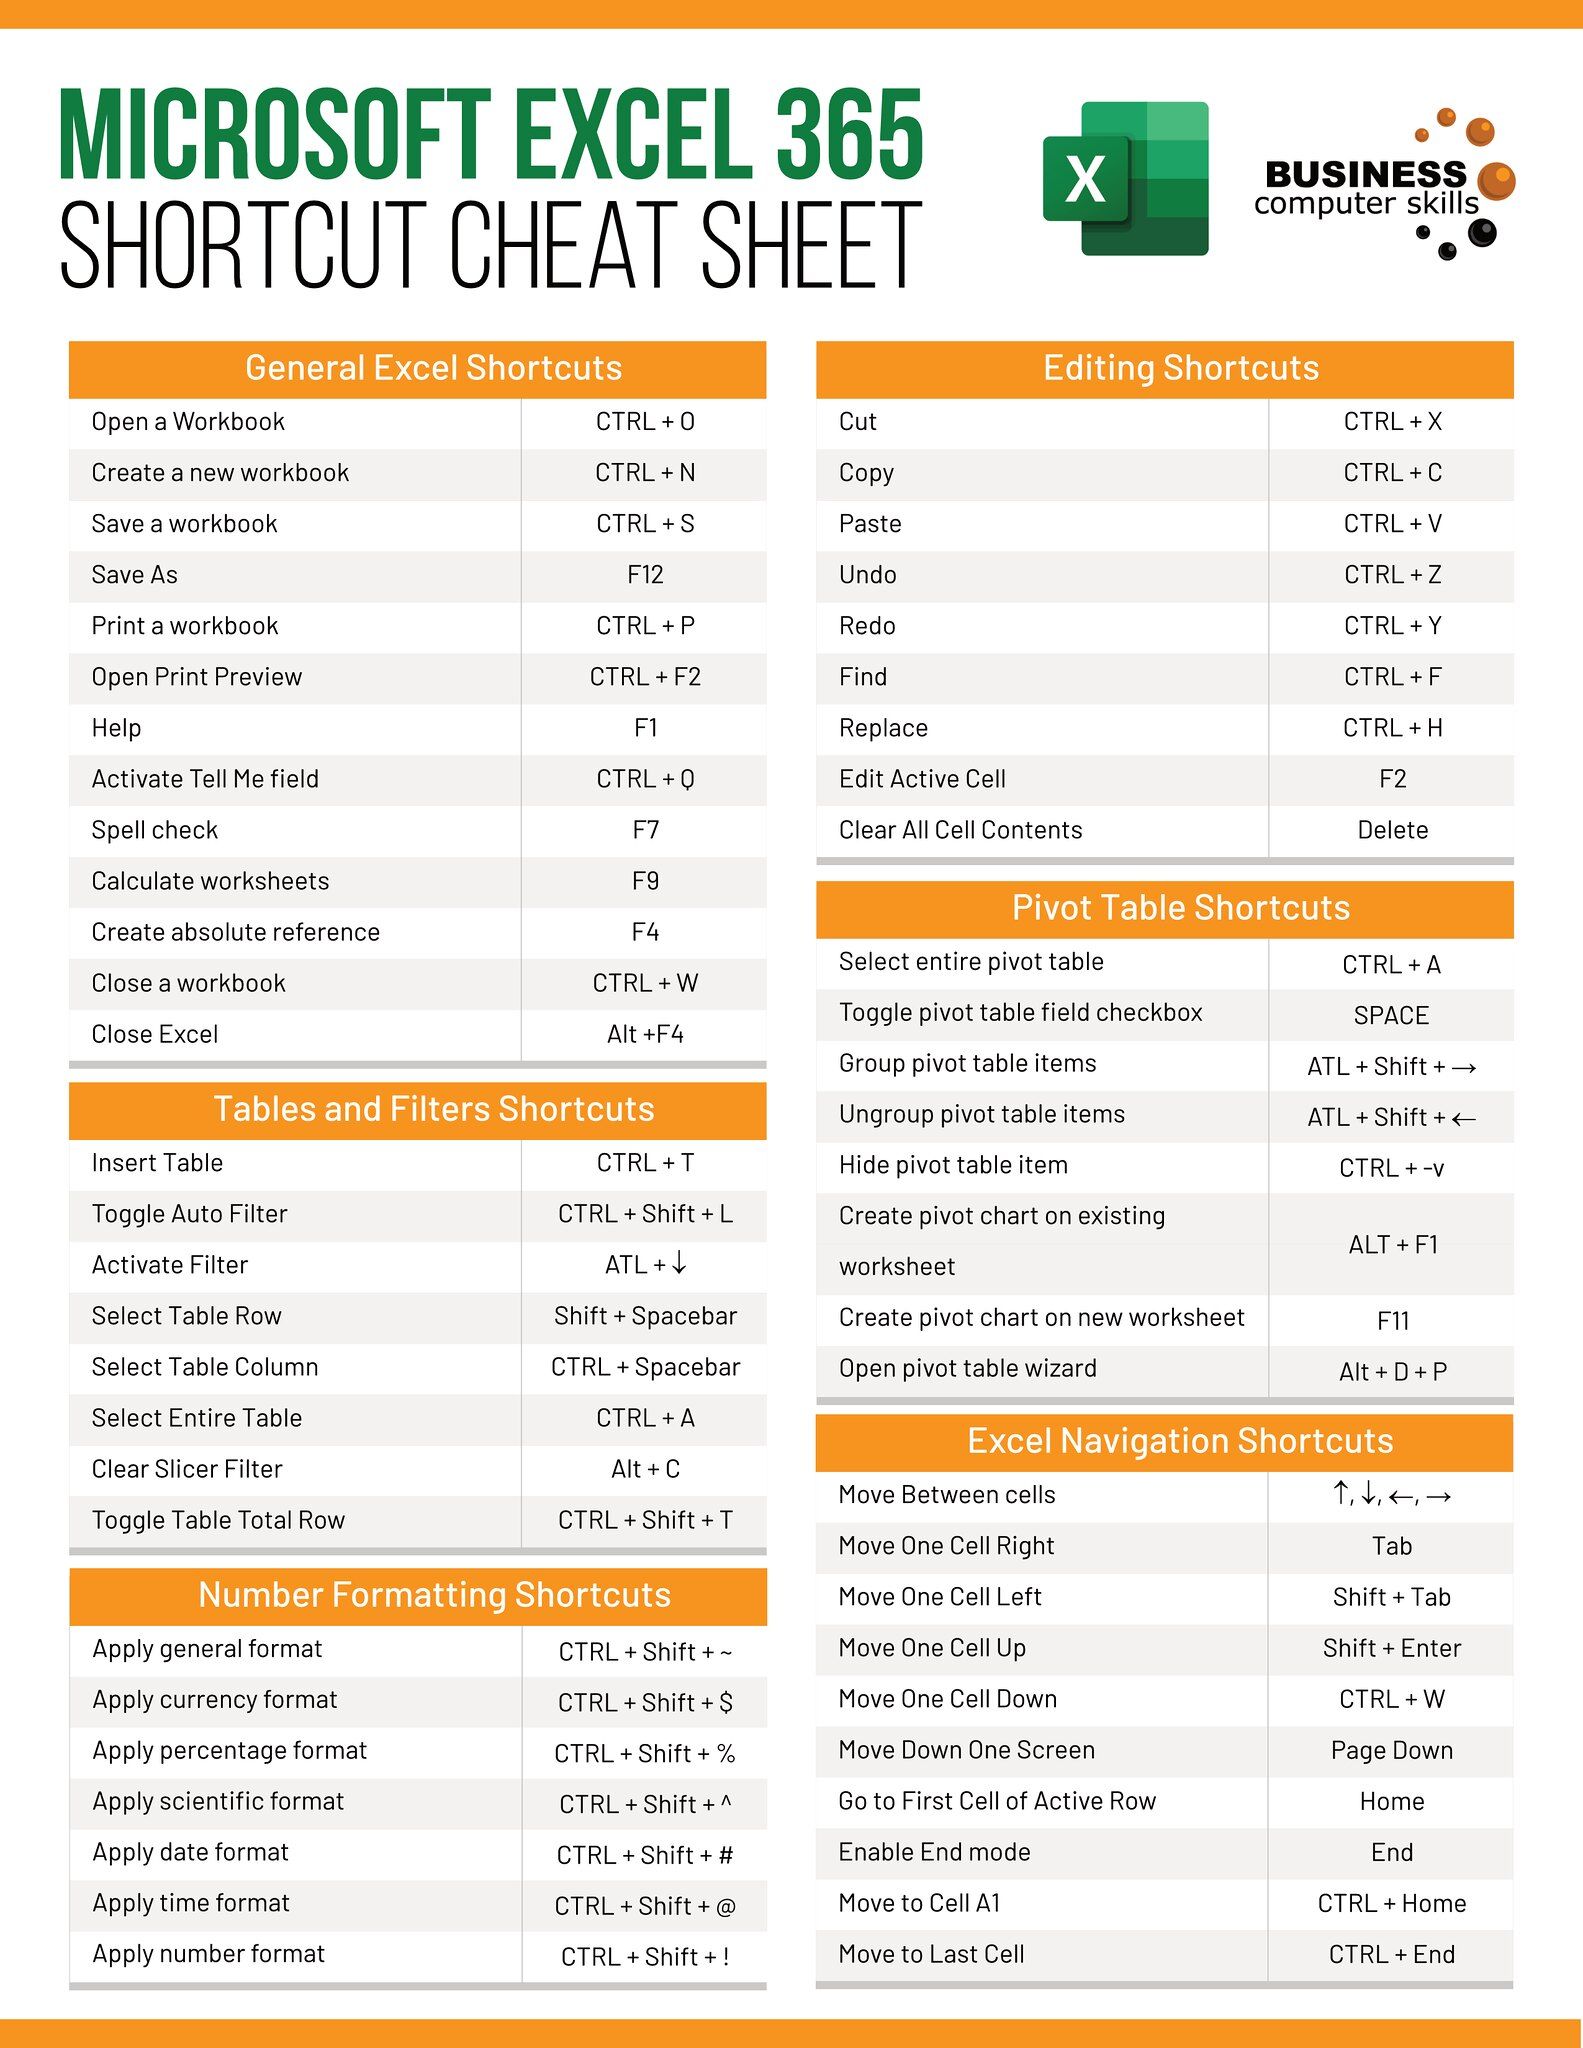
Printing spreadsheets effectively can be a daunting task, especially when you want to ensure that all your Excel data fits neatly onto one page. With the release of Microsoft Excel 2010, users have been provided with a suite of tools designed to make this process as straightforward as possible. Here's a comprehensive guide on how you can print your Excel sheets on one page using Excel 2010, ensuring that your data looks organized and professional.
Understanding Page Layout
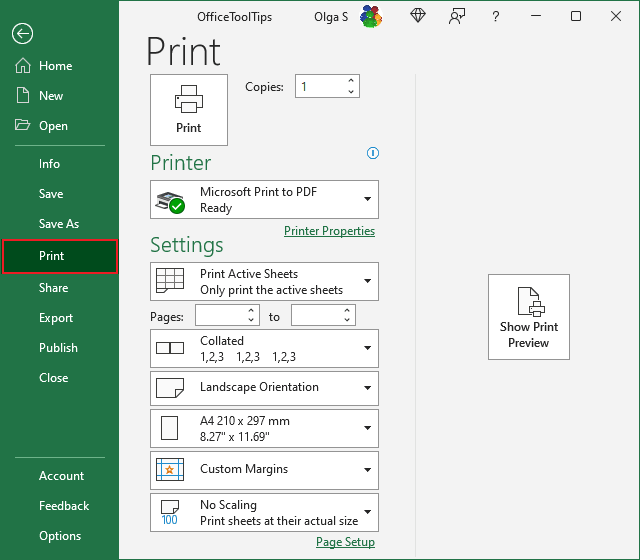
Before diving into the specific settings for printing, it’s crucial to understand the basic layout principles:
- Page Breaks: Excel automatically determines where page breaks should occur, but you can manually adjust these to fit your needs.
- Margins: Adjusting the margins can help fit more content on a page.
- Orientation: Changing to landscape or portrait mode can also make a significant difference.
Adjusting Page Layout
Here’s how you can configure your worksheet for a single-page print:
- Navigate to the Page Layout tab. This tab provides all the tools needed for page setup.
- Change Orientation: Select either Portrait or Landscape based on your data’s shape. Wider datasets usually benefit from landscape orientation.
- Set Margins: Go to Margins > Custom Margins, and reduce the margins as much as possible while ensuring readability. Note that reducing margins too much might make your document less presentable.
💡 Note: Reducing margins might make the page less readable if printed in a smaller size or by someone with vision problems. Balance is key.
Fit Sheet on One Page

To fit your spreadsheet onto one page:
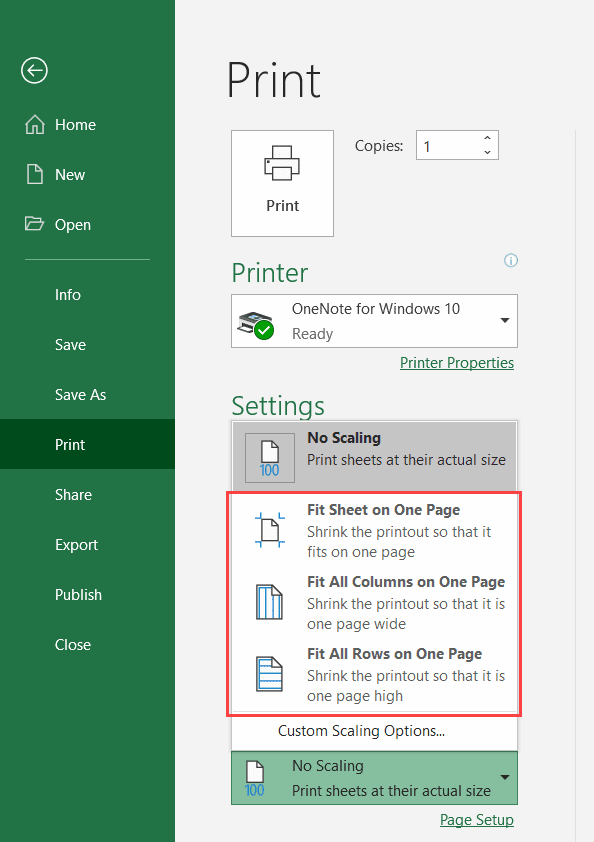
- In the Page Layout tab, click on the dialog launcher in the ‘Page Setup’ group to open the Page Setup dialog box.
- Go to the ‘Page’ tab, and under ‘Scaling’, choose either:
- Fit to: Enter the number of pages you want to fit the sheet into (1 page wide by 1 page tall for our case).
- Adjust to: Lower the percentage to shrink the printout, although this might require some adjustments to readability.
Adjusting Print Area and Printing Options
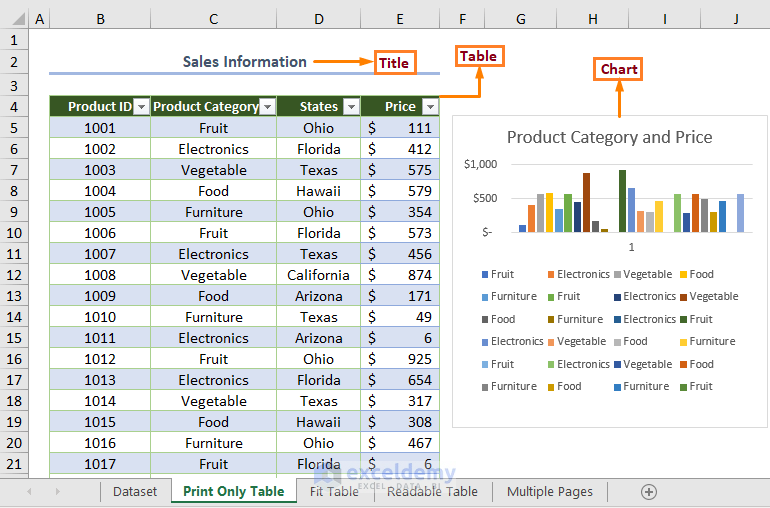
To further optimize your printout:
- Set Print Area: Highlight the specific cells or range you want to print. Go to ‘Print Area’ on the Page Layout tab, and select ‘Set Print Area’.
- Headers and Footers: You can customize these by going to the ‘Header/Footer’ tab in the Page Setup dialog to add titles or page numbers.
Managing Breaks

Controlling page breaks can prevent awkward splits in your data:
- Insert Manual Page Breaks: Place your cursor at the desired break point, go to ‘Breaks’ > ‘Insert Page Break’.
- Adjust Existing Breaks: Click ‘Show Margins’ in the Page Layout tab to drag and adjust where the page breaks should be.
🚨 Note: Frequent manual adjustments might result in maintenance issues for documents with frequently updated data.
Preview and Final Check

Before printing, use the ‘Print Preview’ feature:
- Click on ‘File’ > ‘Print’ to see how your sheet will appear when printed.
- Make necessary adjustments based on what you see in the preview. It’s helpful to view it in multiple pages and then one page to see if all content fits.
Wrapping Up

Ensuring that your Excel spreadsheet prints on one page can save time, paper, and present your data more effectively. By adjusting page settings, setting print areas, and managing page breaks, you can control how your data will look when printed. Keep in mind the balance between fitting all the information on one page and making sure it’s readable. This guide should help you get your Excel 2010 sheets to print out efficiently.
Why might my print settings revert to default after saving my Excel file?

+
This often happens if the settings are not explicitly saved within the workbook. Ensure you save your workbook after making changes to print settings or set these as default for all new workbooks.
Can I print just selected areas of my spreadsheet?

+
Yes, you can set a Print Area. Highlight the cells you wish to print, then under the Page Layout tab, select ‘Set Print Area’.
What if my data doesn’t fit even after adjusting all settings?
+
If your data still doesn’t fit, consider summarizing or condensing information, reducing font size, or splitting the data into separate sheets.