5 Tips to Print Excel Sheet on Half Page

Printing an Excel sheet on half a page can be a fantastic way to save paper, streamline your document presentation, or fit more information onto a single page. Whether you're preparing for a meeting, organizing your data, or just aiming for efficiency, adjusting your Excel print settings to half a page can significantly enhance your workflow. Here are five tips to help you achieve this with ease and precision.
Adjusting Page Margins

One of the first steps in printing your Excel sheet on half a page involves adjusting the page margins. Here’s how you can do it:
- Navigate to Layout Tab: Select the “Page Layout” tab at the top of your Excel window.
- Adjust Margins: Click on “Margins” and then choose “Custom Margins.” Here you can set:
- Top: 0.5 inches
- Bottom: 0.5 inches
- Left: 0.5 inches
- Right: 0.5 inches
- Note: These values might need adjustment based on your printer’s capabilities or your company’s printing standards.
Scaling Your Worksheet

Excel provides an option to scale your worksheet to fit the paper size you want, including half a page:
- Page Layout View: Switch to the “Page Layout” view by clicking the button in the bottom right corner.
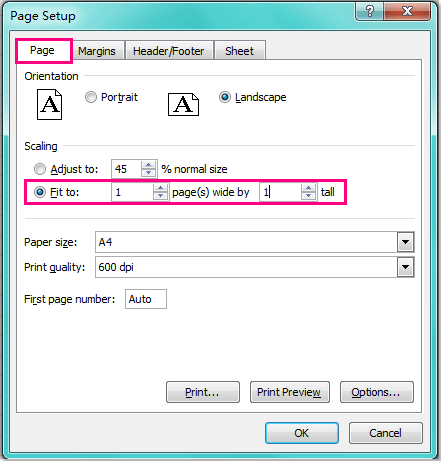
- Adjust Scaling: In the “Scale to Fit” group, you’ll see options like “Width” and “Height.” Set:
- Width: 1 Page
- Height: 1 Page
🔹 Note: Scaling affects the readability of your data. Ensure the text remains legible after scaling.
Reduce Font Size

To fit more content on half a page without scaling, consider reducing the font size:
- Select Cells: Highlight all the cells that you want to adjust.
- Font Size: Choose a smaller font size from the Font group in the Home tab. A good range to start with would be:
- 8-10 points for normal data.
- 12-14 points for headers or titles.
Adjusting Row and Column Heights

You can manually adjust the height of rows or the width of columns to fit more content into a smaller space:
- AutoFit: Excel can automatically adjust column width or row height based on the content:
- Right-click on the column letter or row number, select “AutoFit Column Width” or “AutoFit Row Height.”
- Manual Adjustments: Click and drag the borders of the rows or columns:
- Reduce row height to 12-15 points.
- Column width can be adjusted by content or by a fixed width of 8-10 characters.
Using Print Preview and Printing

Before printing, always check how your sheet will look on the paper:
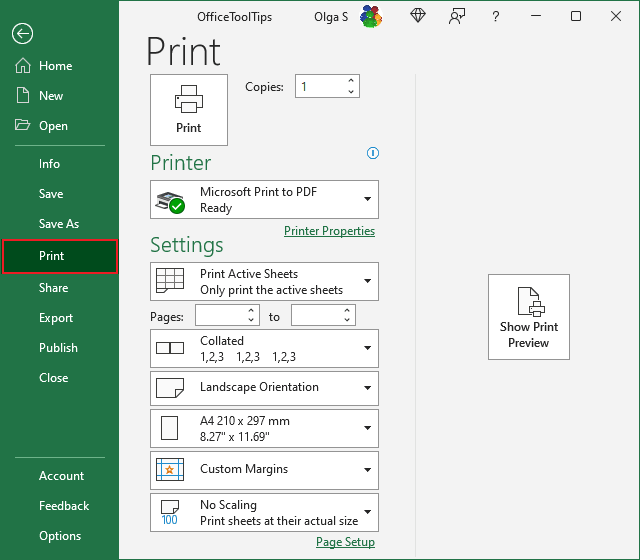
- Print Preview: Access “Print Preview” from the File menu or click the “Print Layout” view button.
- Adjust Settings: Check the orientation, margins, scaling, and page setup options. If adjustments are needed:
- Go back to Page Layout settings.
- Re-adjust as necessary.
- Print: Once satisfied with the preview, go ahead and print. Ensure:
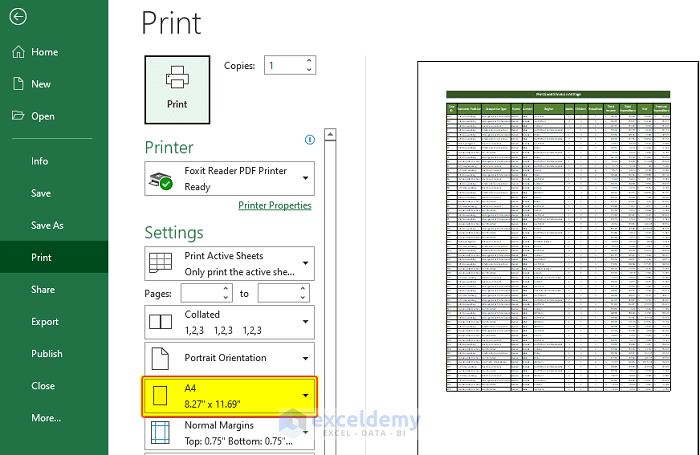
- The printer is set up for the correct paper size (usually letter or A4).
- The correct printer is selected.
By following these steps, you can effectively print your Excel worksheet on half a page, optimizing space while maintaining readability. It's a practice that not only helps the environment by reducing paper use but also presents your data in a more compact, organized manner. Whether it's for personal use or professional documentation, these tips will help you manage your printing settings like a pro.
Can I print multiple Excel sheets on half pages at once?

+
Yes, you can print multiple sheets on half pages, but you need to set the print settings for each sheet individually or group them to apply settings all at once.
What should I do if the text becomes too small to read after scaling?

+
Consider alternative methods like reducing margins further, adjusting cell size, or selectively using a smaller font size for less critical data.
How do I know if my printer supports custom paper sizes?

+
Check your printer manual or software settings. Most modern printers allow for custom sizes, but you might need to input exact dimensions or choose from preset options.


