Print Your Entire Excel Sheet: A Simple Guide

There are times when the need arises to print an entire Excel sheet, whether for reporting, archiving, or any other business or personal purposes. Microsoft Excel, known for its powerful data manipulation capabilities, also offers straightforward ways to print your data. This guide walks you through the process, ensuring your sheets are printed effectively and efficiently.
Preparation Before Printing

Before you hit the print button, it’s vital to ensure your Excel sheet is print-ready. Here are some preparatory steps:
- Check Your Data: Ensure all data is accurately entered, as printing errors are irreversible.
- Adjust Layout: Format your sheet to display data optimally for print:
- Adjust column width for readability.
- Ensure headers and footers are visible and correctly formatted.
- Gridlines: Decide if you want gridlines to appear on the printed sheet; this can be toggled on or off in Excel’s Page Layout tab.
- Page Setup: Access the ‘Page Setup’ dialog box from the ‘Page Layout’ tab to set margins, orientation, paper size, and scaling options.
- Print Area: Set a print area if you only want specific cells or ranges to be printed, reducing paper and ink usage.
How to Print an Entire Excel Sheet

Now that your sheet is ready, here’s how to print your entire Excel workbook:
- Select Your Worksheet: Click the sheet tab of the workbook you wish to print.
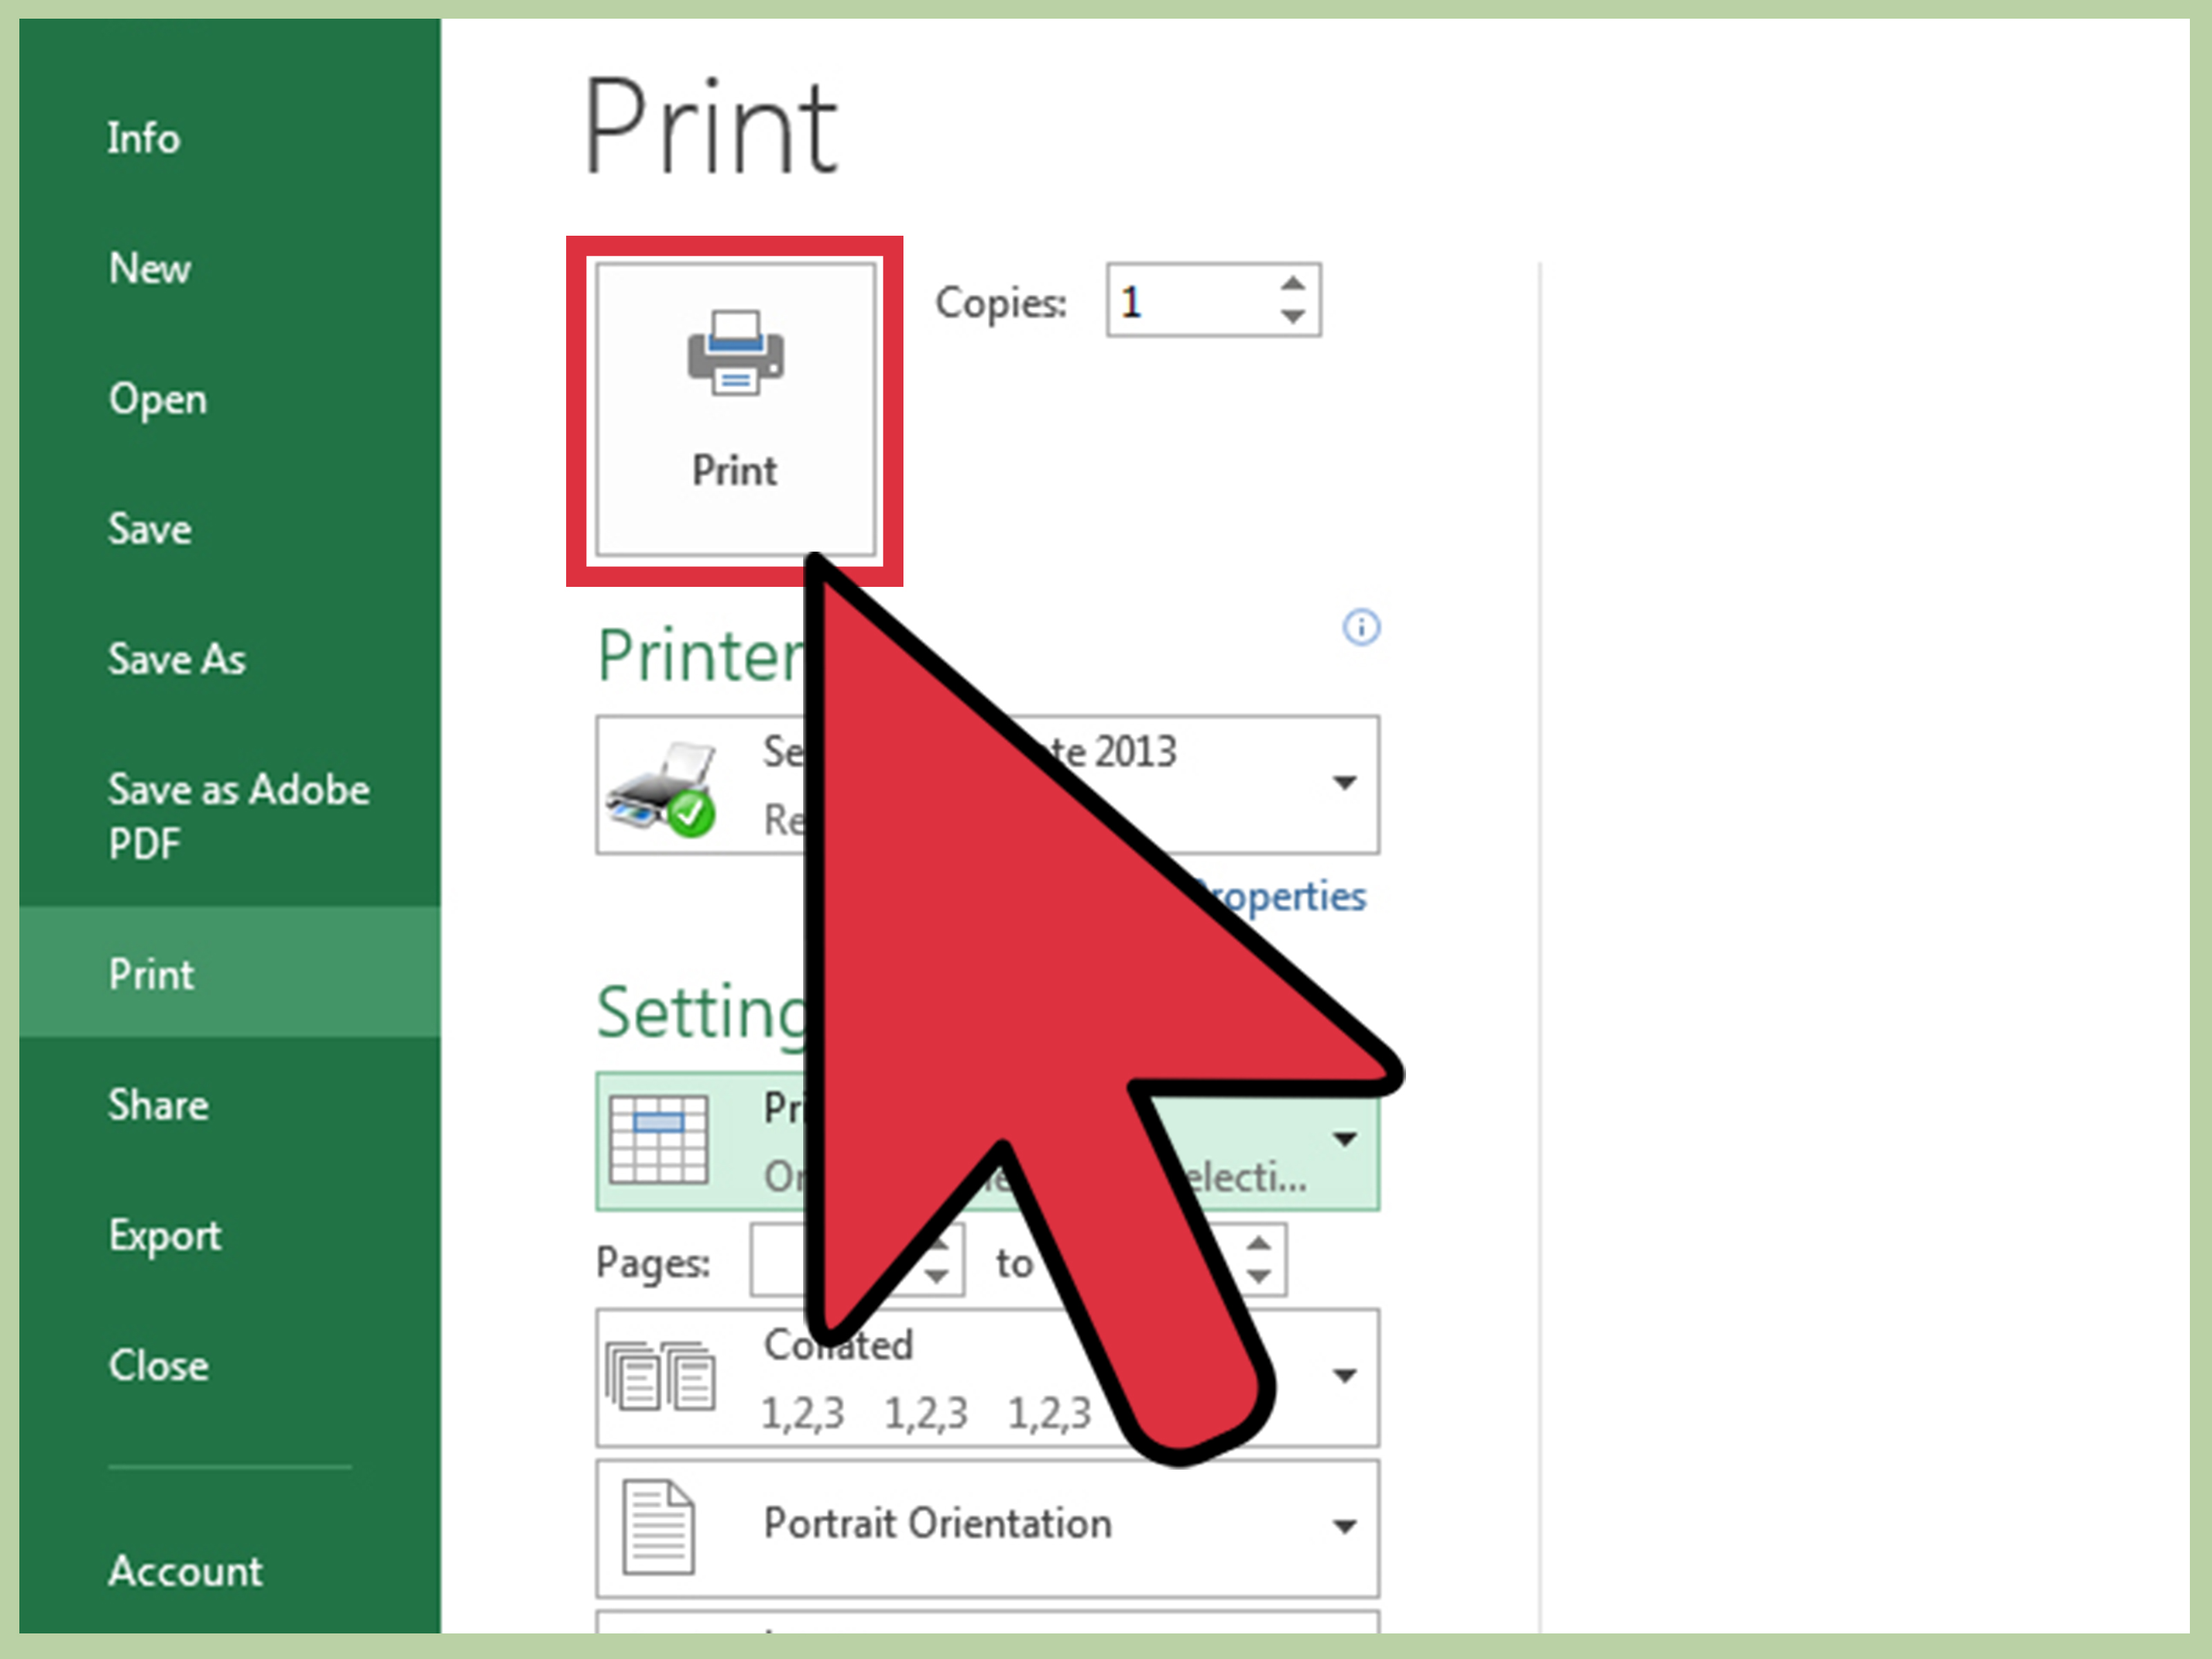
- Open the Print Menu: Use either Ctrl + P, File > Print, or the Printer icon in the Quick Access toolbar.
- Choose Print Settings: In the print menu:
- Select ‘Print Entire Workbook’ or choose specific sheets if needed.
- Set the printer, copies, and other options like print quality, duplex printing, etc.
- Review the Preview: The Print Preview pane lets you see how the document will appear on paper:
- Check for any alignment issues or content overflows.
- Adjust settings if necessary, then proceed.
- Print: Once satisfied with the preview, click ‘Print’ to begin printing.
Adjusting for Optimal Printing

Sometimes, the default settings don’t yield the best printouts. Here’s how to fine-tune your printing:
- Orientation: Switch between Portrait and Landscape depending on your data structure.
- Fit to Page: If your sheet has more columns than can fit on one page, use the ‘Fit to’ option to scale your printout to one page or across multiple pages efficiently.
- Print Area: Selecting a specific print area helps focus on only the necessary data, conserving resources.
- Scaling: Excel allows you to scale your printout. Consider this if readability is more important than fitting everything onto one page.
- Repeat Rows/Columns: Ensure that headers and important labels are repeated on each page if your data spans multiple pages.
💡 Note: Printing large datasets can consume a lot of ink and paper, so consider using print preview to make adjustments before printing. This saves resources and time.
After Printing

After your document has been printed, here are some steps to consider:
- Check Print Quality: Ensure that the quality matches your expectations, especially if the printout is for presentation or archival purposes.
- Reorganization: If you’re not satisfied with the output, reorganize your data or adjust print settings for a better result in future prints.
Now that you've learned how to effectively print your Excel sheet, you can confidently handle any printing task, ensuring that your data looks professional on paper. Whether for formal reports, detailed analysis, or presentations, Excel's robust printing features provide all the control you need to manage your documents efficiently.
Why doesn’t my Excel sheet print everything?

+
Check if you’ve set a print area or if your sheet has hidden rows/columns. Also, ensure that ‘Print Entire Workbook’ is selected instead of specific sheets.
Can I print just one part of the sheet?

+
Yes, use the ‘Print Area’ feature. Select the cells or range you want to print, go to ‘Page Layout’ > ‘Print Area’ > ‘Set Print Area’ to limit printing to that area only.
How can I print Excel to fit onto one page?

+
Go to ‘Page Layout’ > ‘Page Setup’ > ‘Scaling’, and choose ‘Fit to 1 page’. This will scale down your data to fit within one printed page, though readability might be affected.
Why are my headers not repeating across multiple pages?

+
In the ‘Page Setup’ dialog, go to the ‘Sheet’ tab and check ‘Rows to repeat at top’. Ensure the correct rows are selected to repeat as headers on every printed page.