Print Excel Columns and Rows: Simple Guide

Understanding how to print Excel spreadsheets efficiently can save you time and ensure that your data looks professional when presented. Whether you're printing for a meeting, a report, or simply for your records, knowing how to manage columns, rows, and print settings is vital. Here’s a comprehensive guide to help you through the process.
Before You Start Printing

Before diving into the print settings, it’s wise to organize your Excel worksheet. Here are some preparatory steps:
- Select the necessary data: Decide which data you need to print. You might not want to print everything in your workbook, especially if there are multiple sheets or extensive data.
- Format your data: Ensure your headers, fonts, and cell borders look clear and are ready for printing. A well-organized spreadsheet enhances readability.
- Adjust column widths and row heights: Automatically adjust or manually set sizes to fit the content properly, preventing data from spilling over into neighboring cells or being cut off.
Here’s how to adjust column widths and row heights:
- Highlight the columns or rows you want to change.
- Right-click and choose ‘Column Width’ or ‘Row Height’.
- Enter the desired size or choose ‘AutoFit’ for automatic sizing.
Setting Up Print Options in Excel

Excel provides several print settings to help you control how your document will look when printed:
- Select Print Area: This feature allows you to print only selected cells or ranges.
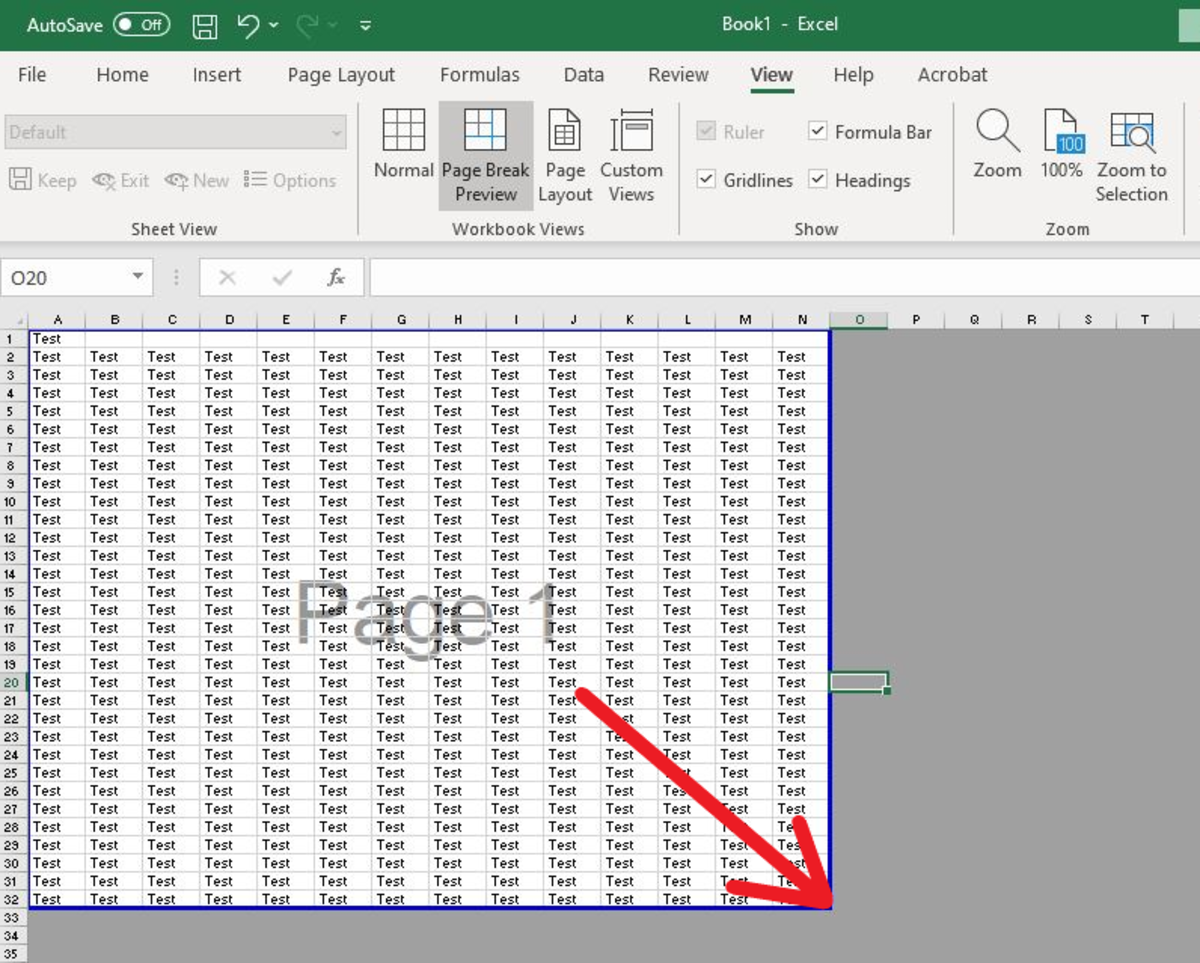
- Page Layout: You can switch between ‘Page Layout’, ‘Normal’, and ‘Page Break Preview’ views to see how your spreadsheet will fit on the page.
- Page Setup: This is where you define margins, orientation, scaling, and whether to repeat headers and footers on each page.
Here’s how to set up your print options:
- Go to File > Print, or press Ctrl + P to access print settings.
- Under Settings, choose to print the entire workbook, a specific worksheet, or a selected range.
- Adjust the page layout by selecting the appropriate orientation:
- Portrait for vertical documents.
- Landscape for wider documents.
- Set margins to Fit All Columns on One Page if your data is wide.
- Click Page Setup at the bottom of the Settings to fine-tune settings like:
- Paper size.
- Print quality.
- Headers/Footers.
- Gridlines and Row/Column headings.
Printing Excel Sheets

Now that you’ve set up your print settings, here’s how to print your Excel sheet:
- Review your preview one last time by clicking the Print Preview button.
- If everything looks correct, click Print.
- Choose your printer from the dropdown menu if you have multiple printing options.
- Adjust print quantity if needed and confirm.
⚠️ Note: Remember to save your workbook before printing to prevent losing any unsaved changes.
Advanced Printing Techniques

For more complex printing needs, consider these advanced techniques:
- Printing Multiple Sheets: Use the Shift key to select consecutive sheets or Ctrl for non-consecutive ones, then print as normal.
- Print to PDF: If you need a digital version, select Save as PDF instead of a physical printer.
- Conditional Formatting: You can set conditions to highlight specific data when printing, making it stand out.
Wrapping Up

Printing in Excel can seem daunting with all its options, but once you understand the basics, you’ll be able to manage your printouts effectively. Remember, taking the time to set up your document correctly saves paper, time, and ensures that your presentation or reports look professional. Always review your print preview to ensure everything is formatted as expected before hitting the print button. Effective printing in Excel not only involves the technical aspects of setting up print areas and options but also understanding the purpose behind each setting to achieve the desired output.
Why does my Excel document print with missing data?

+
This often happens if the print area isn’t set correctly or if columns are too wide for the page width. Adjust your print settings or fit columns to page to rectify this.
Can I print Excel with lines around cells?

+
Yes, you can print gridlines by going into Page Setup > Sheet tab and checking the box next to Gridlines under Print.
What if I need to print only specific rows or columns?

+
Highlight the rows or columns you want to print, go to Print Area under Page Layout, and choose Set Print Area. Only the selected area will print.