Print Cheque in Excel: A Simple Guide

Managing financial records often involves dealing with checks, and Microsoft Excel can be a powerful tool to streamline this process. Whether you're running a small business or simply managing household expenses, knowing how to print checks from Excel can save time and reduce errors. This guide will walk you through the steps to create and print checks, ensuring your transactions are as efficient as possible.
Setting Up Your Excel Workbook
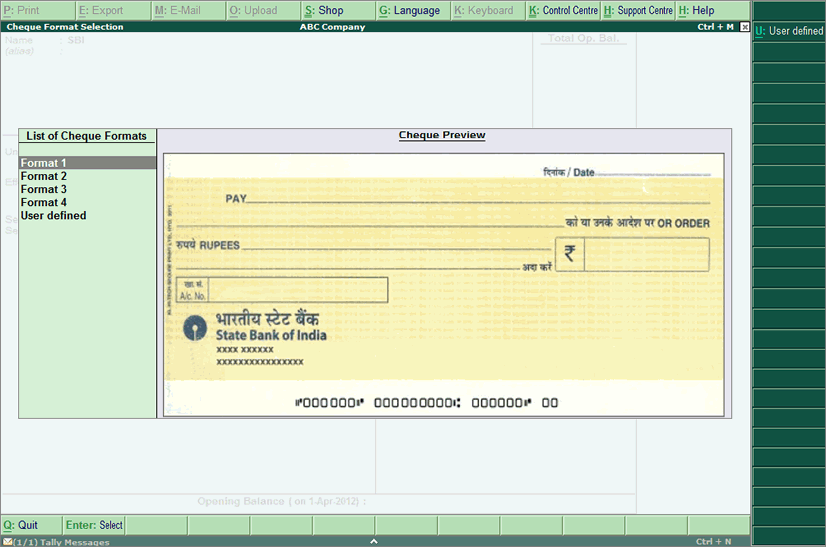
Before diving into the check printing, you need to prepare your Excel workbook with the necessary templates:
- Open Excel and create a new workbook.
- Add sheets for Payee Information, Check Details, and Check Template.
📝 Note: Ensure you have a printer compatible with the size of the check paper you will be using.
Payee Information
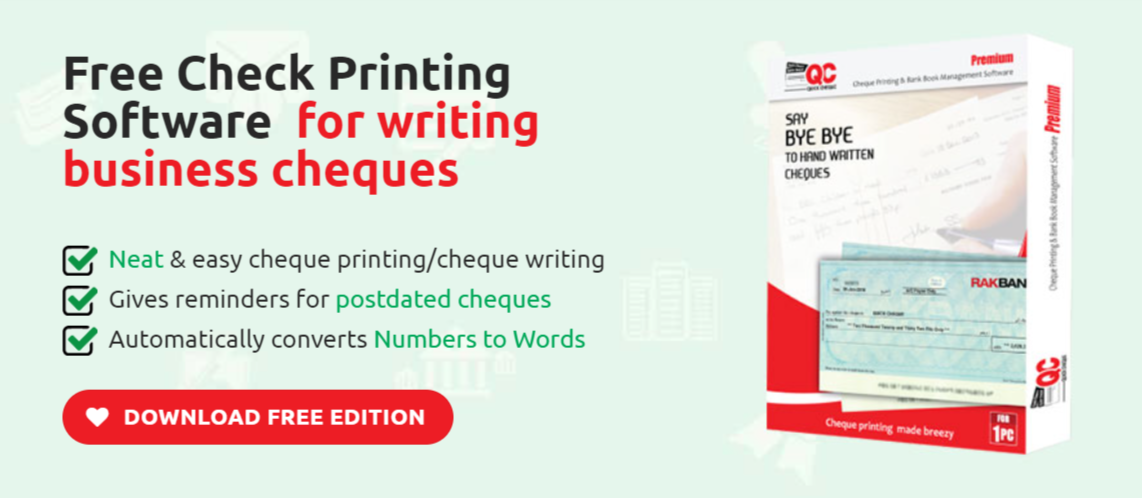
Create a sheet named “Payee Information” to input:
| Column | Data |
|---|---|
| A | Name |
| B | Address |
| C | |
| City | |
| D | State |
| E | Zip Code |
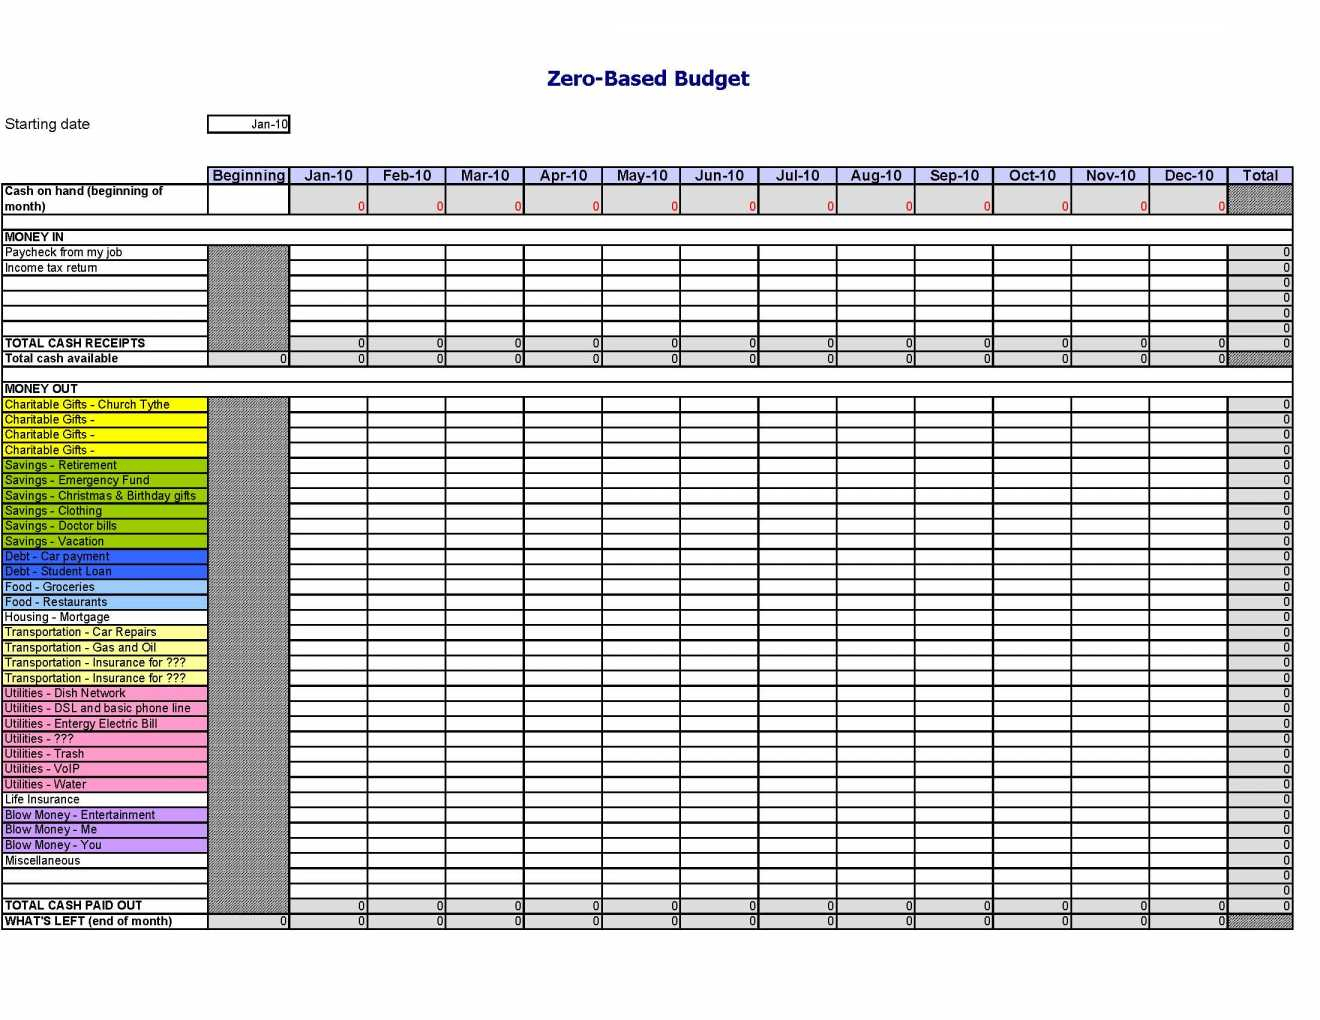
Check Details

Set up another sheet called “Check Details” with:
- Check Number: A unique identifier for each check.
- Date: The date the check is issued.
- Amount: The amount to be paid.
- Payee: Reference to the payee from your Payee Information sheet.
- Memo: Additional notes or purpose of the check.
Check Template
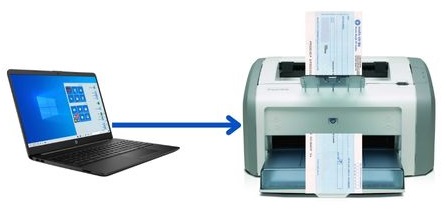
On the “Check Template” sheet, design your check layout:
- Add text boxes for the payee’s name, date, amount, and memo.
- Create a section for the signature and bank details.
- Include lines for the written-out amount and routing number.
Make sure to align everything properly to match your check paper.
Printing Checks from Excel
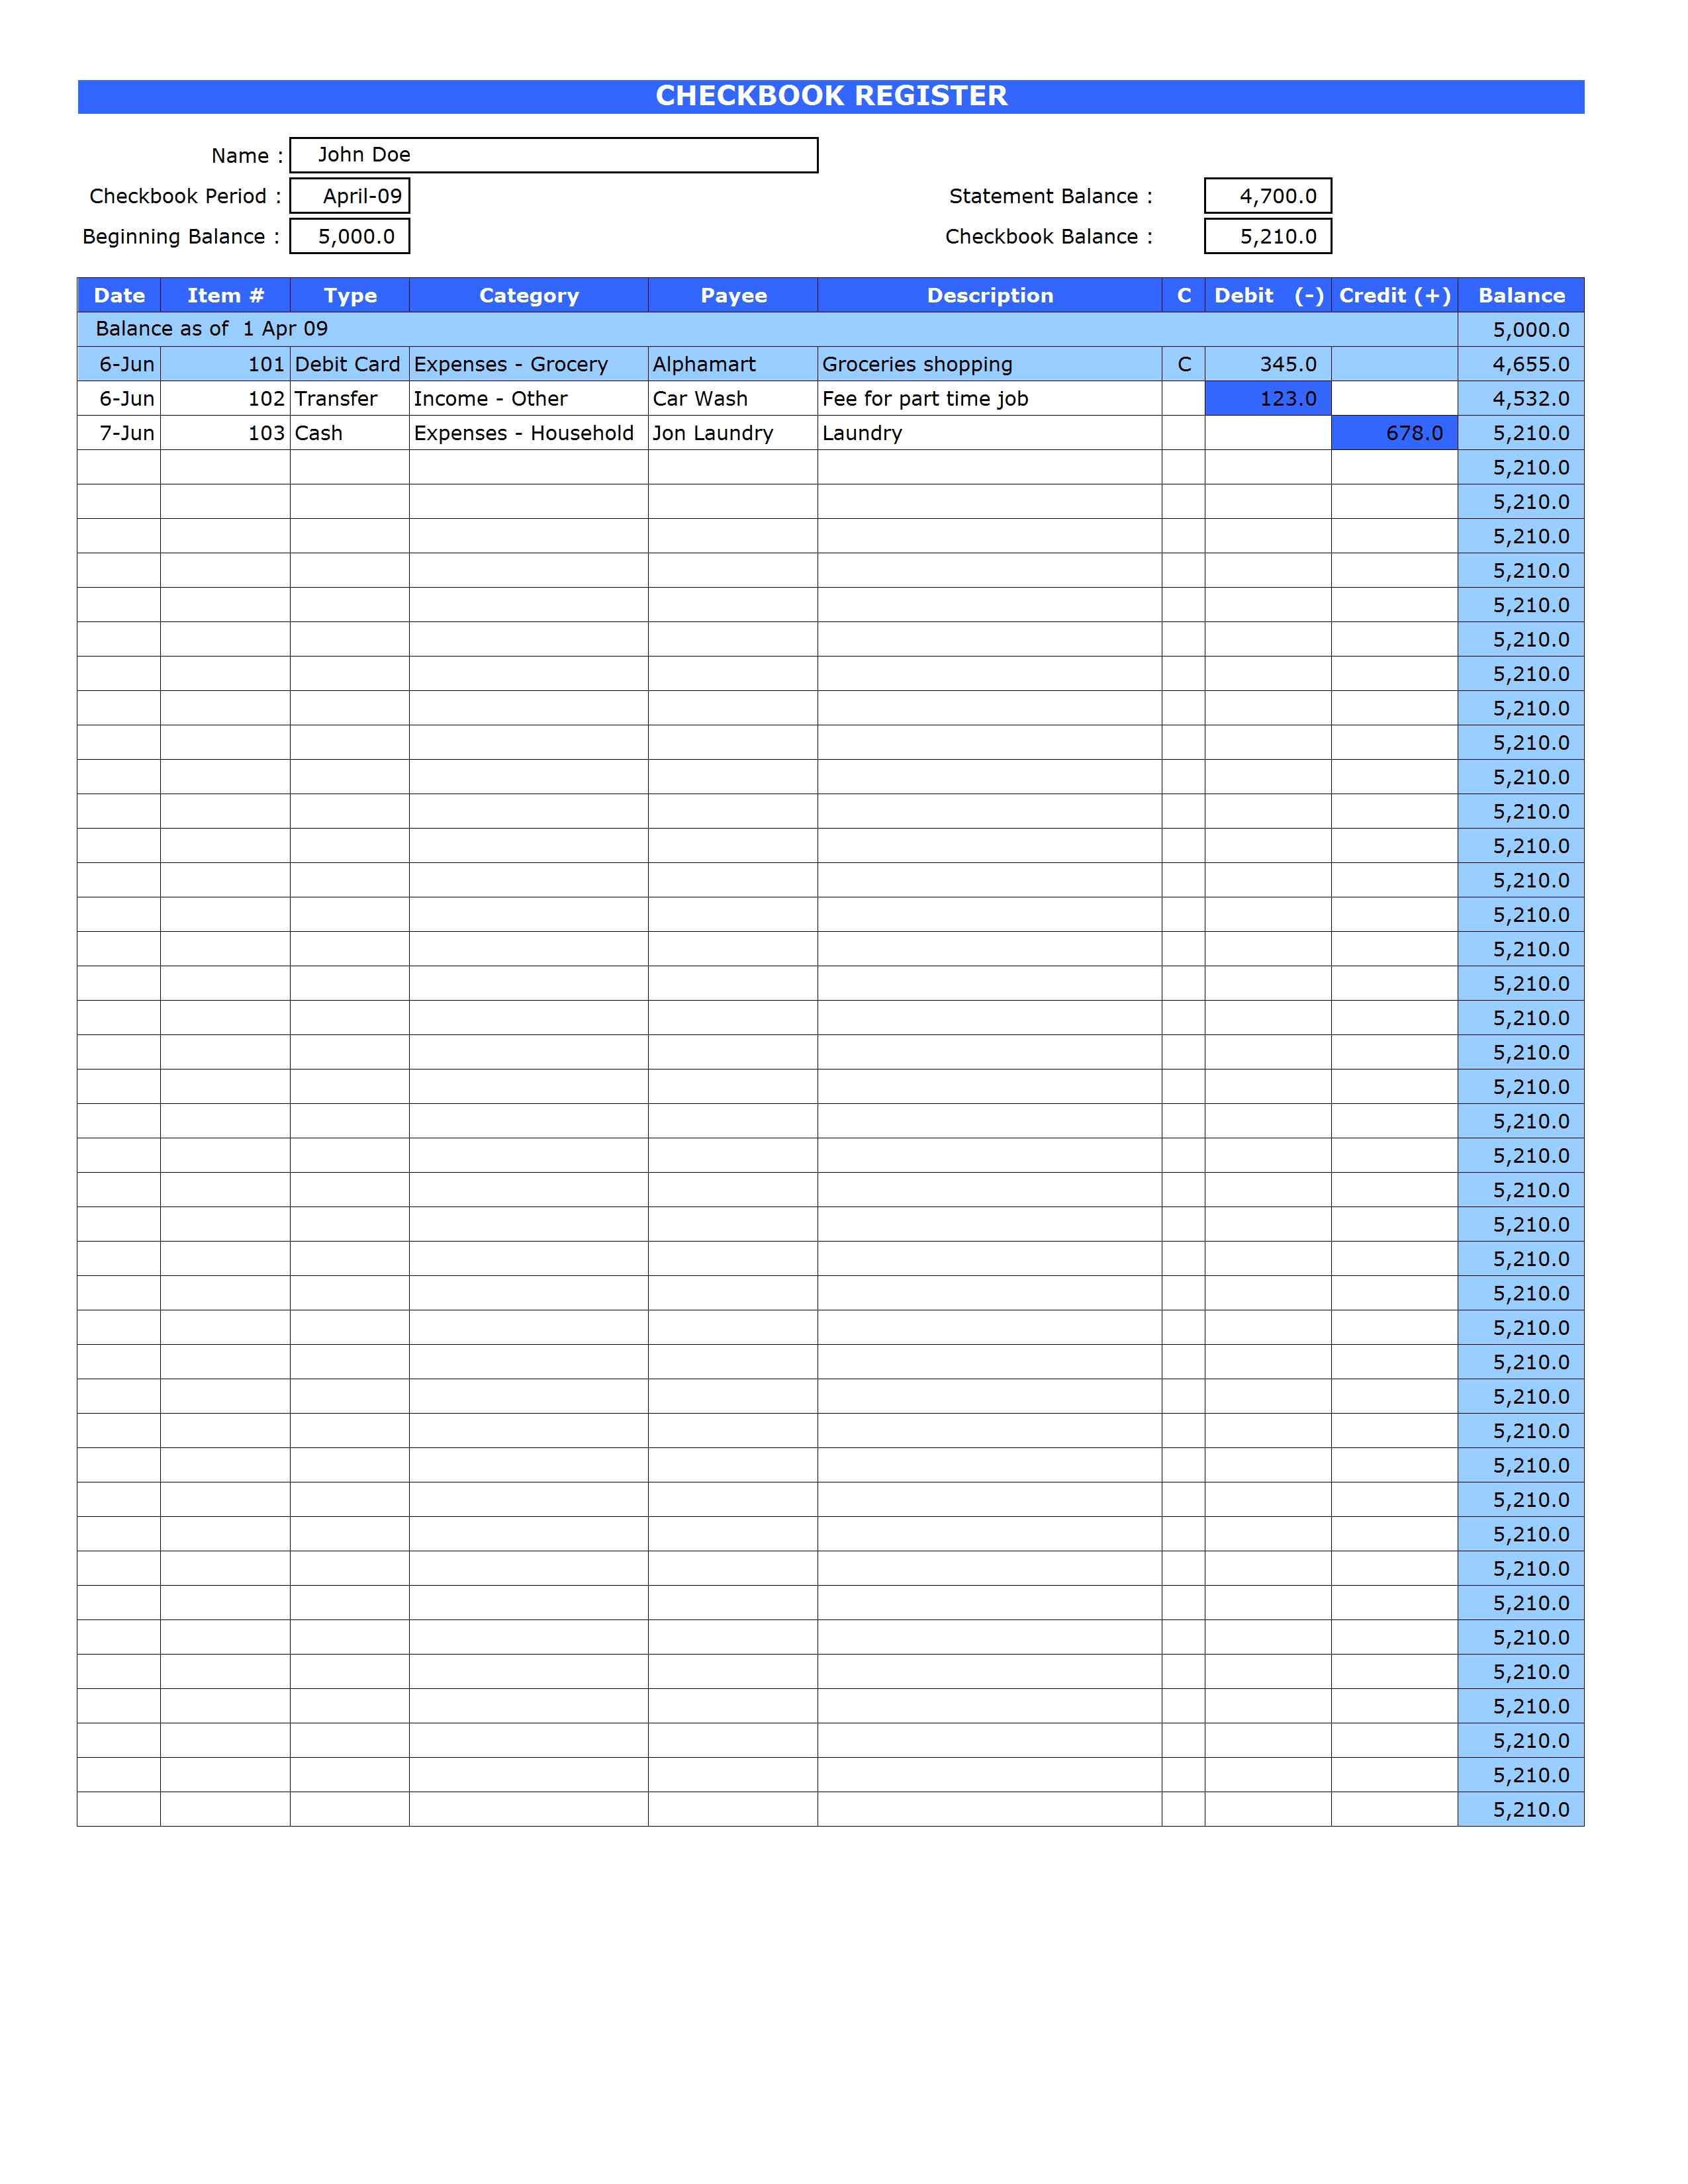
With your workbook set up, follow these steps to print your checks:
- Merge Data: Use functions like
VLOOKUPorINDEXandMATCHto pull data from your Payee Information and Check Details into your Check Template. - Format Cells: Set the cells in your Check Template to align text properly and use appropriate fonts and sizes.
- Print Preview: Before printing, review your template with your data in the print preview to ensure alignment.
- Print Setup: Go to File > Print > Page Setup to set margins, orientation, and ensure your checks fit on the paper.
- Print the Checks: Load your check paper into the printer and print your checks.
🖨️ Note: Consider using check stock paper with magnetic ink for enhanced security when printing checks.
Troubleshooting Common Issues

Sometimes, even with the best setup, issues can arise:
- Alignment Problems: Check the margins and print area settings to ensure alignment.
- Printer Compatibility: Verify your printer supports the check paper size.
- Printing Quality: Use high-quality ink and check the printer settings for optimal print quality.
💡 Note: Regularly update your software to prevent compatibility issues with check printing.
By following this guide, you've now learned how to create, format, and print checks using Excel. This method not only streamlines your financial tasks but also reduces the risk of errors in check writing. With a little practice, you'll find managing your finances via check printing in Excel to be straightforward and efficient.
Can I use regular paper to print checks from Excel?

+
It’s not recommended to use regular paper for check printing due to security risks. Special check stock paper includes security features that help prevent fraud.
What if my checks don’t align with the template?

+
Ensure your printer settings match the dimensions of your check paper. You might need to adjust the margins or scale within Excel’s Page Setup.
Can I customize the check design in Excel?

+
Yes, you can design your checks in Excel to include your company logo, custom text, or watermarks, ensuring all required check elements remain accurate and in compliance with bank standards.