Master Printing Excel Sheets Across Multiple Pages Easily

Excel is a powerful tool for data organization, analysis, and presentation. One common challenge many users face is printing large spreadsheets that extend across multiple pages. This often leads to readability issues, headers getting lost in mid-page, or the data being truncated. In this comprehensive guide, we'll explore various methods to effectively manage and print Excel sheets across multiple pages, ensuring clarity, readability, and professional presentation of your data.
Understanding Print Settings in Excel

Before diving into the steps, it's crucial to understand the key print settings in Excel:
- Page Layout: Controls the orientation (portrait or landscape), paper size, and margins.
- Scale to Fit: Allows you to scale down your data to fit onto a single page or across multiple pages more effectively.
- Print Titles: Lets you repeat specific rows or columns on each printed page for better readability.
- Page Breaks: Manual or automatic, these can help in controlling where pages start and end.
Setting Up Your Spreadsheet for Print

To prepare your Excel sheet for printing across multiple pages, follow these steps:
1. Adjust Page Layout

Go to the Page Layout tab:
- Set the orientation to Landscape if your data is wide.
- Adjust Margins to fit more content if necessary.
2. Use Print Titles

In the Page Setup dialog box:
- Select Rows to repeat at top to include headers on each page.
- Choose Columns to repeat at left if you need to see certain columns consistently.
🔍 Note: Ensure that the titles you choose are essential for the readability of your document.
3. Manage Page Breaks

Excel automatically sets page breaks, but you can adjust these:
- Go to View > Page Break Preview to see how your data will be distributed.
- Drag the blue lines to insert, remove, or reposition page breaks.
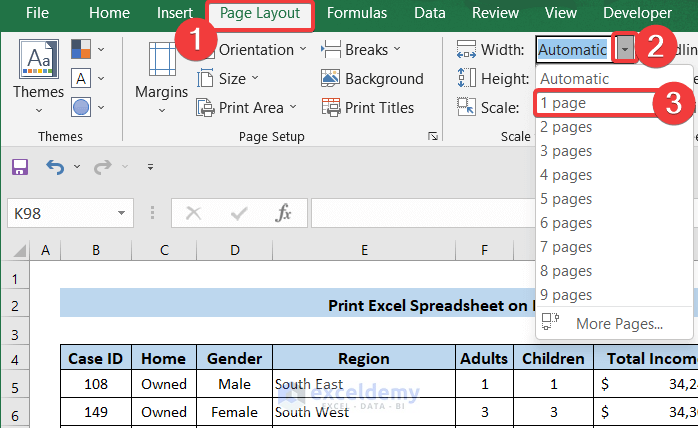
4. Scale to Fit Your Content

To scale your content:
- In Page Layout, set Width or Height to 1 page if you want to fit your data onto one page. Use Multiple pages for multi-page documents.
Additional Tips for Printing

5. Customize Print Area

If you don’t need to print your entire worksheet:
- Select the range you want to print.
- Go to Page Layout > Print Area > Set Print Area.
6. Use Gridlines and Headings for Clarity

- Check Print Gridlines and Print Headings under Page Setup to make your printouts more organized.
7. Control Pagination

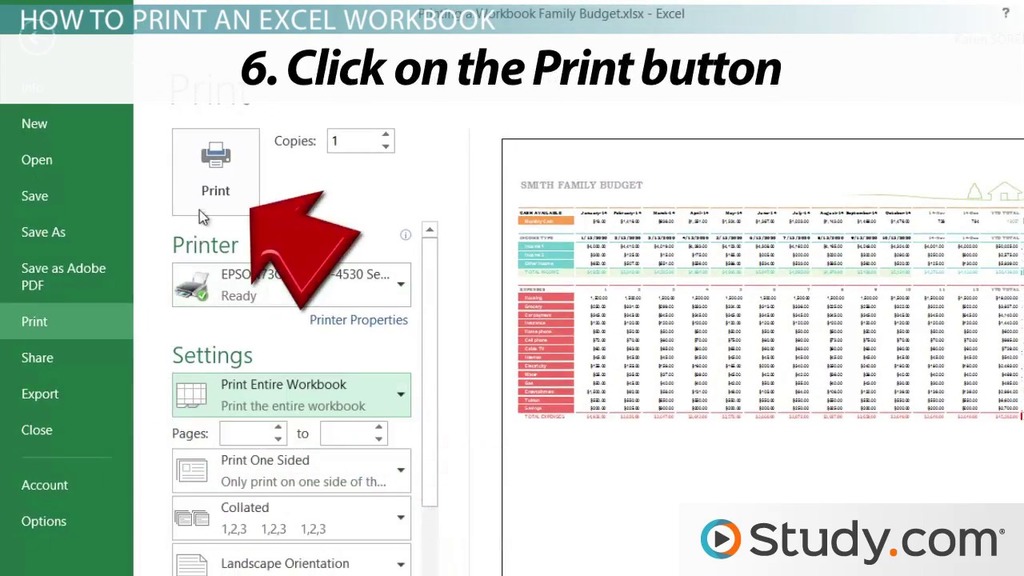
Excel’s File > Print view allows:
- Page Setup where you can control rows and columns to keep together or split across pages.
- Use Page Order to decide whether pages should be printed down then over or over then down.
Troubleshooting Common Issues

When printing across multiple pages, you might encounter these issues:
- Data Cut-Off: Ensure your print settings reflect the actual size of your data.
- Page Breaks: Use Page Break Preview to manually adjust breaks if Excel's automatic placement isn't optimal.
- Scaling Issues: If scaling causes readability issues, reconsider the content or adjust the scale.
Final Thoughts

Printing large Excel spreadsheets across multiple pages involves balancing the need for clarity with practical print limitations. By setting up print titles, managing page breaks, and optimizing the page layout, you can ensure your data is presented in a professional manner. Remember that the key to effective printing lies in thoughtful preparation of your spreadsheet. Understanding Excel's capabilities in managing print layouts will greatly enhance the quality of your printed documents, making them not only functional but also visually appealing.
How do I set print titles in Excel?

+
Go to Page Layout > Print Titles, where you can select which rows or columns you want to repeat at the top or side of each page.
Can I adjust page breaks manually?

+
Yes, in View > Page Break Preview, you can manually adjust page breaks by dragging the blue lines.
What if my data doesn’t fit on a single page?

+
Use Scale to Fit in Page Layout to scale your data to fit on one page, or let Excel automatically paginate across multiple pages.