5 Tips to Print Excel Sheet on One Page in Windows

One of the common challenges when working with Microsoft Excel on Windows is printing your data on a single page without losing readability or formatting. Whether you're preparing a report, a budget, or any spreadsheet for presentation, making it fit on one page ensures that it's easily readable and looks professional. Here are five expert tips to help you print your Excel sheet on one page effortlessly.
Fit to One Page Manually

To fit your Excel sheet to one page manually, follow these steps:
- Open your Excel sheet and go to the “Page Layout” tab.
- Click on the “Page Setup” dialog launcher (the small square with an arrow in the corner).
- In the Page Setup dialog box, go to the “Page” tab and check “Fit to” under Scaling. Here, set the “Fit to” option to “1 page wide by 1 tall”.
- Adjust your margins if necessary to fit the content better, but be cautious not to reduce them too much to maintain readability.
⚠️ Note: This method can sometimes make your data very small if your sheet contains a lot of data.
Adjust Column Widths and Row Heights

Reducing the size of your cells can significantly help fit more content on a single page. Here’s how:
- Select the entire sheet or specific columns and rows.
- Right-click and choose “Column Width” or “Row Height” to manually adjust.
- Be cautious; too narrow or too short might make your data illegible.
Change the Page Orientation

Switching from portrait to landscape can provide more space:
- Under the “Page Layout” tab, find “Orientation” and switch to “Landscape”.
- This change can often help fit more columns and rows on a single page.
Use Scale to Fit Options

Excel provides an automatic scaling feature:
- In the Page Setup dialog, under the “Scale to Fit” tab, select “Width” and “Height” dropdown to fit your sheet to “1 page”.
- This might cause some distortion in your data, but it’s a quick solution.
| Method | Pros | Cons |
|---|---|---|
| Manual Fit | Fine control over the layout | Requires manual adjustments, can distort the print size |
| Adjust Cell Size | Maximizes use of space | Can make data hard to read if reduced too much |
| Change Orientation | Increases space for content | Not always sufficient for complex sheets |
| Scale to Fit | Automatic adjustment | Can reduce readability due to scaling |

Preview and Adjust Print Settings

Before you print, always preview your Excel sheet:
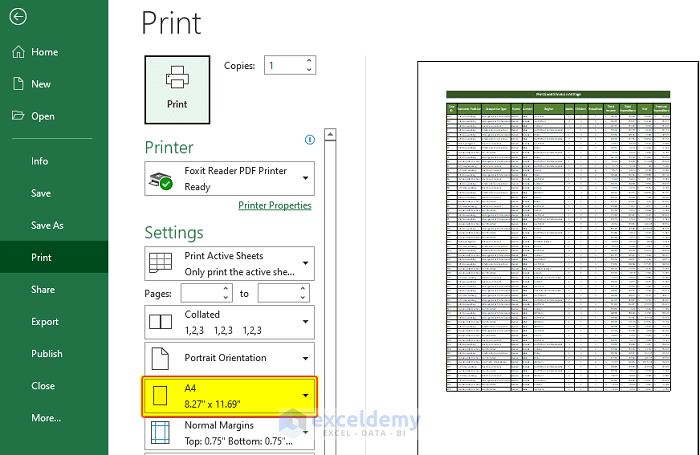
- Click on “File” then “Print” to see a print preview.
- Here, you can adjust Page Setup options for a better fit.
- If your data extends beyond the page margins, consider hiding less important columns or rows temporarily or increasing the zoom level before printing.
📘 Note: Printing from the preview pane gives you a live view of how your document will look on paper, allowing you to make last-minute adjustments.
By employing these strategies, you can ensure your Excel sheets fit neatly on one page, maintaining readability and professionalism. Remember, the key is to balance between fitting all necessary data and ensuring that the output remains clear and legible.
When preparing your sheets for printing, consider the audience. If you're printing for distribution or presentation, legibility is paramount. Always test print a page to make sure everything looks right before finalizing your document.
What if my data still doesn’t fit on one page after using these tips?

+
If your data still doesn’t fit, consider summarizing your data or using the Print Area feature to print only the most crucial information. Also, using the “Fit Sheet on One Page” option under “Scaling” might help even if it’s not perfect.
Can I save these print settings?

+
Yes, you can save these settings within the workbook by setting print options in the Page Layout tab and saving the workbook.
Why does Excel reduce text size when I try to fit content to one page?

+
Excel scales down the content to fit everything within the specified page dimensions. If your data is too dense, it might shrink to a small size to fit on one page.