Mastering Excel: Print One Sheet with Ease

There comes a time in nearly every office worker's life when they need to present specific data succinctly, without the clutter of an entire workbook's information. Knowing how to print one sheet in Excel can save time, reduce paper waste, and ensure your audience receives only the relevant data. This guide will walk you through the process, step by step, to master printing one sheet in Excel, enhancing your productivity and clarity in data communication.
Understanding the Excel Interface

Before diving into printing, it’s crucial to understand the Excel interface:
- The File menu, where all file-related operations are found, including print settings.
- The Print Preview window, allowing you to see your worksheet as it will appear when printed.
- Sheets are represented by tabs at the bottom, making navigation between multiple sheets easy.
🚨 Note: For those new to Excel, spending a moment understanding the UI can save a lot of time later.

Preparing Your Sheet for Printing

Preparation is key to ensure you print exactly what you need:
- Format Your Data: Adjust column widths, merge cells, or apply conditional formatting to enhance readability.
- Set Print Area: Highlight the range you want to print and use Page Layout > Print Area > Set Print Area.
- Page Breaks: Manually insert page breaks or let Excel auto-adjust with Page Break Preview.
📌 Note: Remember, setting print areas and adjusting page breaks before printing can prevent unnecessary pages from being produced.

The Printing Process

Now, let’s delve into the actual process of printing one sheet:
- Open the workbook containing the sheet you wish to print.
- Select the desired sheet by clicking its tab at the bottom of the Excel window.
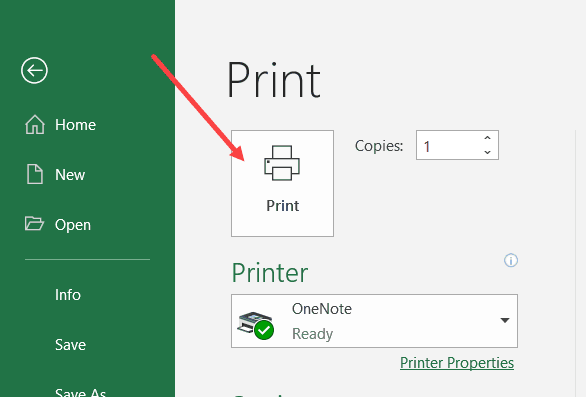
- Go to the File menu and select Print. Here, you’ll see:
- A thumbnail of the selected sheet.
- Options for printing Active Sheets, which should already be selected.
- Various printer settings like print quality, orientation, and the number of copies.
- Adjust the settings as needed, including:
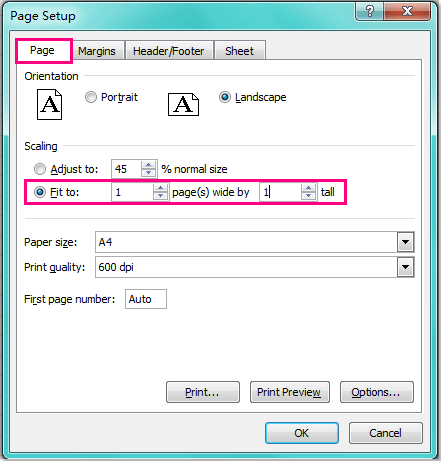
- Page Orientation (Portrait or Landscape).
- Margins (Normal, Narrow, Wide).
- Paper size, if it’s different from the default.
- Click Print to send the job to your printer.
📞 Note: If your printer has specific settings, such as double-sided printing or collation, ensure these are set in the printer dialog before printing.
Troubleshooting and Tips

Here are some common issues you might face when printing in Excel, along with solutions:
- Blank Pages: Ensure your print area doesn’t include any blank cells beyond your data range.
- Incorrect Page Breaks: Use Page Layout > Breaks > Remove Page Break or insert manual breaks as needed.
- Print Quality: If the printout is not clear, check your printer ink levels, or increase the print resolution in printer properties.
🔍 Note: Regular maintenance of your printer, like cleaning the printheads, can significantly improve print quality.
Summary

Printing a single sheet in Excel doesn’t have to be a daunting task. With a good understanding of the Excel interface, preparing your sheet for print, and following the printing process, you can ensure that your data is presented exactly as intended. Remember to format your data, set the print area, and adjust page breaks to avoid common printing issues. With these tips, your next print job will be smooth, efficient, and eco-friendly.
How do I print only the data range I need?

+
Select the range you want to print, then go to Page Layout > Print Area > Set Print Area.
Why does Excel print blank pages?

+
This often happens when your print area includes cells outside of your data range. Adjust the print area to resolve this.
Can I print multiple sheets at once?

+
Yes, hold down the Ctrl key (Cmd on Mac) while selecting multiple sheet tabs, then proceed to print as usual.