Print Your Excel Sheet on One Page Easily

Excel users often find themselves in the dilemma of printing spreadsheets that stretch across multiple pages, leading to frustration when attempting to fit everything into a single page. But don't worry—today, we're going to walk through a simple guide to print your Excel sheet on one page efficiently. Whether you're preparing a report for a meeting or need a hard copy for your records, this tutorial will help you fit your data neatly on one page without much hassle.
Understanding Page Layout in Excel

Before diving into the steps to condense your spreadsheet onto one page, let's briefly understand the Page Layout in Excel:
- Page Orientation: Set your document to portrait or landscape based on the content.
- Margins: Adjusting margins can significantly help in fitting more data into the same space.
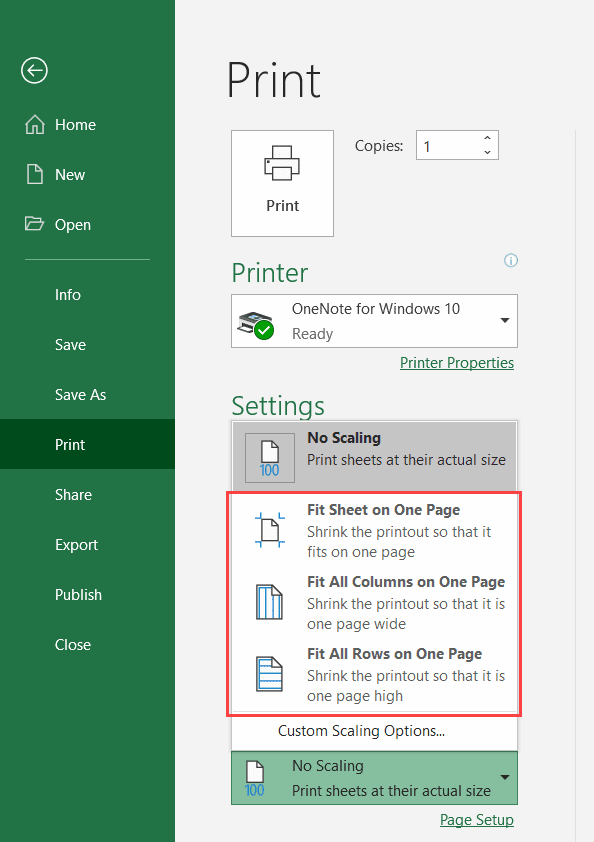
- Scaling: Excel allows scaling of your worksheet to fit a certain number of pages, which is key to our goal.
- Headers and Footers: Although they can take up space, they are useful for adding contextual information.
With these fundamentals in mind, let's proceed to the steps for printing your Excel sheet on one page.
Steps to Fit Your Excel Sheet onto One Page

Step 1: Adjust Page Orientation

Decide which page orientation best fits your data:
- Go to the Page Layout tab.
- In the Page Setup group, click on “Orientation.”
- Choose Portrait or Landscape.
Step 2: Scale Your Worksheet

The scaling feature in Excel is where the magic happens:
- Select Page Setup from the Page Layout tab.
- In the dialogue box, go to the Page tab.
- Under Fit to, select how many pages you want to fit your content on (1 page wide by 1 page tall).
Step 3: Set Margins

Margins can be adjusted to fit more data on a page:
- Still in the Page Setup dialogue box, navigate to the Margins tab.
- Set the margins to your preference, but remember, narrower margins can fit more content.
- Click OK to apply the changes.
⚠️ Note: Be mindful not to set margins too narrow, as printers require some space.
Step 4: Adjust Column Widths and Row Heights

If your data doesn’t fit even after scaling:
- Manually adjust column widths by dragging the column separators or using the Format option.
- Similarly, adjust row heights.
Step 5: Header and Footer Placement

If headers and footers are essential:
- Use the Header/Footer tab in Page Setup to add or modify them.
- Consider reducing the font size or keeping them minimal to save space.
Step 6: Preview Your Print

It’s always good to preview before printing:
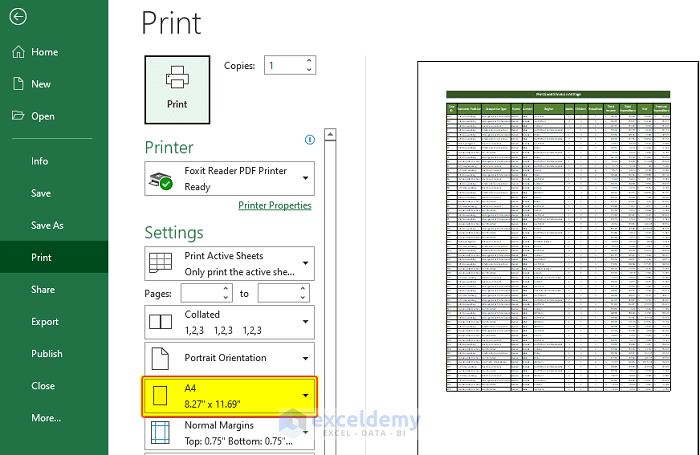
- Press Ctrl+P to open the Print Preview.
- Ensure your data fits onto one page; if not, adjust settings accordingly.
📝 Note: If you have data protection features enabled, they might affect how your sheet prints.
Step 7: Print

Once satisfied with the print preview, you can proceed to print your Excel sheet on one page:
- In the Print Preview, select Print to start printing.
Now, your Excel sheet should fit neatly onto one page, making it easier to handle, read, and distribute. Remember, the goal isn't just about squeezing data into one page but ensuring the printed output remains readable and visually coherent.
Will scaling my worksheet affect the readability of my data?

+
Scaling might make the text smaller, but if done properly, it should still be legible. Ensure you test printouts to verify readability.
Can I undo the print scaling if I change my mind?

+
Yes, you can return to the Page Setup dialogue box, select the Page tab, and reset the Fit to settings to ‘Auto’ to undo scaling.
What if my data still doesn’t fit on one page after scaling?

+
If data still overflows, you might need to either remove less critical information or consider printing on two pages or more with optimized layout.
Are there any Excel add-ins or tools that can help with printing?
+While Excel itself is quite robust, you can find third-party add-ins for enhanced printing functionality, though they aren’t necessary for basic printing adjustments.