5 Easy Ways to Print Excel Sheets Horizontally

If you've ever found yourself struggling to print an Excel worksheet in the format that you want, you're not alone. Printing Excel sheets horizontally (also known as landscape orientation) can make your data much more readable, especially when you have wide tables or numerous columns. Here are five easy ways to print Excel sheets horizontally to help you achieve the perfect printout:
1. Change Page Orientation

The simplest way to print an Excel sheet horizontally is by changing the page orientation. Here’s how you do it:
- Open your Excel workbook.
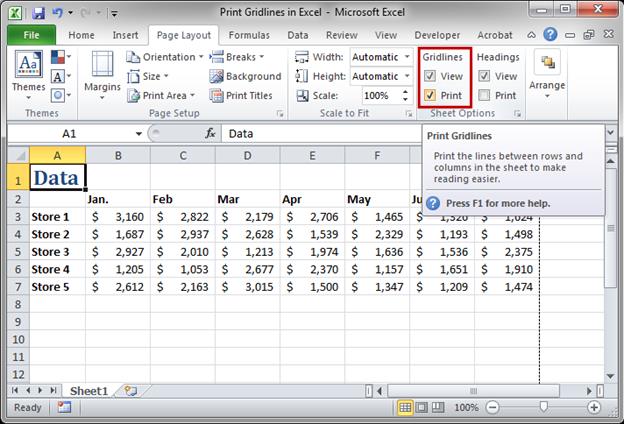
- Go to the ‘Page Layout’ tab on the Ribbon.
- Click on the ‘Orientation’ button in the ‘Page Setup’ group.
- Select ‘Landscape’ from the dropdown menu.
This will change the orientation of the current worksheet to landscape, allowing for a wider printable area. You can see the new orientation in ‘Page Layout View’ by clicking on the small square at the bottom-right corner of the Excel window.
2. Adjust Page Margins

Once you’ve set your worksheet to landscape, you might want to adjust the margins to fit more content on one page:
- In the ‘Page Layout’ tab, click on ‘Margins’.
- Choose ‘Narrow’ if you want to decrease the margins automatically or select ‘Custom Margins’ to set your own measurements.
Setting narrower margins can sometimes help in accommodating all your data horizontally without sacrificing readability. Here’s a tip: you might want to print a draft copy first to check if all your data fits or if further adjustments are necessary.
3. Use Page Setup Dialog Box

For more detailed control over your print settings, use the ‘Page Setup’ dialog box:
- Still within the ‘Page Layout’ tab, click on the small dialog box launcher icon in the ‘Page Setup’ group.
- Go to the ‘Page’ tab in the dialog box.
- Make sure ‘Landscape’ is selected under ‘Orientation’.
- You can also adjust scaling, paper size, and other settings as needed.
Using the ‘Page Setup’ dialog gives you a comprehensive view of all possible adjustments you can make before printing, ensuring that everything is formatted exactly how you want it.
4. Fit to One Page

If your Excel sheet is too wide to fit on one landscape page:
- In the ‘Page Setup’ dialog box, go to the ‘Page’ tab.
- Under ‘Scaling’, select ‘Fit to’ and choose ‘1 page wide by 1 tall’.
This method will automatically scale your worksheet content to fit within one page, which is useful if you’re not concerned about the size of the printout but rather fitting everything onto a single piece of paper.
5. Using Print Area to Control What Prints

When you only want to print a specific range of cells horizontally, set a print area:
- Select the range of cells you want to print.
- Go to the ‘Page Layout’ tab and click on ‘Print Area’, then select ‘Set Print Area’.
- Now, when you print, only the selected area will appear on your printout.
This option is particularly useful for large spreadsheets where you want to focus only on a particular section.
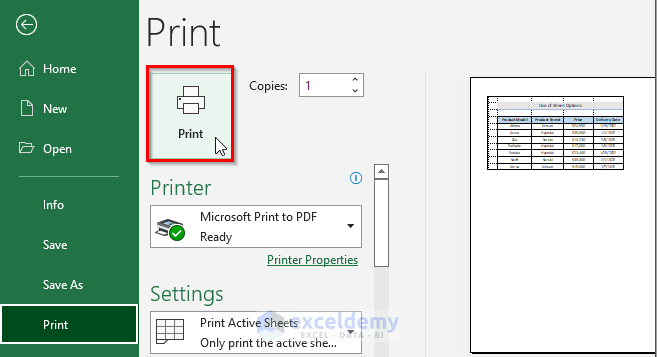
👀 Note: Always preview your print setup by clicking 'Print Preview' before you actually send your document to the printer. This step will save you from potential paper waste and ensure your data looks good on paper.
Throughout these five steps, the emphasis has been on clarity and ease of use. When you print your Excel sheets horizontally, consider the following points to enhance your printouts:
- Adjust column widths and row heights for better fit and readability.
- Consider using print titles if your sheet spreads across multiple pages.
- Check if gridlines and headings need to be printed.
By following these methods, you can confidently print your Excel worksheets horizontally, making them easier to read and more visually appealing for presentations or reports. Each approach has its nuances, so choose the one that best fits your specific needs and printing requirements.
Why should I print my Excel sheet horizontally?

+
Printing an Excel sheet horizontally, or in landscape orientation, is particularly useful for wide spreadsheets with many columns. It allows for better readability and can prevent data from being cut off or squeezed into narrow columns when printing.
Can I automatically print an Excel sheet horizontally for every new workbook?

+
Yes, you can set a default page setup for new workbooks. Go to ‘File’ > ‘Options’ > ‘Advanced’, scroll down to ‘General’, and click ‘Edit Default Workbook’. From here, you can set the orientation to landscape which will become the default for new Excel documents.
What if I want to print parts of the Excel sheet in different orientations?

+
In Excel, you can change the orientation for each sheet individually. For printing different sections in different orientations, you can copy those sections into separate sheets and adjust the orientation for each one accordingly.