Effortlessly Move Excel Duplicates to Another Sheet!

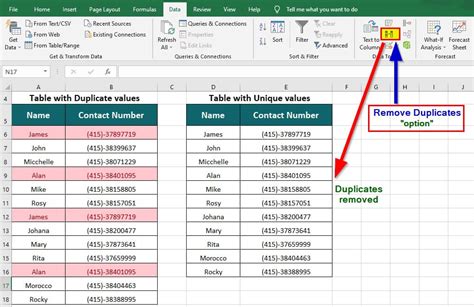
Are you tired of manually sifting through rows of data in Excel to find and move duplicates to another sheet? It's a common frustration, but there's good news: Excel provides several efficient methods to automate this process. In this detailed guide, we'll explore how you can effortlessly move Excel duplicates to another sheet, saving you time and ensuring data integrity.
Why Move Excel Duplicates?

Moving duplicates to another sheet is not just about keeping your spreadsheets clean. Here are some compelling reasons:
- Data Organization: Helps in organizing your data for easier analysis and reporting.
- Error Prevention: Minimizes the risk of errors by isolating duplicates, which could otherwise skew results.
- Enhanced Efficiency: Simplifies subsequent data handling tasks, making operations like filtering or summarizing much more straightforward.
Prerequisites for Moving Duplicates

Before you begin, ensure that:
- You have Microsoft Excel installed (preferably 2013 or newer for best compatibility).
- You understand basic Excel functions like sorting and filtering.
⚠️ Note: For this guide, we assume you are familiar with basic Excel navigation and operations.
Step-by-Step Guide to Move Excel Duplicates

Method 1: Using Conditional Formatting

- Highlight Duplicates:
Select the column you want to check for duplicates. Go to Home > Conditional Formatting > Highlight Cells Rules > Duplicate Values.
- Select Duplicates: Excel will now highlight any duplicate entries. You can manually or programmatically select these cells.
- Copy to Another Sheet:
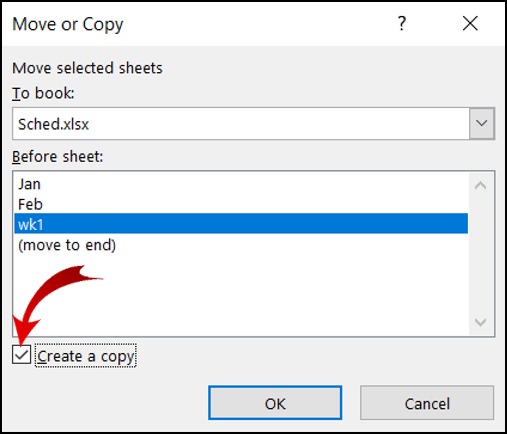
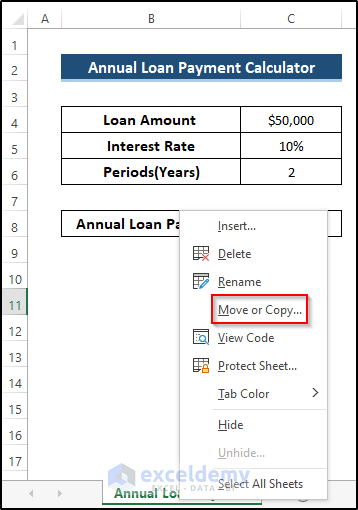
Press Ctrl+C to copy, go to the new sheet, and press Ctrl+V to paste.
Method 2: Using Excel Formulas

- Identify Duplicates:
Use the formula
=COUNTIF(A:A,A2)>1in an adjacent column to identify duplicates. If the value is TRUE, the cell in column A is a duplicate. - Filter and Move:
After applying the formula, filter the TRUE values, select all filtered cells, and move them to another sheet.
Method 3: Advanced Filtering

- Set Up Advanced Filter:
Go to Data > Advanced. In the Advanced Filter dialog box, choose "Copy to another location" and select the range to filter.
- Define Criteria:
Type
=1for Unique records and>1for duplicates in the Criteria range. Select the range where you want to copy the duplicates.
Important Notes

💡 Note: When using conditional formatting, ensure all your data is in one column to avoid confusion with formatting rules.
📌 Note: Advanced filtering can be set up to run automatically with VBA if you regularly deal with large datasets.
By employing these methods, you can effectively manage duplicates in your Excel spreadsheets, ensuring your data is clean and your analysis accurate. Remember, regular data maintenance can significantly improve your efficiency when dealing with spreadsheets.
Can I automate the process of moving duplicates?

+
Yes, you can automate this process with VBA scripts. However, for most users, the manual methods described above suffice for efficient data management.
What if my data is spread across multiple columns?

+
You'll need to concatenate these columns into a single column to check for duplicates or use a more complex VBA script to handle multi-column data.
How can I ensure no duplicates are left in the original data?

+
After moving duplicates, run another round of duplicate checking to make sure all have been transferred, or use advanced filtering to remove duplicates directly.
By implementing these techniques for moving Excel duplicates to another sheet, you’re not only streamlining your data management but also setting yourself up for more efficient and error-free analytics. Whether you’re a data analyst, an accountant, or just someone looking to organize a large database, these methods will make your Excel experience much more pleasant and productive.