5 Simple Steps to Create a Plain Excel Sheet

Are you looking for a quick way to organize data, manage inventory, or just want to keep track of personal expenses? Microsoft Excel is one of the most powerful tools for handling data, offering a wide range of functionalities for both personal and professional use. However, before diving into its advanced features, understanding the basics of creating a simple Excel sheet is crucial. Here are five straightforward steps to guide you through creating your own plain Excel sheet. Let's get started!
Step 1: Open Excel and Start a New Workbook

The first step in creating an Excel sheet is to open the Excel application. Here’s how you do it:
- Open Microsoft Excel from your computer’s applications list or search for Excel in the Windows start menu.
- If you already have Excel open, click on File in the top-left corner.
- From the options that appear, click on New, and then choose Blank Workbook. This will open a new, blank spreadsheet for you to work with.
💡 Note: If you’re using a different spreadsheet software, like Google Sheets, the steps might differ slightly, but the concept remains the same.
Step 2: Understand the Excel Interface

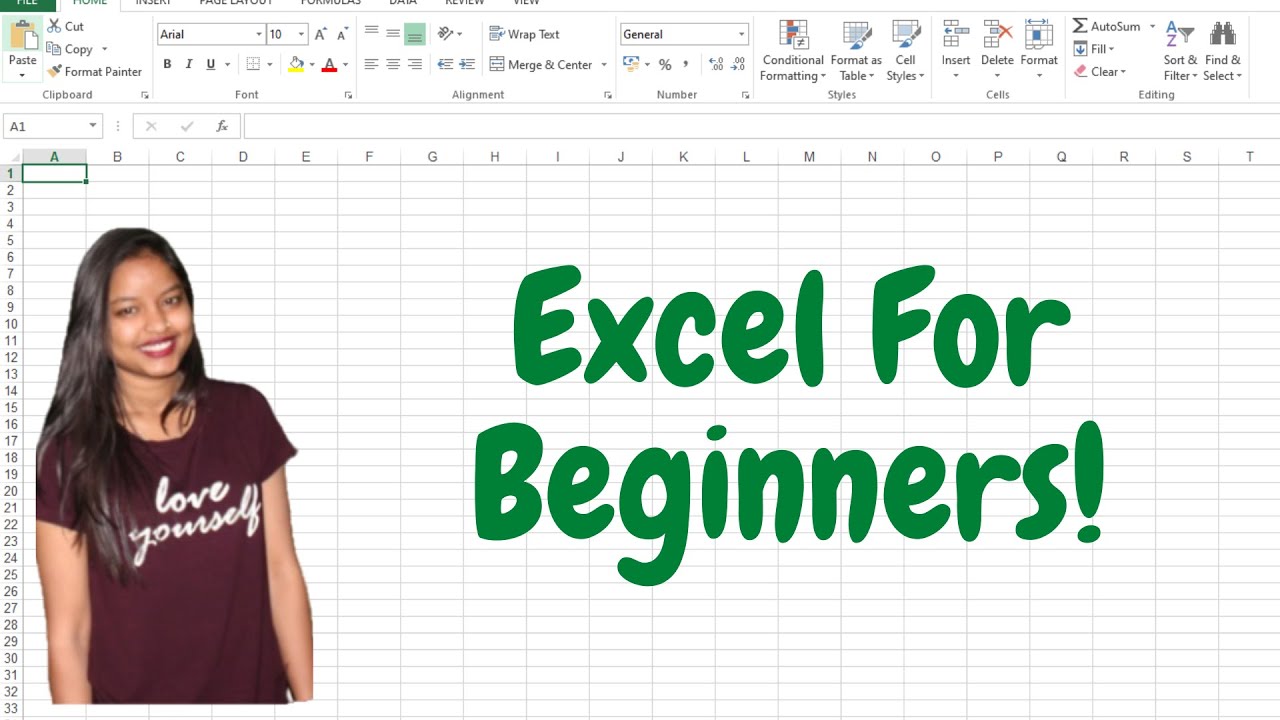
Before you start entering data, familiarize yourself with Excel's interface:
- Spreadsheet Area: The main grid where data is entered.
- Ribbon: Contains all the tools and features, organized into tabs like Home, Insert, Formulas, etc.
- Formula Bar: Above the spreadsheet, where you can enter or edit formulas or data.
- Cell Address: Each cell has a unique address like A1, B2, etc., which you’ll see at the top left corner of the spreadsheet.
- Sheet Tabs: Below the spreadsheet area, where you can switch between different sheets or add new ones.
Step 3: Enter Data into the Cells

Now that you’re familiar with the interface, start filling your spreadsheet:
- Click on any cell to select it, then type the data you wish to add. Press Enter or Tab to move to the next cell.
- You can enter numbers, text, dates, or formulas. For example:
- Text: "Sales Report" in cell A1.
- Numbers: 100 in B2, 200 in B3.
- Dates: Type 11/01/2023 in A5, Excel will recognize it as a date.
💡 Note: For dates, Excel might auto-format them. If you need a specific format, type dates manually or use the appropriate format code in the format cells dialog.
Step 4: Format Your Data

Formatting your data can make it more readable and visually appealing:
- Select the cells you want to format, then use options from the Home tab:
- Fonts: Change font size, style, or color.
- Alignment: Center, left-align, or right-align text within cells.
- Cell Borders: Add borders to distinguish different sections.
- Fill Color: Use to highlight or categorize data.
Step 5: Save Your Work

After you've created your Excel sheet, remember to save it:
- Click on File > Save As.
- Choose where you want to save your file.
- Name your file.
- Decide if you want to save it as an Excel Workbook (.xlsx) or in another compatible format.
- Click Save.
By following these five steps, you'll have created a basic Excel sheet ready for further customization or use. Excel sheets are incredibly versatile; as you get more comfortable, you can explore its myriad of features like formulas, functions, charts, and pivot tables.
Remember, Excel is not just about inputting data but also about making sense of it. These steps offer a starting point, but your journey with Excel can extend far beyond these basics, empowering you with analytical tools for any data-driven task you might encounter.
What is the difference between .xls and .xlsx file formats?

+
The .xls format is an older file format used by earlier versions of Excel (before Excel 2007). It has a file size limitation of about 65,536 rows. The .xlsx format, introduced with Excel 2007, uses XML to compress data, supports much larger spreadsheets with over a million rows, and incorporates improved security features.
Can I recover an unsaved Excel file?

+
Yes, Excel has an auto-recover feature that saves versions of your file periodically. If you haven’t saved your work, you can go to File > Info > Manage Workbook and select “Recover Unsaved Workbooks” to retrieve your unsaved files.
How do I share an Excel sheet with others?

+
Click on File > Share. Excel allows you to share through cloud services like OneDrive, where you can send a link to others. Alternatively, you can send the file directly via email or save it to a shared folder on your network. Always ensure that others have the necessary permissions to edit or view the file.