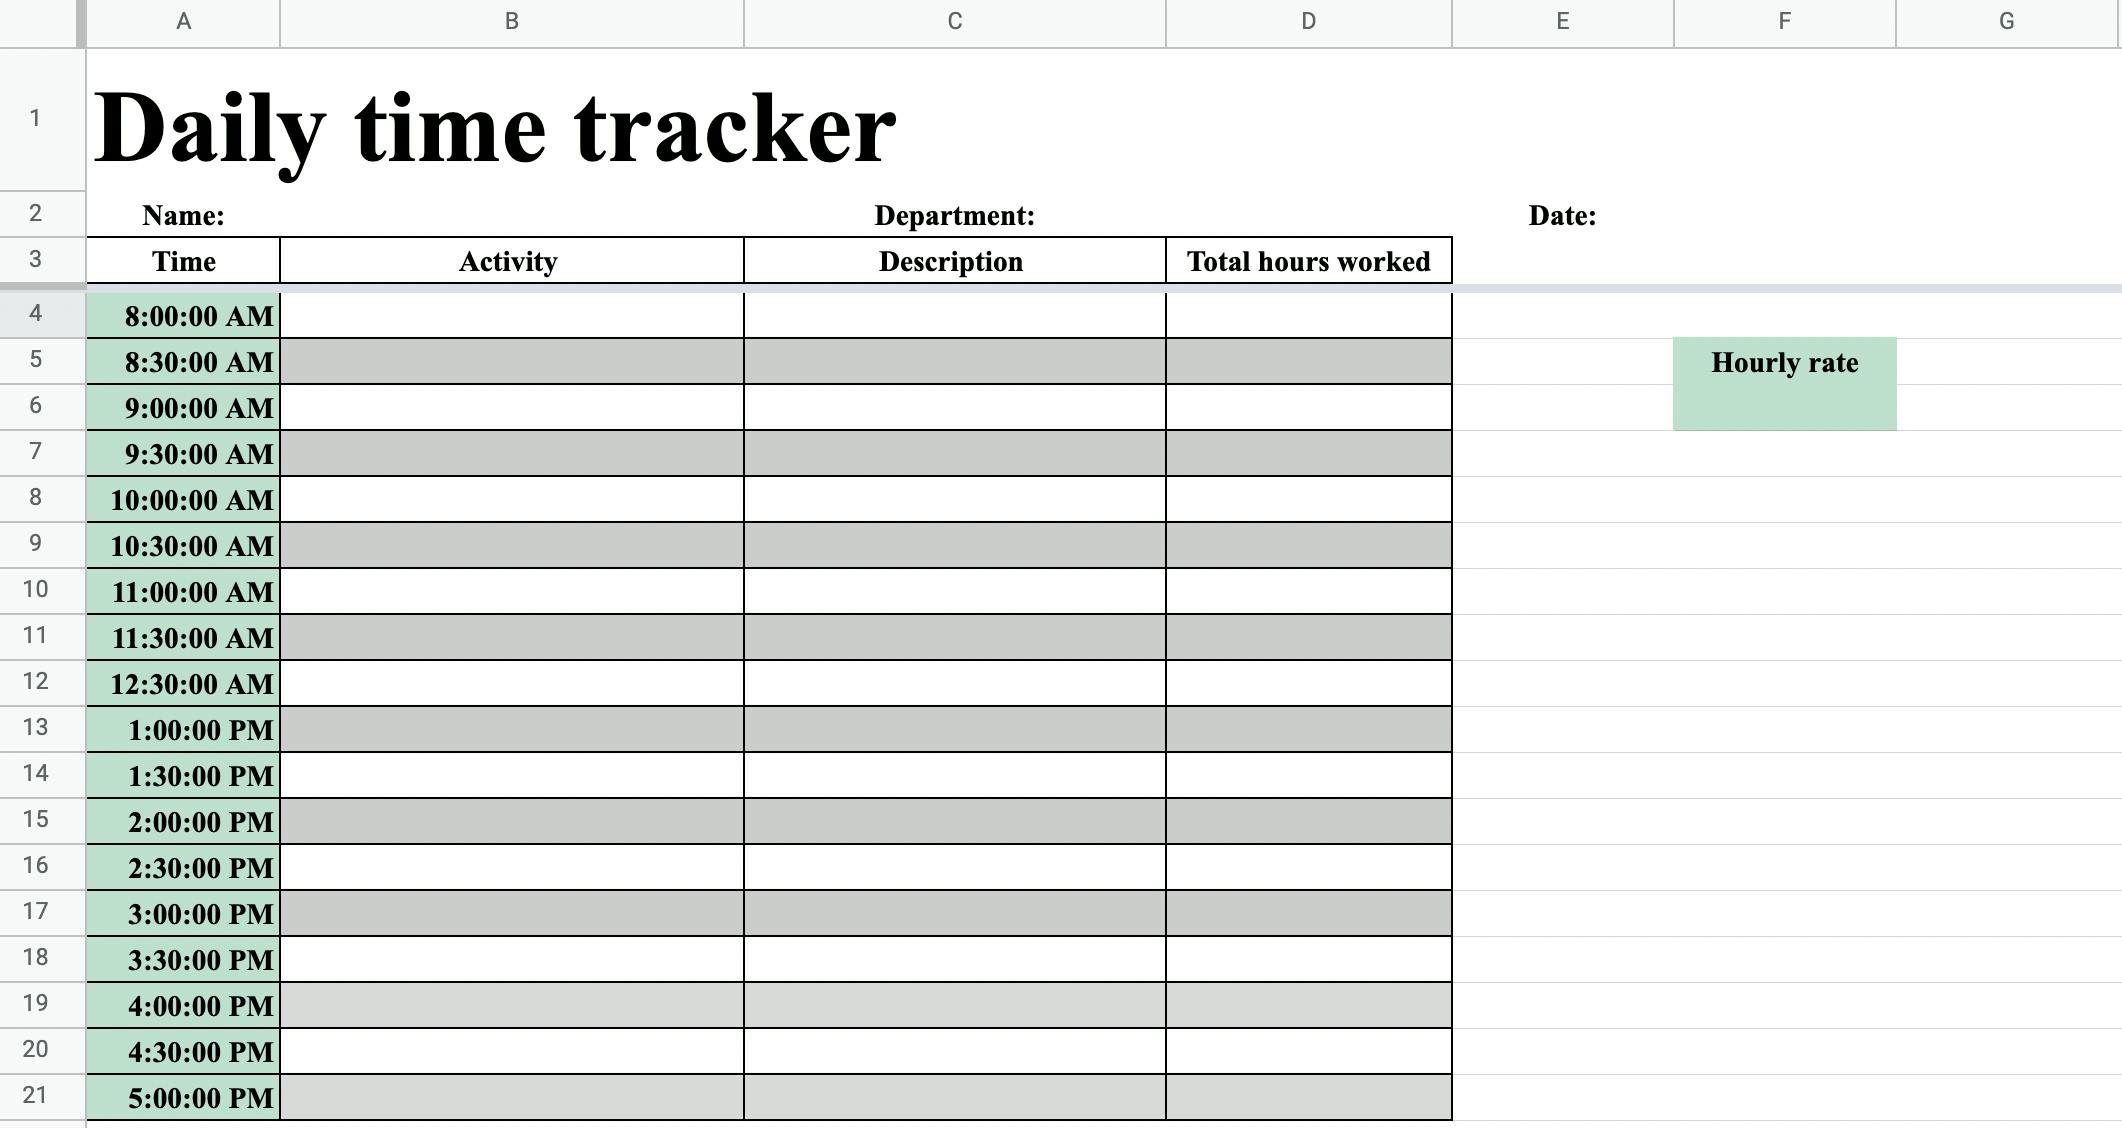
5 Easy Steps to Create an Overtime Sheet in Excel

Creating an Overtime Sheet in Excel: A Beginner’s Guide

Excel is a powerful tool for managing various kinds of data, including employee work hours and overtime calculations. If you’ve been tasked with tracking overtime for your team, creating an overtime sheet in Excel can streamline this process, ensuring accuracy and saving time. Here are five easy steps to help you set up an efficient overtime tracking sheet.
Step 1: Set Up the Structure

Start by opening a new Excel workbook. Here’s how to structure your sheet:
- Columns:
- Name
- Date
- Regular Hours
- Overtime Hours
- Overtime Rate
- Overtime Pay
Format these columns with appropriate headers in the first row, using bold font and background color for clarity.
Step 2: Input Employee Data

Fill in the employee details:
- List employee names in the ‘Name’ column.
- Set up a column for dates, ensuring dates are entered in a consistent format.
Step 3: Calculate Overtime

To calculate overtime hours, you’ll need:
- Set the regular work hours in the ‘Regular Hours’ column. For instance, if the regular shift is 8 hours, you’ll enter 8.
- Create a formula to calculate overtime:
=IF(C2 > 8, C2-8, 0)
This formula assumes cell C2 contains regular hours. Adjust cell references based on your setup.
Step 4: Determine Overtime Pay

Most companies pay 1.5 times the regular rate for overtime. Here’s how to calculate overtime pay:
- In the ‘Overtime Rate’ column, enter 1.5 (or the appropriate multiplier).
- Set up a formula in the ‘Overtime Pay’ column:
=E2 * D2 * F2
Here, E2 is the employee’s regular hourly rate, D2 is overtime hours, and F2 is the overtime rate multiplier.
Step 5: Finalize and Validate

After setting up your calculations:
- Format the cells with numbers and currency appropriately.
- Use conditional formatting to highlight rows where overtime is present for quick reference.
- Ensure all formulas are correct by double-checking calculations against a manual calculation sheet.
- Add borders or color-coding to make the sheet visually appealing and easy to read.
⚠️ Note: Make sure your formulas accommodate zero values correctly to avoid errors in your overtime calculations.
By following these steps, you’ll have created a functional overtime sheet in Excel. This sheet will not only help in tracking overtime but also in maintaining accurate records for payroll and auditing purposes.
Tips for Ongoing Use

- Data Validation: Use Excel’s data validation feature to ensure entries are within an acceptable range.
- Automation: Consider automating data entry with macros or using a template for recurring overtime tracking.
- Regular Updates: Keep the sheet updated regularly to reflect changes in employee hours, rates, or overtime policies.
To ensure that your Excel sheet remains a valuable tool for your business, remember to:
The summarized methods above provide a clear pathway to effectively manage overtime in your organization. By setting up a structured, easy-to-use Excel sheet, you ensure transparency, reduce errors, and facilitate payroll processes. Whether it's for a small team or a large enterprise, these steps will help you keep a firm grip on your overtime management.
How can I protect the data in my Excel overtime sheet?

+
You can protect the sheet by using Excel’s built-in protection features. Go to the ‘Review’ tab, select ‘Protect Sheet’, and set a password. This will prevent unauthorized changes to your calculations and data.
What if my organization has a different overtime policy?

+
Adapt the formulas in the overtime sheet to reflect your company’s policy. For example, if overtime starts after 40 hours per week, adjust the formulas to calculate overtime hours based on weekly totals rather than daily.
Can I automate the update of my overtime sheet?

+
Yes, you can automate some updates by linking your Excel sheet to other data sources or using Excel VBA (Visual Basic for Applications) to create macros that automate data entry and calculations.
How do I ensure the overtime sheet complies with legal requirements?

+
Consult with HR or a legal expert to ensure your sheet complies with local labor laws. Consider incorporating features like time tracking systems or time cards to back up your Excel records with legal documentation.