Create a List in Excel: Simple Steps

Creating lists in Microsoft Excel is a fundamental skill that can significantly enhance your data management, analysis, and presentation capabilities. Whether you're a student, professional, or just managing personal finances, knowing how to effectively use Excel for lists can save time and improve your efficiency. In this comprehensive guide, we will walk you through the steps to create and format various types of lists in Excel, ensuring you can use this powerful tool to its full potential.
Why Use Lists in Excel?

Lists in Excel provide a structured way to organize data which can be beneficial for:
- Data Sorting: Easily sort through your data based on any column to find information quickly.
- Data Filtering: Use filters to view only the data that meets specific criteria.
- Automated Analysis: Apply formulas to perform calculations across your lists.
- Data Sharing: Lists can be formatted to make sharing with others straightforward and professional.
Step-by-Step Guide to Creating a List in Excel

Step 1: Open Excel and Choose Your Worksheet

Start by opening Microsoft Excel on your computer. You’ll see a blank workbook by default, or you can open an existing file where you want to add your list.
Step 2: Design Your List Structure

Before entering data, think about the structure of your list. Decide what headers or titles you need for your columns, and how many rows you might require:
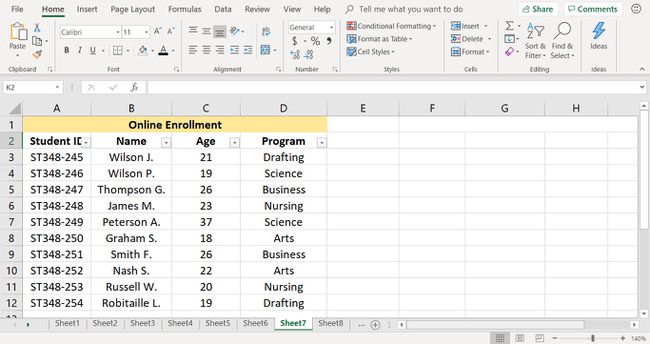
- Enter your column headers in the first row (e.g., “Name”, “Age”, “Department”, “Salary”).
- Leave the cells below for data entry. Excel does not require you to know how many entries you’ll have beforehand.
Step 3: Enter Data

Begin populating your list with data under each header:
- Select the cell where you want to start typing.
- Enter your data. You can use the tab key or arrow keys to move to the next cell.
👉 Note: Consistency in data entry (e.g., dates formatted the same way, text capitalization) helps with data integrity and analysis.
Step 4: Format Your List

Formatting is crucial for both readability and for preparing data for analysis:
- Table Formatting: Select your list range and go to Insert > Table. This automatically formats the list, adds a header filter, and helps with data management.
- Custom Formatting: Use the formatting options in the Home tab to change font, color, borders, and cell fill to make your list visually appealing.
| Format Option | How to Use |
|---|---|
| Font Style | Click on the cells, then change the font, size, and style in the Home tab. |
| Cell Border | Select the area to border, choose from the Border drop-down in the Font group. |
| Fill Color | Highlight your data and click Fill Color to choose a background color for cells. |

Step 5: Data Validation

To ensure data integrity, you might want to:
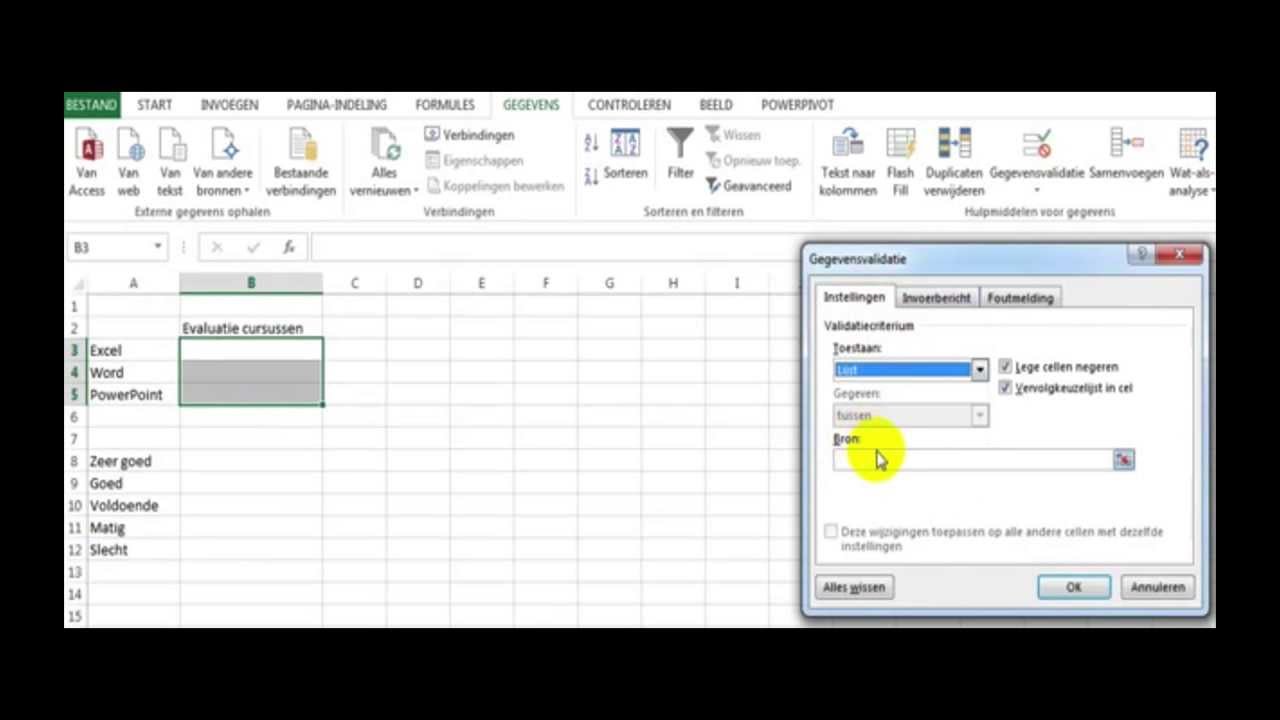
- Set up data validation rules to limit what data can be entered into cells.
- Use Data > Data Validation to apply constraints like drop-down lists, range checks, or custom validation formulas.
Step 6: Sorting and Filtering

Make your list more interactive:
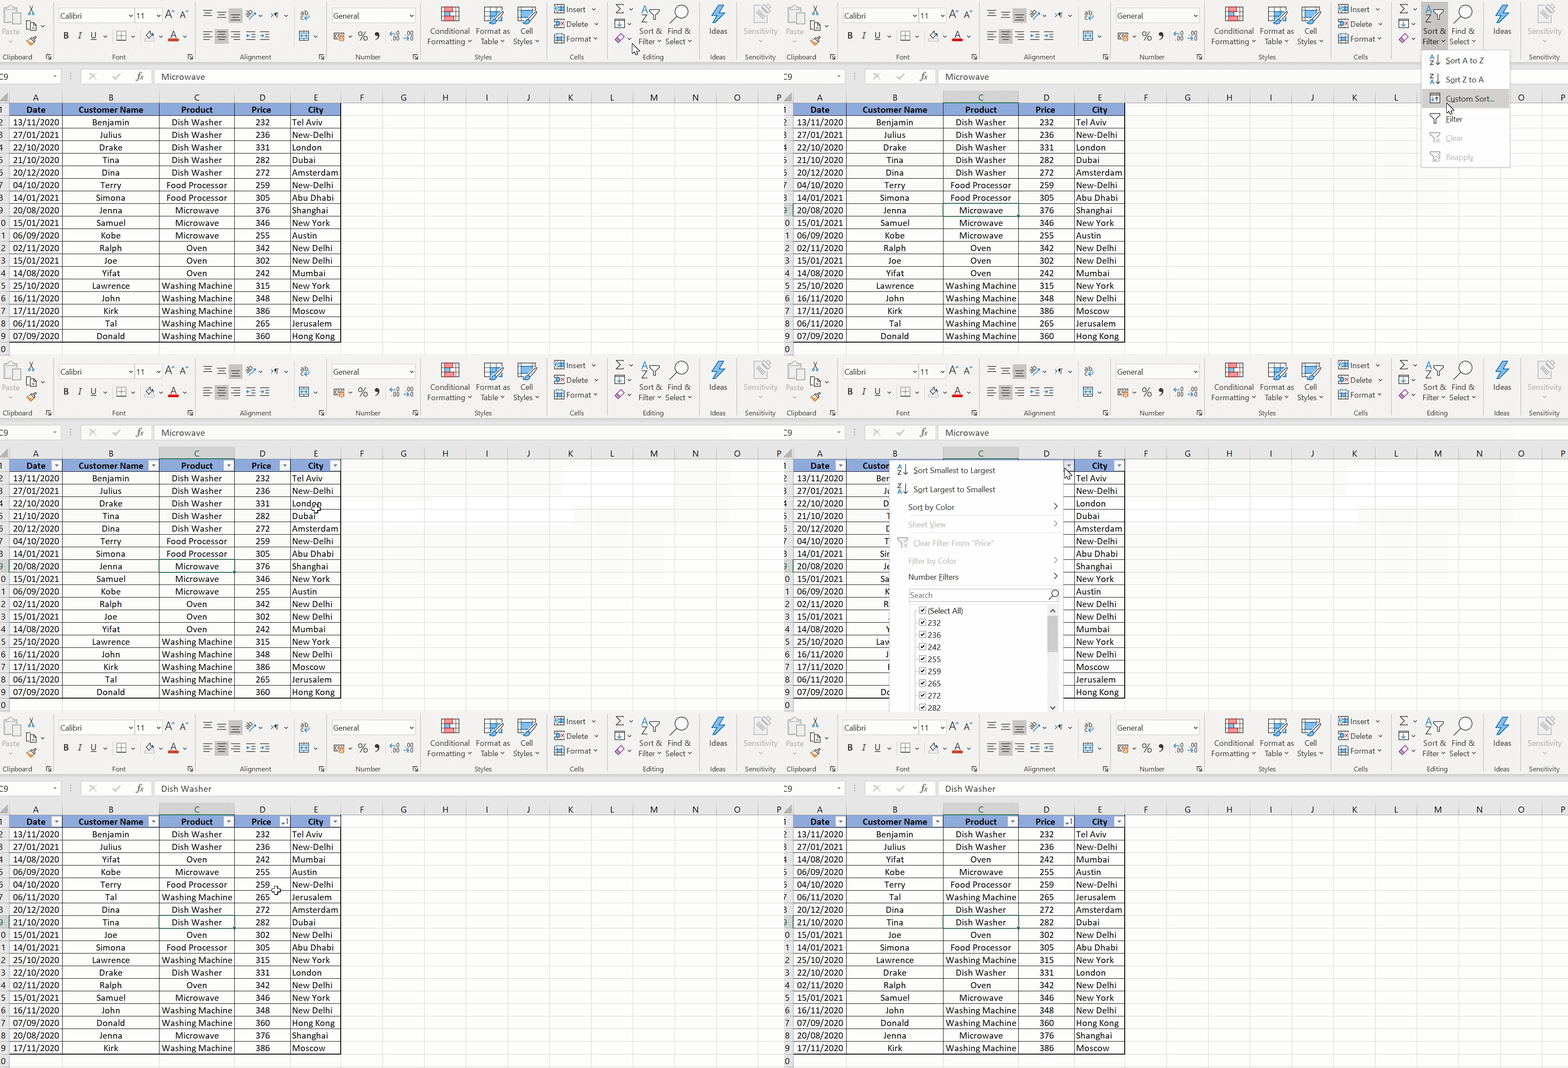
- Sort: Use the sort option to arrange your data in ascending or descending order based on any column.
- Filter: Apply filters to view only specific entries. Click the arrow in the table header to filter your data.
Step 7: Advanced Functions

Excel lists can go beyond basic data entry:
- Use conditional formatting to highlight important entries or trends.
- Add formulas for automatic calculations, like summing up a column.
- Utilize pivot tables to summarize and analyze your data further.
Finalizing Your Excel List

After setting up your list with all the necessary details, formatting, and functions, you’re ready to use it for your purposes. Here’s a recap of what you’ve accomplished:
- Created a structured list with headers and data entries.
- Applied formatting for readability and data management.
- Implemented data validation for data integrity.
- Utilized sorting and filtering for better navigation.
- Enhanced the list with advanced functions like conditional formatting and calculations.
In wrapping up, organizing your data into lists in Excel not only makes it easier to manage but also provides a foundation for robust data analysis and presentation. By following these steps, you can create lists that are efficient, accurate, and ready for any kind of data manipulation you might need to perform. Remember that Excel is a versatile tool, and your proficiency in list management can lead to more advanced uses, like data modeling, forecasting, and complex data analysis, significantly enhancing your productivity and decision-making capabilities.
How do I add or remove rows in my list?

+
To add a row, right-click the row number below where you want to insert a new row, then select “Insert.” To delete, right-click the row number and choose “Delete.”
Can I share my Excel list with others?

+
Yes, you can share your Excel list by saving it in a shared folder or using Microsoft 365’s cloud sharing features.
What are some advanced uses of Excel lists?

+
Advanced uses include creating dashboards, using macros for automation, integrating with external databases, and performing complex data analysis with pivot tables.