5 Simple Steps to Create a Fact Sheet in Excel

Have you ever found yourself in a situation where you need to consolidate and present essential pieces of information in a clear, concise manner? One of the best tools to achieve this is by creating a fact sheet in Excel. Fact sheets serve as an excellent way to summarize key details for presentations, reports, or personal records. This article will guide you through 5 simple steps to create a fact sheet in Excel that is both visually appealing and informative.
Step 1: Plan Your Content

Before you dive into Excel, having a clear plan of what you want to include in your fact sheet is crucial. Here’s how to get started:
- Identify your audience: Who will be reading this? Tailor the information to meet their expectations.
- Outline the information: Decide what data points or facts you want to present. This could include statistics, dates, contact information, or any other critical data.
- Determine the purpose: Is it for marketing, compliance, sales, or another purpose? This will influence the design and content.
📝 Note: Keep your fact sheet to one page if possible. Overcrowding can make it hard to read and less impactful.
Step 2: Set Up Your Excel Workbook

With your content outlined, open a new Excel workbook:
- Go to File > New and select a blank workbook.
- Set up your grid layout:
- Use the header row for section titles.
- Column A can be used for labeling, and subsequent columns for data.
- Merge Cells: For titles or to create larger cells for text blocks, select the cells, right-click, and choose ‘Merge Cells’.
- Adjust Row Height and Column Width: To fit the content, hover between the row or column headers, click, and drag to resize. Use Home > Format > Row Height or Column Width for precise adjustments.
👁️ Note: Excel’s grid can guide your layout, but remember to adjust your cell sizes for visual appeal and readability.
Step 3: Input Your Data

Now, it’s time to fill in your fact sheet with the content:
- Start by inputting data under each category or in each cell according to your plan.
- Ensure consistency in data format:
- Use the same date format throughout (e.g., MM/DD/YYYY).
- If using numbers or currency, set a uniform format using Home > Number > Format Cells.
- Use bullet points within cells for lists to keep the data organized.
📊 Note: Use Excel formulas to automate updates. For example, =TODAY() for the current date, or =AVERAGE() for average calculations.
Step 4: Format for Clarity and Appeal

Formatting not only makes your fact sheet more readable but also more professional:
- Apply a Theme: Go to Page Layout > Themes to choose a preset look or customize one.
- Use Borders: Select cells or entire table and apply borders using Home > Borders to separate sections.
- Set Fonts and Colors: For titles, headings, and data, ensure there’s contrast for readability. Use Home > Font for adjustments.
- Add Icons or Images: Insert icons or images using Insert > Pictures/Online Pictures to make the fact sheet more engaging.
- Alignment: Center-align titles, left-align text for readability.
Step 5: Review and Export

Before you finalize and share your fact sheet, ensure it meets your standards:
- Proofread: Check for typographical errors and factual accuracy. Use File > Options > Proofing > Spelling & Grammar for checks.
- Preview: Print preview or use the Page Layout view to see how it looks on paper.
- Export: You can save as a PDF or an Excel file. Go to File > Save As and choose the appropriate format.
Creating a fact sheet in Excel doesn't have to be a daunting task. With these 5 simple steps, you can produce a document that is both functional and aesthetically pleasing. Whether for business, education, or personal use, a well-crafted fact sheet can communicate your message clearly and effectively. Remember, the key lies in planning, structuring, formatting, and reviewing your work to ensure accuracy and impact.
Can I include graphs in my Excel fact sheet?

+
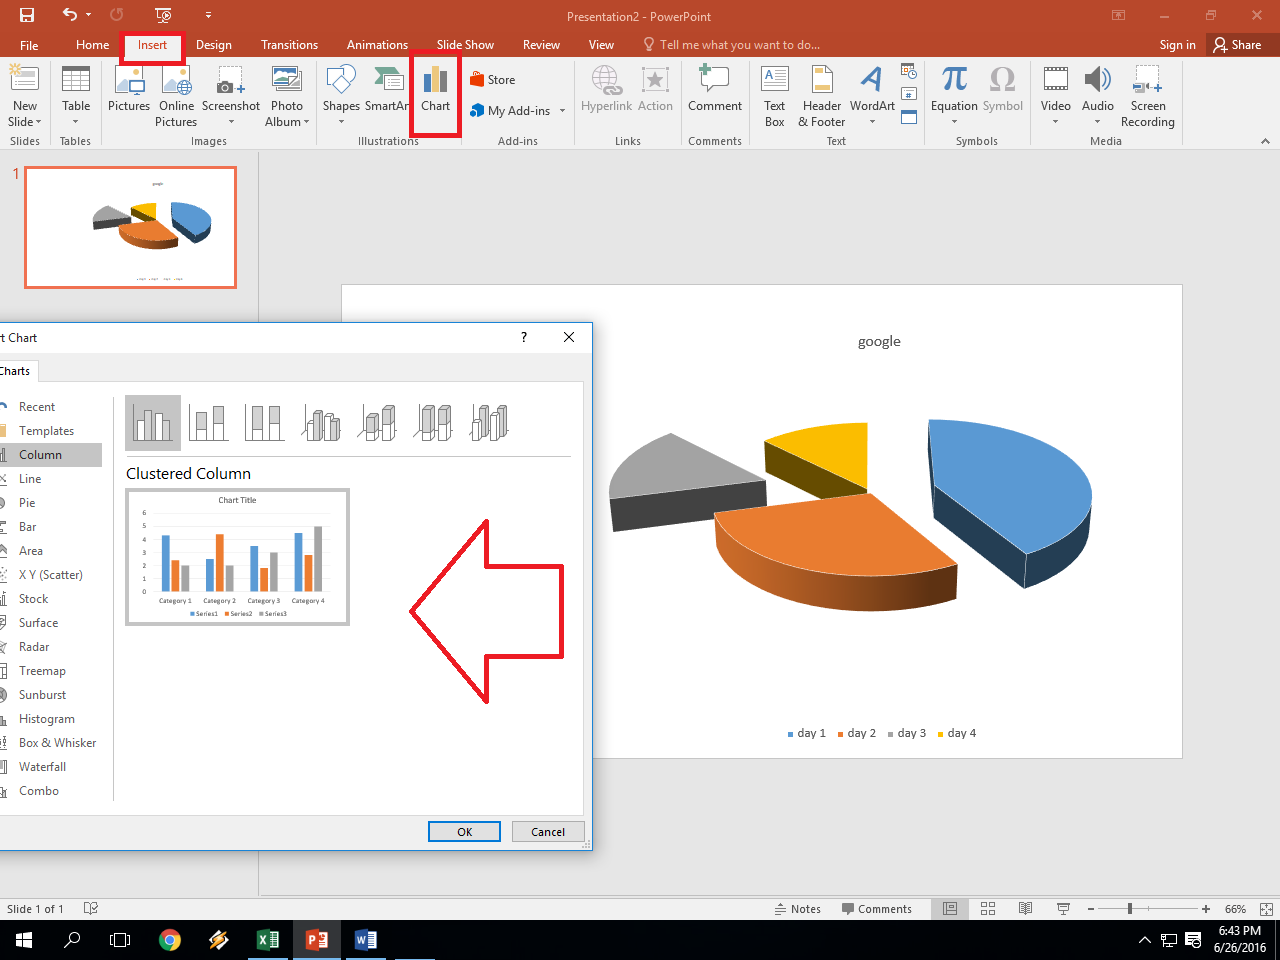
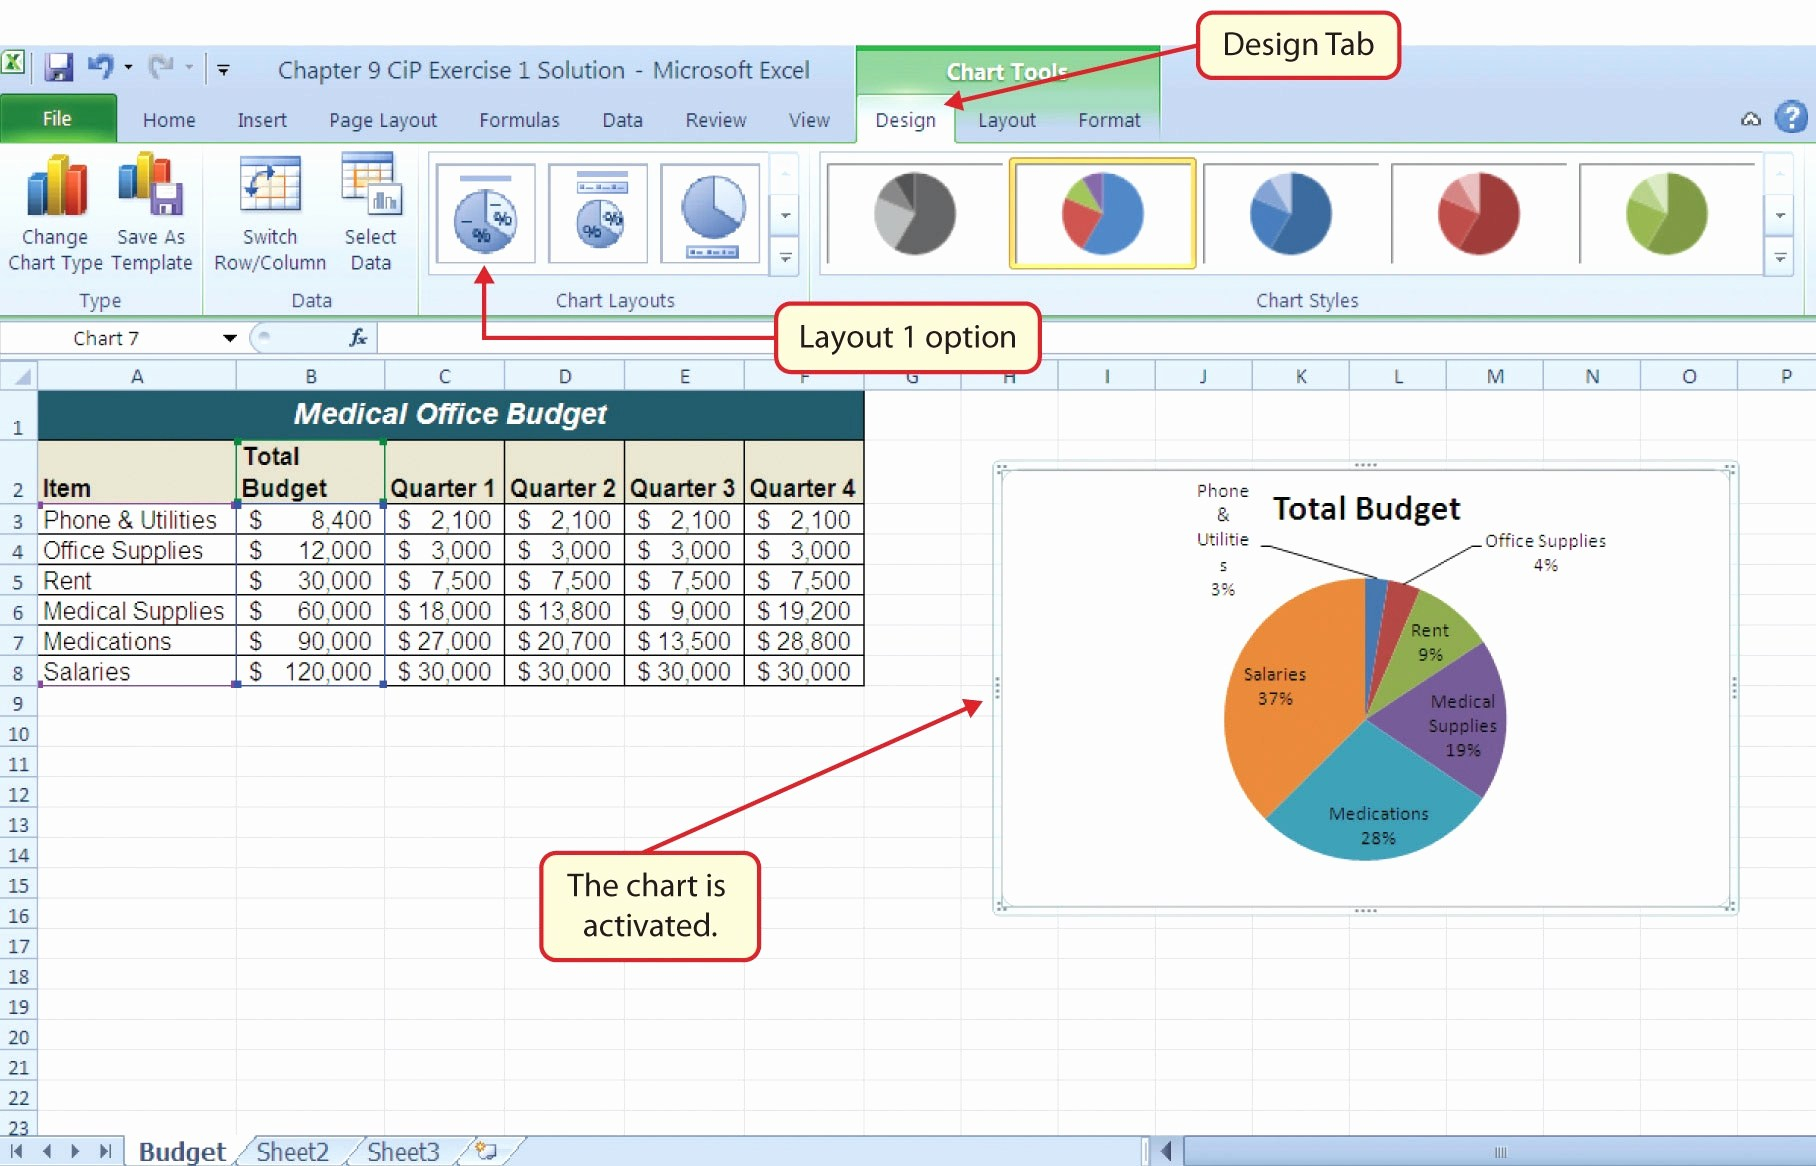
Yes, you can insert charts or graphs into your fact sheet using Excel’s Insert > Chart option. Just ensure the data for these graphs is accurate and relevant.
How often should I update my fact sheet?

+
It depends on how frequently the data changes. For static data, updates might be necessary only once a year, while for dynamic data like sales figures, monthly or quarterly updates could be warranted.
What is the best way to distribute my fact sheet?

+
You can distribute your fact sheet via email, print copies for physical distribution, or share it through online platforms like Google Drive or Dropbox as a link or downloadable PDF.
Is there a limit to how much data I can include in an Excel fact sheet?

+
Technically, Excel can handle vast amounts of data, but for a fact sheet, you should aim to keep it concise. Overloading with data can reduce its effectiveness. Stick to the most relevant information.
🎨 Note: While Excel offers a myriad of design options, simplicity often enhances readability. Avoid cluttering your fact sheet with too many design elements.
Remember, a well-crafted fact sheet can serve as a powerful tool for communicating complex information in a straightforward manner. With these steps, you’re well on your way to mastering the art of creating effective fact sheets in Excel.