5 Tips for Printing Full-Page Excel Sheets

Handling large Excel spreadsheets can be cumbersome, especially when it comes to printing full-page documents. Whether you're preparing for a big presentation or simply need to share detailed data analyses, ensuring that every piece of information is legibly printed on a single page is crucial. Here are five tips to help you achieve perfect full-page prints from Excel.
1. Adjust Page Layout

The first step to printing full-page Excel sheets effectively is to adjust the page layout settings:
- Orientation: Navigate to Page Layout > Orientation and choose either Portrait or Landscape based on your data’s nature.
- Scaling: Use the Page Layout tab and find Scale to Fit. Here, you can set the worksheet to fit within a single page by adjusting the width and height.
- Margins: Minimize margins by selecting Narrow under the Margins option to make the most of your paper’s print area.
⚠️ Note: Scaling down too much might make text unreadable.
2. Use Print Area

Define a print area if you only need to print a specific portion of your spreadsheet:
- Select the range of cells you want to print.
- Go to Page Layout > Print Area > Set Print Area.
- This will ensure that only the selected cells are printed, saving ink and paper.
3. Formatting for Clarity

To maintain readability when printing full-page sheets:
- Font Size: Keep your font size legible; consider reducing it slightly but ensure it’s still readable.
- Cell Merging: Merge cells to reduce clutter and improve the layout where necessary.
- Conditional Formatting: Use color to highlight key data points, making it easier to follow trends or important numbers when printed.
💡 Note: Bold or highlight only the most critical data to avoid overwhelming the viewer with too much color or formatting.
4. Page Breaks

Control where the page breaks occur to ensure logical division of data:
- Insert manual page breaks by selecting a cell and choosing Page Layout > Breaks > Insert Page Break.
- Check the page breaks by entering Page Break Preview from the View tab. Here, you can adjust your data to fit each page appropriately.
5. Optimize for Print Preview

Always review your document in Print Preview to ensure everything looks as intended:
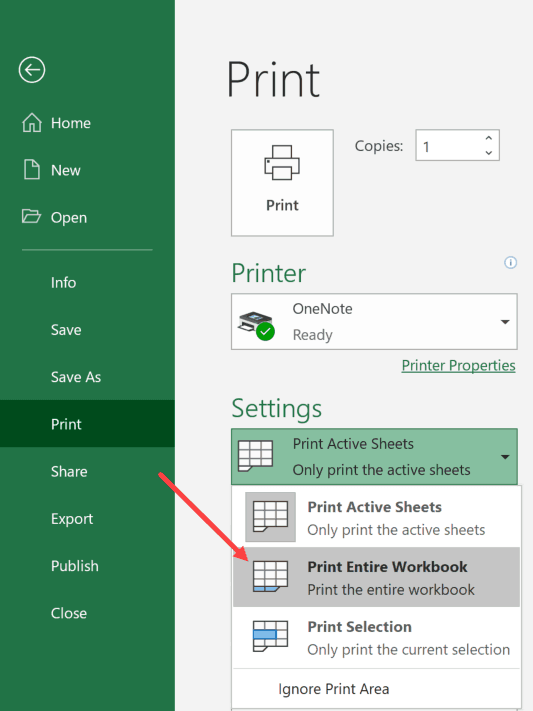
- Access it from File > Print to see how your Excel sheet will print.
- Make final tweaks to margins, scaling, or print area from this view to optimize for print.
- If you spot any issues like cut-off text or misplaced headers, you can go back to your worksheet and adjust accordingly.
🔍 Note: Print preview might not always show 100% accurate output, so a test print might be necessary.
By mastering these tips, you'll significantly enhance your ability to print full-page Excel sheets effectively, ensuring that your data presentations are both impressive and easy to understand. Keep in mind that while these methods work well, the final output can still depend on your printer's capabilities and settings. Always perform a test print if the document is for critical use to ensure the highest quality.
What if my data is too large to fit on one page even after scaling?

+
If your data exceeds one page even after scaling, consider breaking it into multiple logical pages or adjust your layout to fit key data more efficiently. Alternatively, use PDF software that can compress and rearrange your content for print.
Can I print headers on every page?

+
Yes, go to the Page Setup dialog box, under the Sheet tab, check Rows to repeat at top to print headers on each page of your Excel document.
How can I ensure my formulas print correctly?

+
Before printing, you can copy the formula cells and paste them as values only in another section of your worksheet to ensure the values are printed rather than the formulas themselves.