Maximize Excel Print Size: Your Ultimate Guide

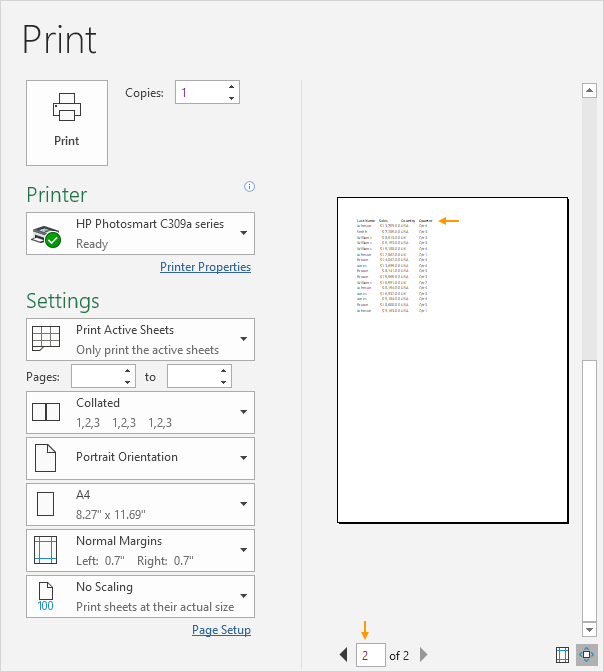
Ever found yourself squeezing your data onto a single page for printing, only to realize the print is too small to read? If you're nodding your head, you're in the right place. This comprehensive guide will walk you through how to maximize Excel print size so that your data not only fits neatly onto your paper but is also legible. Whether you're preparing for a meeting or printing financial reports, these steps will ensure your Excel sheets look their best in print.
Understanding Print Options in Excel

Before we dive into adjusting the print size, it’s crucial to understand the print settings available in Excel:
- Page Layout: Here you can adjust the paper size, margins, and orientation.
- Scaling: This setting allows you to fit your data onto fewer pages.
- Print Area: Defines what part of your worksheet you want to print.
- Print Titles: Enables repetitive rows or columns on multiple pages for easier reading.
Step-by-Step Guide to Maximizing Print Size in Excel

Let’s go through how you can adjust your Excel sheet to make sure your printout is both complete and readable:
1. Adjust Page Layout

First, open the Page Layout tab in Excel:
- Navigate to Size to match the printer’s paper size.
- Set Orientation to Landscape if your data is wider than it is tall.
- Adjust Margins to minimize white space around your printout.
2. Scale Your Sheet

Scaling is key when you need your data to fit on fewer pages:
- Under Page Layout, find Scale to Fit.
- Use the Width and Height options to decide how many pages your printout should fit in.
- Set Scale to 100% initially and adjust as needed.
📌 Note: Scaling too much can lead to loss of readability.
3. Define a Print Area

Select your desired range:
- Go to Page Layout > Print Area > Set Print Area.
- This helps in printing only the necessary parts of your spreadsheet.
4. Modify Fonts and Cell Content

If your data still exceeds the page limits:
- Decrease the font size if needed.
- Adjust column widths and row heights to fit content better.
- Consider merging cells or formatting data to save space.
5. Use Page Break Preview

Check how your data will fit onto pages:
- Under View, choose Page Break Preview.
- Drag lines to adjust page breaks if necessary.
📌 Note: Always review your changes in Print Preview to ensure they meet your expectations.
Tips for Enhanced Print Quality

Here are some additional techniques to make your Excel printouts look better:
- Use Borders and Gridlines: Add borders to make data stand out and disable gridlines if they clutter your printout.
- Font Formatting: Bold headers or use larger fonts for titles to ensure clarity.
- Header/Footer: Add headers or footers for additional context.
FAQ Section

Can I save different print settings for the same worksheet?

+
Yes, you can save different print settings by using the Custom Views feature under the View tab, where you can save and recall different view and print settings.
Why does my printout not match the screen?

+
Print and screen views can differ due to various factors like zoom levels, scaling, and differences in how Excel renders pages for screen vs. print. Always preview your printout.
What if my printer has size limitations?

+
If your printer has size limitations, use the Adjust options in the Page Layout to ensure your print fits within the printer’s capabilities, possibly by reducing margins or changing orientation.
By mastering these steps, you’ll significantly improve the quality and readability of your Excel printouts. Remember, it’s not just about fitting everything on a page; it’s about ensuring that the data is presented in a clear, professional manner. Whether you’re preparing for a presentation, creating a financial report, or simply organizing your data, these tips will help you get the most out of your Excel spreadsheets when printed. Now, go ahead and print your Excel sheets with confidence, knowing they will look exactly as you intended!