5 Easy Steps to Create Excel Sheets on MacBook

In today's digital age, understanding how to utilize spreadsheet software like Microsoft Excel can significantly enhance productivity and efficiency, especially for tasks involving data analysis, financial modeling, or project management. While Excel has been traditionally associated with the Windows platform, it is equally capable on a MacBook. In this comprehensive guide, we'll walk through five easy steps to create and manage Excel spreadsheets on your MacBook, ensuring you have all the tools needed to manage your data seamlessly.
Step 1: Install Microsoft Excel on Your MacBook

The first step to working with Excel on a MacBook involves installation:
- Visit the Mac App Store and search for “Microsoft Excel”.
- Click on Get or Purchase, based on your subscription model.
- Proceed with the installation by following the on-screen instructions. This will include entering your Apple ID or payment details.
- If you have a Microsoft 365 subscription, you can also download Excel from the Microsoft website, which might offer more comprehensive installation options.
📝 Note: Ensure you have a valid license or subscription before downloading.
Step 2: Launch Excel and Explore the Interface

After installation:
- Find Excel in your Applications folder or use Spotlight (Cmd+Space) to search and open it.
- You’ll be greeted with the Start Screen where you can:
- Open recent files.
- Create a new blank workbook.
- Choose from templates to kick-start your work.
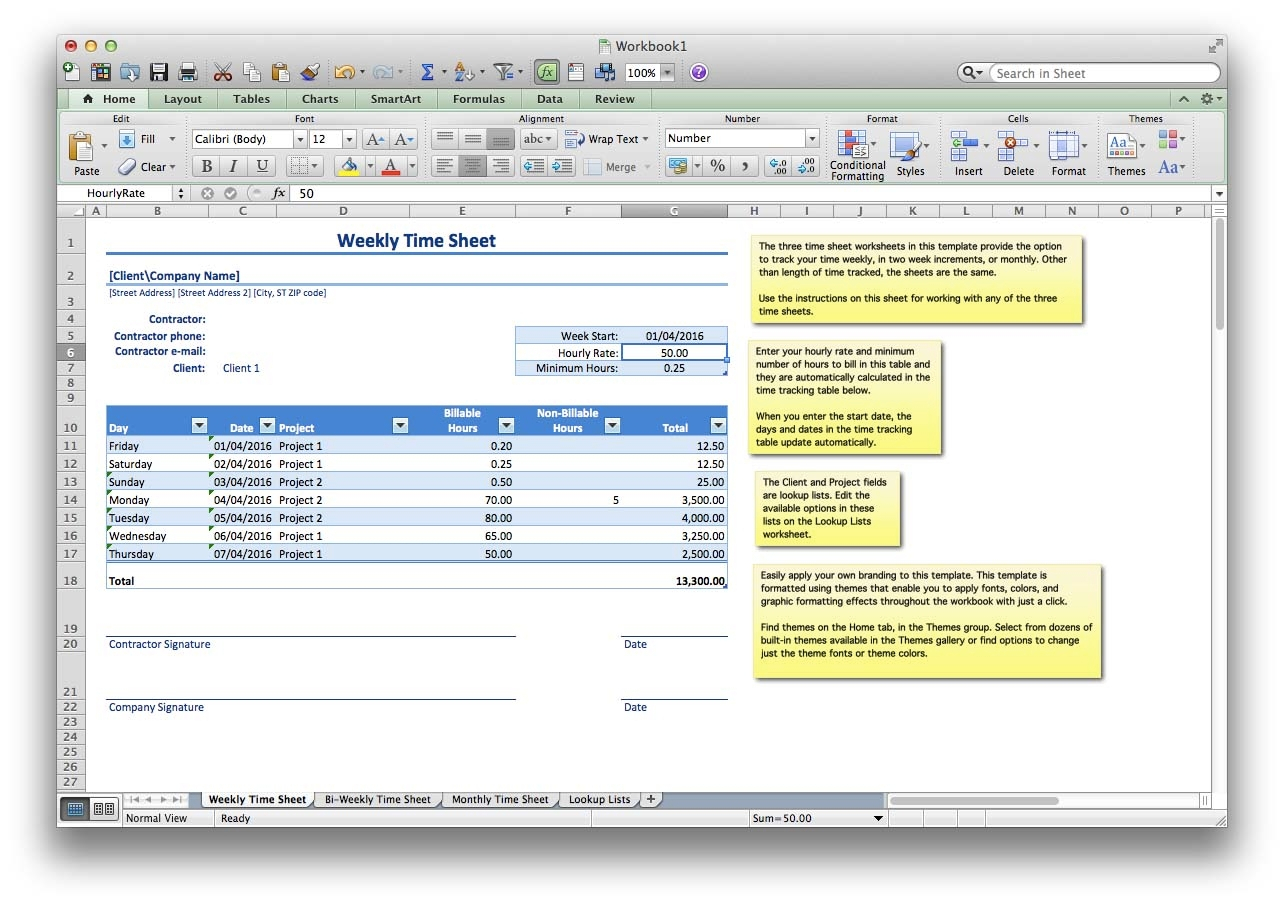
- The Ribbon at the top provides access to all Excel functionalities. Familiarize yourself with:
- Home: Basic editing options.
- Insert: For adding charts, tables, images, and more.
- Page Layout: To adjust how your spreadsheet will look when printed.
Step 3: Creating Your First Spreadsheet

To get started:
- Click Blank Workbook or select a template.
- Start inputting your data into cells:
- Click on any cell and type in your data.
- Use the arrow keys or tab to move between cells.
- Use basic formatting options like Bold, Italic, Underline, or change font size and color from the Home tab.
- For advanced formatting, go to Format Cells (right-click on a cell > Format Cells) to adjust number formats, alignment, borders, etc.
Step 4: Working with Formulas and Functions

Excel’s true power lies in its ability to perform calculations:
- Begin a formula with “=”:
- Enter basic calculations like
=A1+B1to add values in cells A1 and B1. - Explore functions through the Formula Builder or AutoComplete by typing the first few letters of a function like
SUMorAVERAGE. - Useful Functions:
- SUM() for adding values.
- AVERAGE() for mean calculations.
- VLOOKUP() or INDEX/MATCH for looking up data in tables.
💡 Note: To make your spreadsheets dynamic, use cell references rather than hard-coding numbers in your formulas.
Step 5: Saving, Printing, and Exporting

Once your spreadsheet is ready:
- Save your work:
- Press Cmd+S or go to File > Save As to save your Excel file.
- Choose the location and format (.xlsx for Excel files).
- Print:
- Use File > Print to preview and adjust settings like page orientation, margins, and scaling.
- Export:
- Excel allows exporting to PDF, CSV, and other formats. Go to File > Export and choose your desired format.
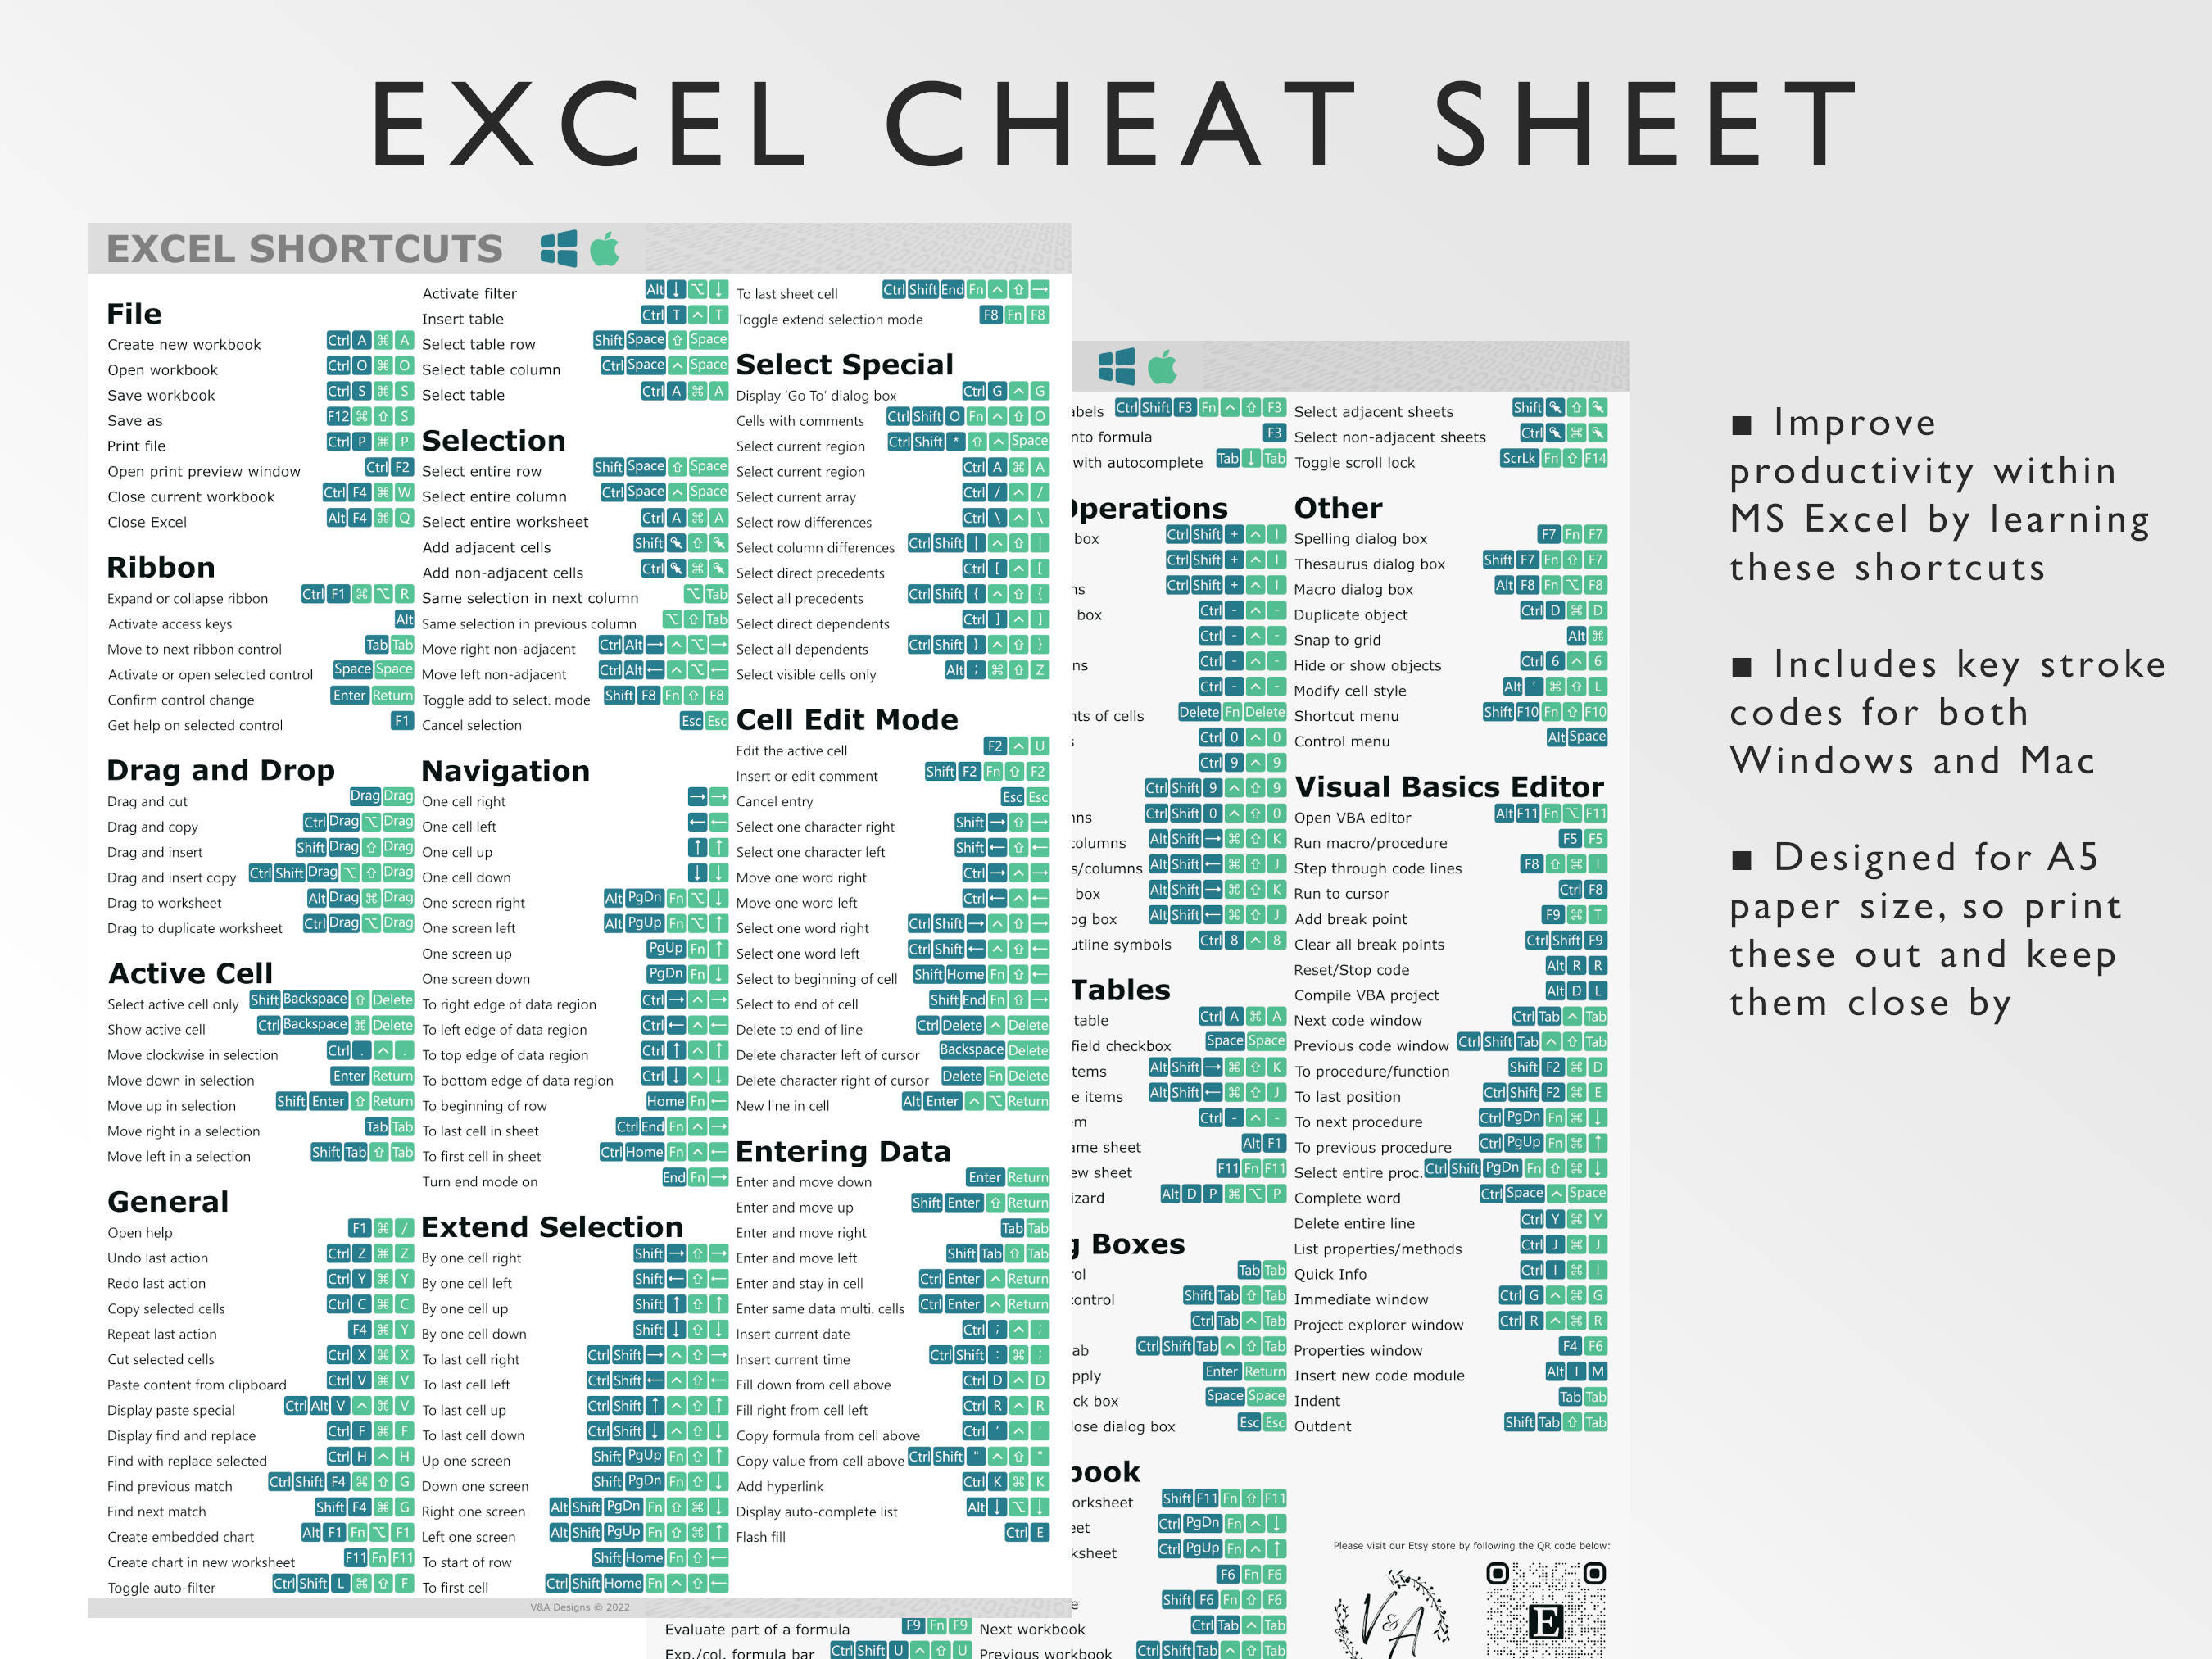
- Cmd+S to save instantly.
- Cmd+C, Cmd+X, and Cmd+V for copy, cut, and paste respectively.
- The Format Painter for quick formatting replication.
Working with Excel on a MacBook isn't just about understanding the steps; it's also about knowing some useful shortcuts and features:
While creating and managing spreadsheets on your MacBook, you'll find Excel to be a robust tool. These steps not only help you get started but also give you a solid foundation to explore Excel's advanced features. By mastering these basics, you'll be well on your way to unlocking the full potential of Excel for personal or professional use. Excel on a MacBook provides a seamless experience, ensuring that data management, analysis, and reporting are as straightforward as possible. From basic data entry to complex financial modeling, Excel's capabilities are at your fingertips, making your MacBook a powerful tool for all your spreadsheet needs.
Can I use Microsoft Excel for free on my MacBook?

+
Microsoft Excel itself requires a paid subscription or a one-time purchase license. However, you might be able to use Microsoft’s online version, Excel Online, for free with a Microsoft account, though it lacks some advanced features found in the desktop version.
What are the system requirements for Excel on MacBook?

+
The system requirements can vary, but generally, you’ll need macOS Sierra 10.12 or later, 4GB of RAM, 10GB of available disk space, and a screen resolution of 1280 x 800 or higher. Check Microsoft’s official site for the latest requirements for your version of Excel.
How do I update Excel on my MacBook?

+
Excel updates can be handled through the App Store if you’ve downloaded it from there. Alternatively, if you’ve installed from Microsoft’s website, you might need to check for updates manually via the “Check for Updates” option in Microsoft AutoUpdate.
Are there any MacBook-specific shortcuts for Excel?

+
Excel on MacBook uses common macOS shortcuts like Cmd+C for copy, Cmd+X for cut, Cmd+V for paste, Cmd+Z for undo, Cmd+S for save, etc. However, some Excel-specific shortcuts like Option+Right Arrow to select the current region can also be utilized effectively on a MacBook.