5 Tips to Make Your Excel Sheets Look Professional

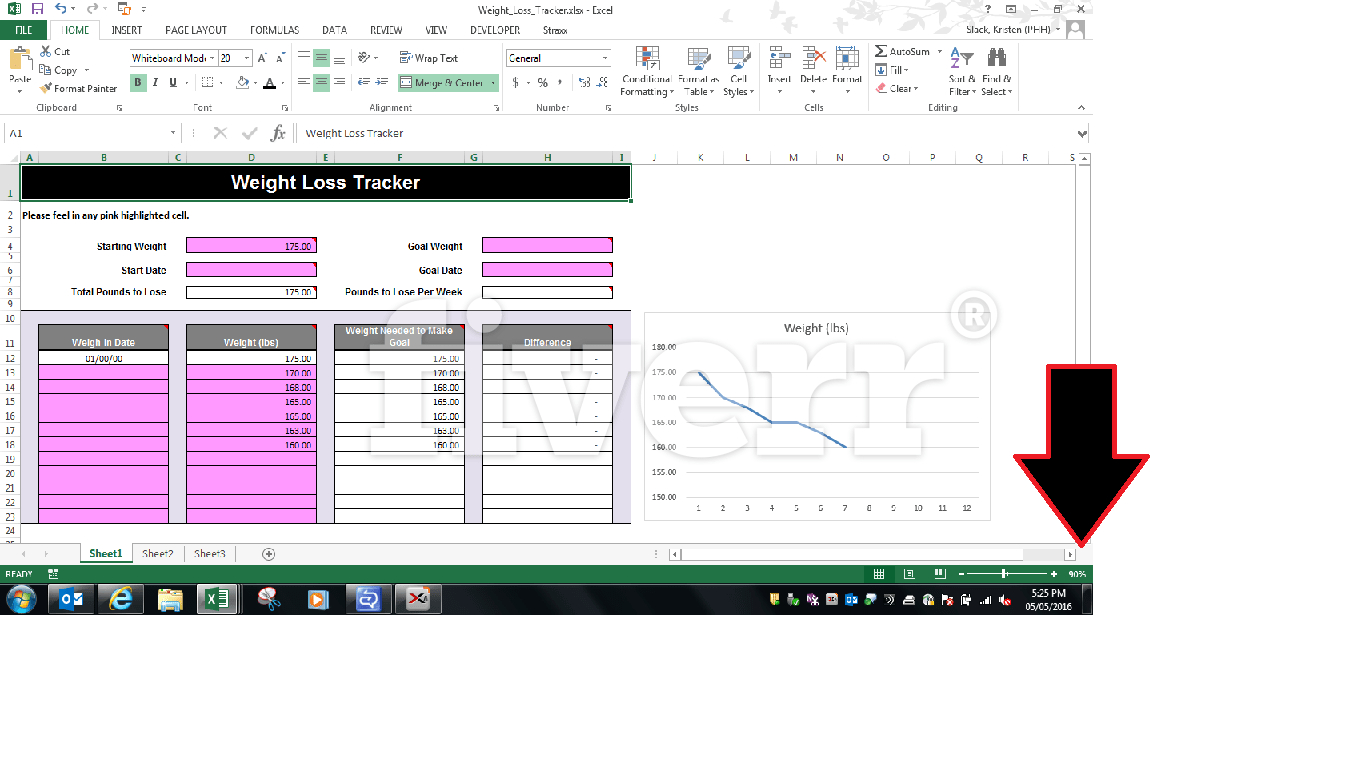
Microsoft Excel is not just a tool for crunching numbers; it's also an excellent platform for presenting data in a professional manner. Whether you're creating a financial report, a business proposal, or a project management tracker, making your Excel sheets look professional can significantly enhance the impact of your data. Here are five tips to transform your Excel spreadsheets from mundane to professional:
1. Use Consistent Formatting

The cornerstone of a professional-looking spreadsheet is consistency. Here’s how to achieve it:
- Font and Size: Stick to one font family throughout the sheet. Arial, Calibri, or Helvetica are good choices for their readability. Keep your font sizes consistent for headers, subheaders, and data. For instance, you might use size 14 for titles, 12 for headers, and 10 or 11 for data.
- Cell Alignment: Align headers to the center or left, while data should be aligned according to its type (e.g., numbers are often aligned to the right).
- Colors: Use a limited palette of colors. Try to relate color choices to your brand or the theme of your document. High contrast is useful for readability but don't overdo it with bright or neon colors.
2. Employ Data Visualization Techniques

Numbers alone can be overwhelming. Transforming your data into visuals can provide clarity and make your presentation more engaging:
- Charts: Choose the right type of chart for your data. Pie charts for part-to-whole relationships, bar charts for comparisons, line charts for trends over time, etc.
- Conditional Formatting: This feature can help to highlight key information. For example, use it to show sales above a certain threshold in green and below in red.
- Data Bars: These fill the background of cells with a color bar, visually representing the cell value.
- Sparklines: Insert tiny line charts within cells to illustrate trends at a glance.
3. Clean Up and Organize Your Data

A cluttered sheet can detract from its professionalism:
- Hide Unnecessary Data: If there’s information that isn’t vital for the current presentation, hide it. This can be done by selecting rows or columns and using the "Hide" function.
- Freeze Panes: To make navigation easier, freeze the top row or left column so they remain visible while scrolling through your data.
- Merge and Center: Use this to create headings that span multiple columns. This gives a neat, organized look.
- Split Data into Tables: When your data is complex, consider breaking it down into manageable tables. Each table should have a clear title.
4. Use Cell Styles and Themes

Excel provides pre-defined styles and themes that can elevate the look of your sheets:
- Cell Styles: Instead of manually formatting, use Excel’s built-in styles for a more professional look. You can find these under "Home" > "Styles".
- Themes: Themes allow you to apply a set of colors, fonts, and effects across your entire workbook. This ensures a cohesive design.
- Table Styles: Convert your range of data into an Excel Table. This automatically applies alternating row colors, filter options, and a professional appearance.
5. Professional Headers and Footers

Headers and footers provide essential information like the document title, creation date, or page numbers:
- Headers: Use headers for titles or logo placement. Ensure they are less prominent than your main data for readability.
- Footers: Include page numbers or confidentiality statements here. Keep the font size smaller but legible.
- Insert Page Breaks: If you're printing or sharing your document, ensure that page breaks are in logical places to avoid cutting off important data.
By following these tips, your Excel spreadsheets will not only look more professional but will also convey your data more effectively. Remember, the goal is clarity, not decoration. Your focus should be on enhancing the user's ability to understand the data quickly and with minimal effort.
💡 Note: Keep in mind that while visual elements enhance professionalism, the functionality of your spreadsheet should not be compromised for aesthetics alone. Ensure that all formulas, macros, and pivot tables are functioning correctly before finalizing your presentation.
How can I make my data stand out in Excel?

+
Use features like conditional formatting to highlight important data or apply data bars for quick visual analysis. Charts and graphs also help in showcasing key metrics effectively.
What are the best practices for setting up a professional Excel sheet?

+
Start with a well-thought-out layout, ensure consistency in formatting, use themes and styles, clean your data, and apply professional headers and footers. Also, always check the functionality of your sheet to ensure it’s not just visually appealing but also accurate.
Is there a way to automate professional formatting in Excel?

+
Yes, Excel’s cell styles and themes provide a quick way to apply professional formatting. You can also use VBA (Visual Basic for Applications) to automate repetitive formatting tasks.