5 Steps to Create a Costing Sheet in Excel
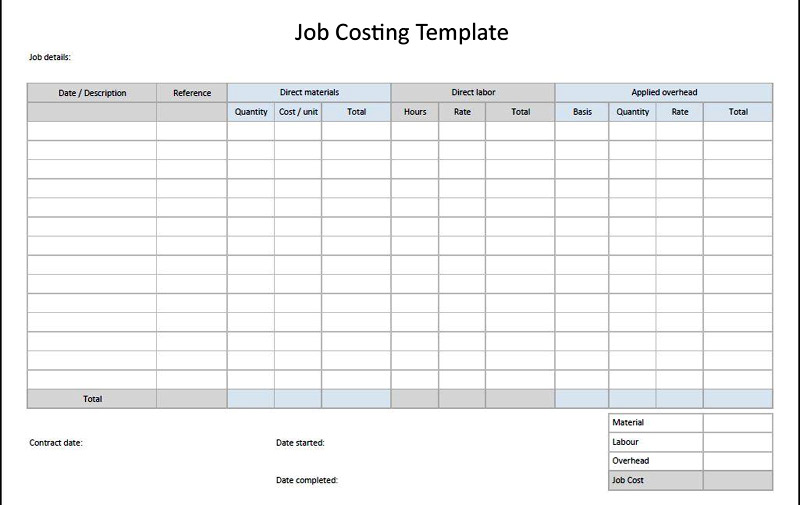
Creating a costing sheet in Microsoft Excel is essential for businesses and individuals who need to manage expenses, forecast budgets, or assess profitability. Whether you're a small business owner or managing a project, having a clear, organized costing sheet can streamline financial management and decision-making processes. This guide will walk you through five detailed steps to create an effective costing sheet in Excel.
Step 1: Set Up Your Excel Workbook

Start by opening a new Excel workbook:
- Open Microsoft Excel: Launch the application on your computer.
- Create a new workbook: Click on “Blank workbook” or press Ctrl+N.
- Save the workbook: Immediately save your file with a descriptive name like 'CostingSheet2023' to keep your work safe and easy to find.
📝 Note: Saving early prevents loss of data and establishes your work's identity.
Step 2: Define Your Cost Categories

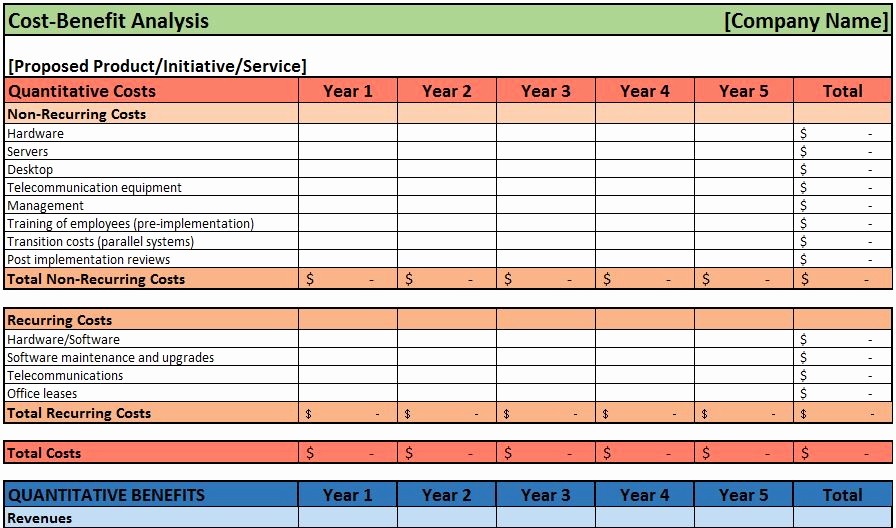
Define and list all the potential categories where costs can occur. Here's how:
- List Categories: Write down categories such as 'Materials', 'Labor', 'Overhead', 'Marketing', etc.
- Organize Categories: Group related costs together for clarity.
| Cost Category | Example Items |
|---|---|
| Materials | Raw materials, tools |
| Labor | Wages, contractor fees |
| Overhead | Rent, utilities, office supplies |
✏️ Note: Ensure you capture all potential expenses to avoid missing key cost factors.
Step 3: Input Data
Now that you have your categories, input the related data:
- Enter Costs: Fill in each category with the estimated or actual costs.
- Use Formulas: Apply simple Excel formulas to calculate totals or subtotals. For example, =SUM(B2:B10) to add up the costs in the 'Materials' column.
🧮 Note: Using formulas reduces errors and allows for dynamic updates as data changes.
Step 4: Format and Style the Sheet

To make your costing sheet visually appealing and easier to read:
- Choose Fonts and Colors: Use clear, legible fonts and color coding for differentiation (e.g., red for negative values).
- Use Formatting: Apply bold, italic, or underline where necessary for headings or important figures.
- Border and Shading: Add borders to cell groups and apply shading to highlight key areas or total sums.
Step 5: Review and Finalize
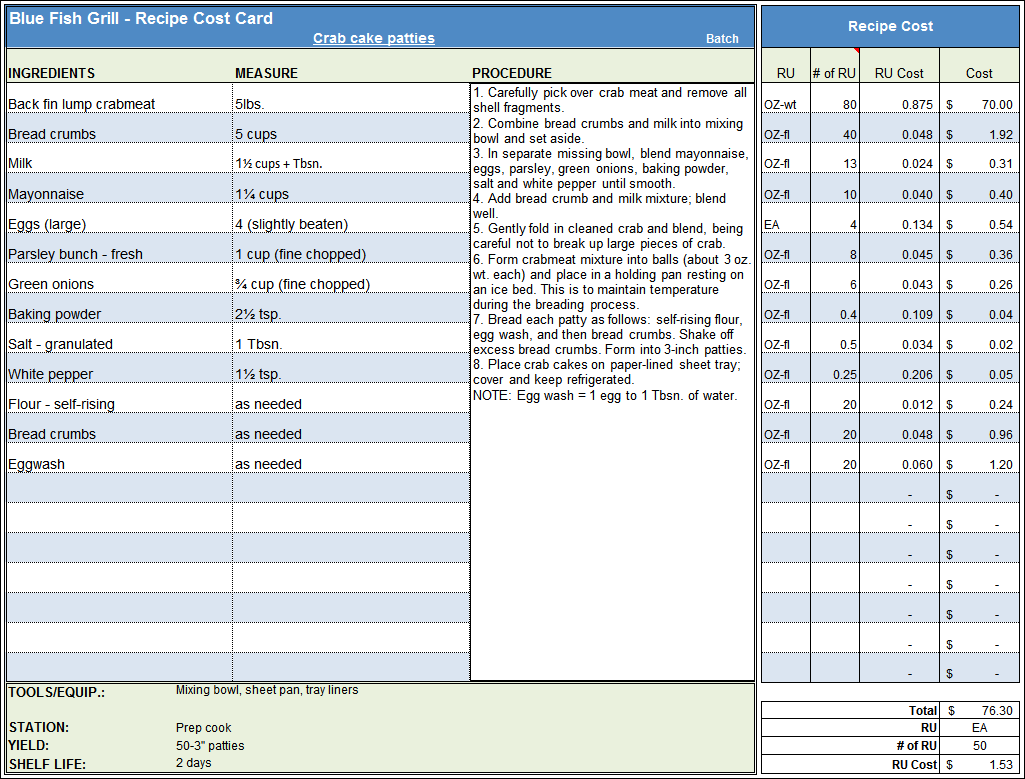
After setting up your sheet:
- Double-Check: Review all entries for accuracy.
- Validate Formulas: Ensure all formulas are calculating correctly and adapt them if needed.
- Save and Backup: Save your finalized costing sheet and consider creating a backup.
📂 Note: Regularly saving and backing up your work protects against data loss.
Through these steps, you've created a practical and functional costing sheet in Excel that will help you manage costs effectively. This document not only aids in financial planning but also in communicating cost structures to stakeholders or team members. Each step ensures that your costing sheet is accurate, comprehensive, and user-friendly, facilitating better decision-making and cost control in your business or project.
Can I use Excel’s built-in templates for a costing sheet?
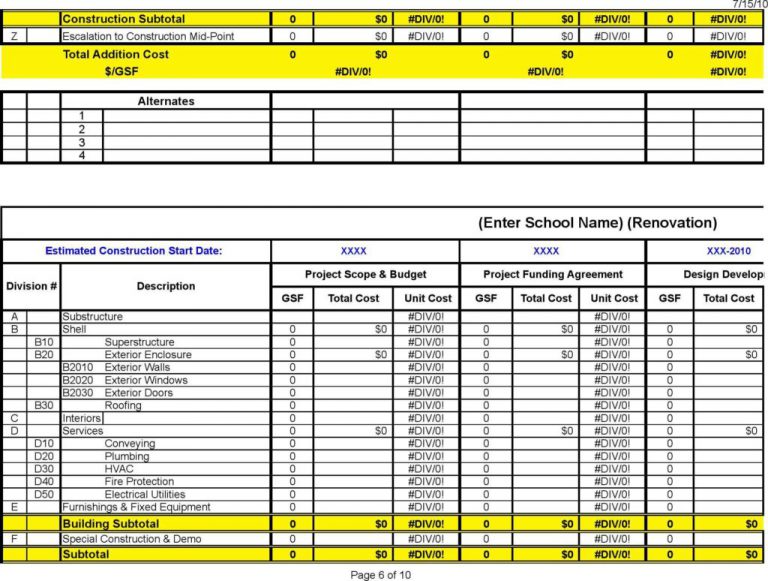
+
Yes, Excel provides templates which can serve as a starting point for your costing sheet. You can customize these to fit your specific needs.
How often should I update my costing sheet?

+
The frequency depends on your business or project’s needs. Monthly updates are common for tracking purposes, but real-time updates could be necessary during project phases or when costs change significantly.
What should I do if I need to share my costing sheet?

+
Excel files can be shared via email, cloud storage (like OneDrive or Google Drive), or even with Excel Online if you have Microsoft 365. Ensure to protect sensitive data if necessary with password protection or permissions.