Excel Balance Sheet Tutorial on YouTube - Quick Guide

Creating a balance sheet in Excel is not just a basic financial exercise; it's a vital practice for anyone looking to understand the financial health of a business or personal finances. This guide will walk you through the creation of a balance sheet, utilizing the power of Microsoft Excel. Whether you're an aspiring accountant, a business owner, or just someone keen on managing their finances, this tutorial will equip you with the essential skills to efficiently organize your financial data. The following tutorial assumes you have basic knowledge of Excel, but even beginners can follow along with ease.
Understanding the Balance Sheet

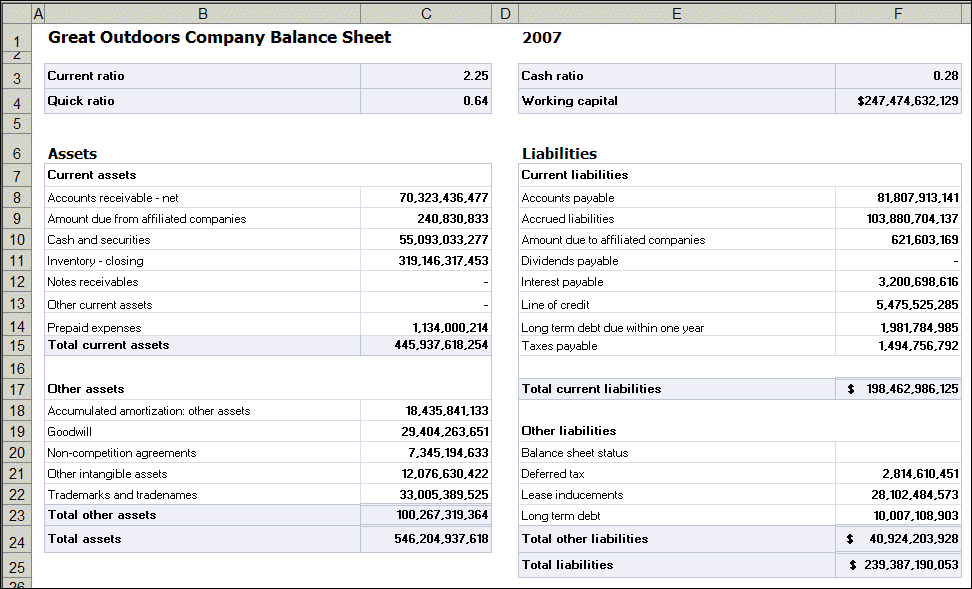
A balance sheet is a financial statement that provides a snapshot of your assets, liabilities, and equity at a specific point in time. Here's what each section entails:
- Assets: Everything of value that your company owns, categorized into current and non-current assets.
- Liabilities: What your company owes to others, separated into current and long-term liabilities.
- Equity: The net worth of the company, calculated as Assets minus Liabilities, often referred to as shareholder's equity in corporate finance.
Step-by-Step Guide to Creating a Balance Sheet in Excel

Setting Up Your Excel Sheet

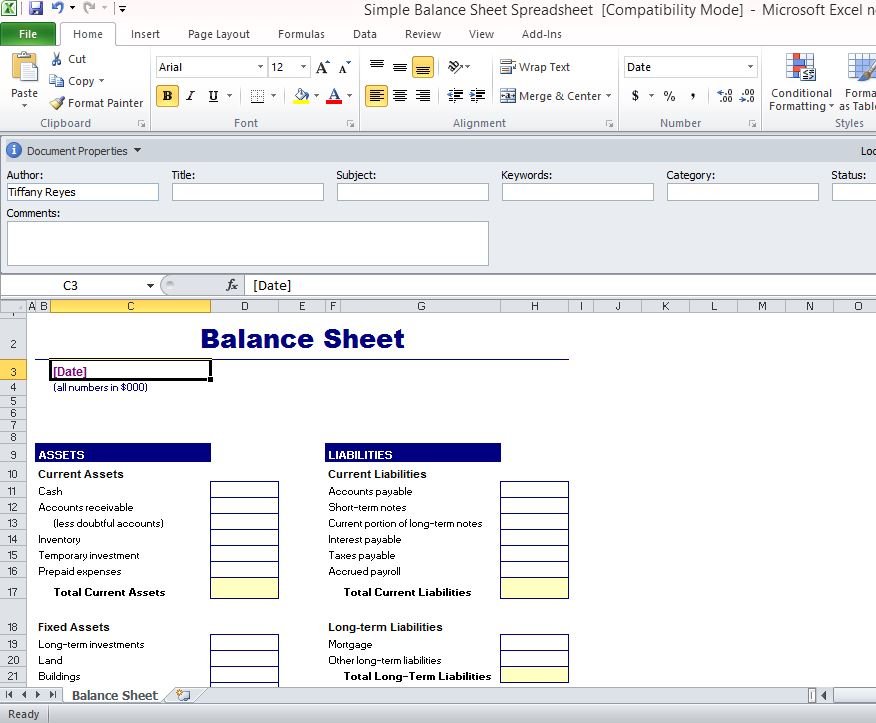
Begin by opening Microsoft Excel, selecting a blank workbook, and renaming the default Sheet1 as "Balance Sheet". Here's how to get started:
- Double-click on the sheet name at the bottom of the window and type "Balance Sheet" to rename.
- Use the formatting tools to change the font, font size, and color for headers to make your balance sheet visually appealing.
Creating the Header

At the top of your balance sheet, add your company name or your name if it's for personal finance, the report title, and the date:
| Company Name | Report Title | Date |
|---|---|---|
| ABC Corp | Balance Sheet | 01 Jan 2023 |

📝 Note: Ensure the date is in a uniform format, ideally the one you use for accounting purposes.
Listing Assets

Below the header, set up sections for assets:
- Click on cell A3 to start.
- Type in "Assets" and format it with bold and underline.
- Add categories and subcategories as follows:
- Current Assets
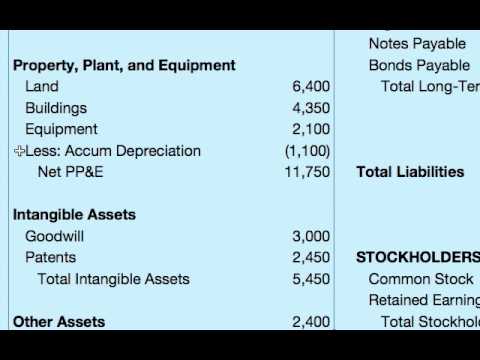
- Non-Current Assets (Property, Plant & Equipment, Intangible Assets, etc.)
- Input your data for each asset category. Remember to use appropriate formulas for calculation.
Listing Liabilities and Equity

Now, move to the next section to list liabilities and equity:
- Click on cell A20 to begin, assuming assets end at row 19.
- Type "Liabilities" and "Equity" with appropriate formatting.
- List your liabilities and equity items under these headers.
Using Formulas for Automatic Calculation

Excel's power lies in its ability to automatically perform calculations. Here are some key formulas to consider:
- Total Assets: Use the SUM formula to add up all the assets.
- Total Liabilities: Similarly, sum up all liabilities.
- Equity Calculation: Use the formula =Total Assets - Total Liabilities to compute equity. Ensure cells are formatted to handle large numbers correctly.
Visual Aids and Charts

To make your balance sheet more engaging and easier to interpret:
- Insert a pie chart showing the proportion of different asset types or liabilities.
- Include a line graph to show changes in equity or assets over time if you have historical data.
🖌️ Note: Charts and graphs can be an excellent tool for visual analysis but shouldn't replace the detailed numerical data.
Tips for an Effective Balance Sheet

- Keep consistent formatting; ensure all cells have the same color scheme, font, and style.
- Use headers and subheaders to distinguish between different sections and categories.
- Add conditional formatting to highlight anomalies or significant figures.
- Use cell comments to add notes or explanations for specific entries.
In conclusion, crafting a balance sheet in Excel can be a straightforward process once you understand the layout and how to utilize Excel’s functions. By following this tutorial, you can create an organized, professional, and informative financial statement that aids in tracking the financial health of a business or personal finance. Remember, accuracy is paramount; regularly updating your balance sheet with current data ensures its reliability.
Can I automate the balance sheet updating process in Excel?

+
Yes, you can use Excel’s built-in formulas and macros to automate much of the updating process. Macros can import data from other sheets or systems, and formulas can calculate totals automatically.
How often should I update my balance sheet?

+
For businesses, monthly updates are common, but quarterly or yearly updates might suffice for personal or small-scale operations. Updates should reflect significant financial changes or transactions.
What should I do if my balance sheet doesn’t balance?

+
Check for errors in data entry or calculations. Ensure all assets, liabilities, and equity are correctly categorized and summed up. The equation Total Assets = Total Liabilities + Equity must hold true; if it doesn’t, review every entry and calculation.
Can I share my balance sheet with others using Excel?

+
Yes, Excel allows you to share your workbook with others, either by saving it in the cloud or sending a copy via email. You can also use Microsoft’s collaboration features to work simultaneously on the same file.