5 Easy Steps to Craft a Balance Sheet in Excel

Understanding the Balance Sheet

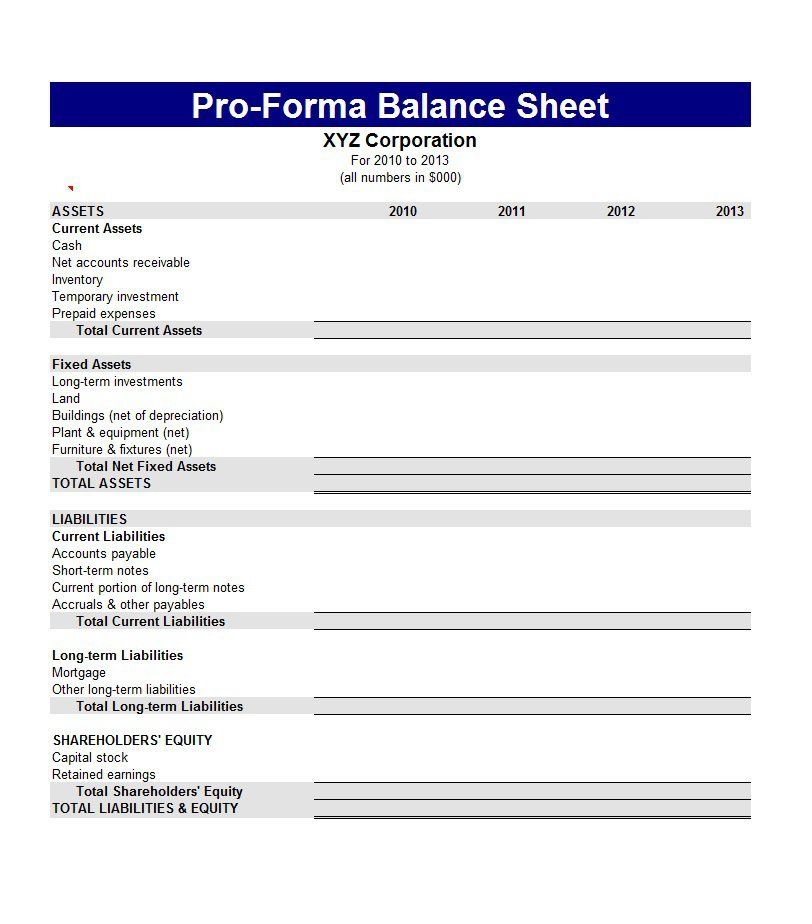
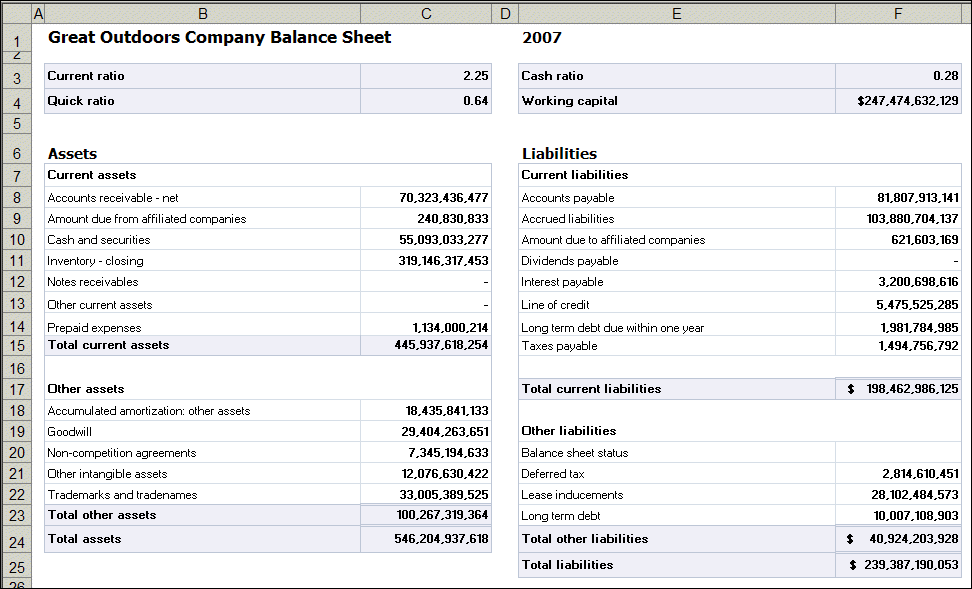
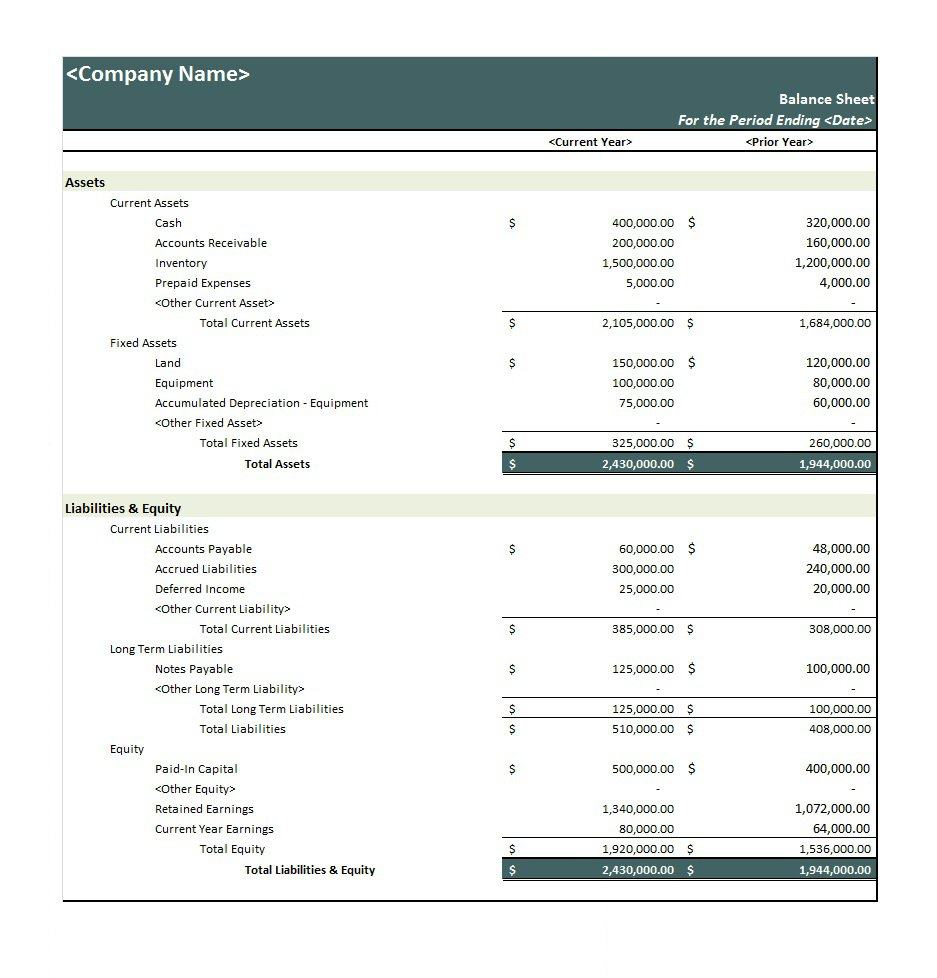
Before diving into the steps for creating a balance sheet, it's essential to understand what it is and why it's crucial for any business. A balance sheet provides a snapshot of a company's financial condition at a particular moment, listing its assets, liabilities, and equity. It reflects the basic accounting equation where Assets = Liabilities + Equity, ensuring that the resources owned by the company (assets) are equal to the claims against those resources (liabilities and equity).
A well-prepared balance sheet is not only useful for internal analysis but also for external stakeholders like investors, creditors, and shareholders. It helps in assessing the financial stability, liquidity, and the structure of financial health of the business. Here are some fundamental points:
- Assets: These are resources owned by the company that are expected to provide future economic benefits. Examples include cash, accounts receivable, inventory, and fixed assets like property or equipment.
- Liabilities: These are obligations the company needs to pay in the future, such as loans, accounts payable, and other debts.
- Equity: This represents the residual interest in the assets of the entity after deducting liabilities. It includes retained earnings, common stock, and paid-in capital.
Step 1: Organize Your Data

Begin by gathering all financial data:
- Cash and cash equivalents
- Accounts Receivable
- Inventory
- Fixed Assets
- Accounts Payable
- Loans or Debt
- Equity Investments (like owner's investment or additional capital)
- Retained Earnings
Organize this data into categories, ensuring you have clear and accurate figures for each category. Use an accounting system or financial statements if available, to help streamline this process.
📝 Note: Accuracy is key when organizing data for a balance sheet. Cross-check all figures with previous financial statements or your ledger for consistency.
Step 2: Open Excel and Set Up the Template

Open Microsoft Excel and set up a template for your balance sheet:
- Create a new workbook.
- In cell A1, type "Balance Sheet" as the title. Center align and make it bold for emphasis.
- Below that, in cells A3 to C3, add headers for "Assets", "Liabilities", and "Equity".
- Start listing assets in column A from row 4 onwards, liabilities in column B from row 4, and equity in column C from row 4.
| Assets | Liabilities | Equity |
|---|---|---|
| Cash & Equivalents | Accounts Payable | Common Stock |
| Accounts Receivable | Short-term Loans | Retained Earnings |
| Inventory | Long-term Debt | Additional Paid-In Capital |
| Fixed Assets | Total Equity |

🗒️ Note: Keep your columns wide enough to display the data clearly. Adjust the size as needed after inputting data.
Step 3: Input Data

Now, input the financial data into your template:
- Enter asset values in column A, starting from the "Cash & Equivalents" row.
- Enter liability figures in column B, beginning with "Accounts Payable".
- Fill in equity details in column C.
Ensure that:
- The data is entered in the respective rows corresponding to the list above.
- Figures are formatted correctly (e.g., currency format with two decimal places).
📅 Note: If your business operates on different fiscal years, ensure your balance sheet reflects the correct reporting period.
Step 4: Calculate Totals

Now, let's add formulas to calculate the totals:
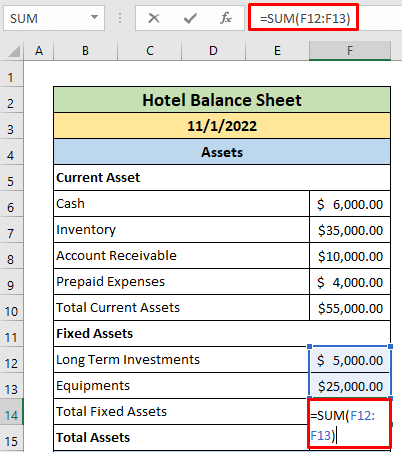
- In cell A9, use the formula
=SUM(A4:A8)to calculate the total for assets. - In cell B9, calculate the sum of liabilities with
=SUM(B4:B8). - In cell C9, calculate the equity total with
=SUM(C4:C8).
Your balance sheet should now look like this:
| Assets | Liabilities | Equity |
|---|---|---|
| Cash & Equivalents | Accounts Payable | Common Stock |
| Accounts Receivable | Short-term Loans | Retained Earnings |
| Inventory | Long-term Debt | Additional Paid-In Capital |
| Fixed Assets | Total Equity | |
| Total Assets | Total Liabilities |
⚠️ Note: Be sure to format the total rows with a different background or text color for clarity.
Step 5: Verify and Balance

The final and arguably the most important step is to ensure that your balance sheet balances:
- In cell D9, you can add a formula to verify the equation:
=A9 - (B9 + C9). This cell should equal zero, ensuring that the total assets equal the sum of liabilities and equity. - If the result is not zero, you need to recheck your entries for errors.
A small tip:
- Use conditional formatting to highlight the result in cell D9 in green if it's zero or red if it isn't.
Once the balance is verified, you can format the spreadsheet:
- Use borders to separate different sections.
- Format headers in bold or with different font colors.
- Ensure readability by adjusting column widths and row heights as needed.
By following these five steps, you can effectively create a balance sheet in Excel, providing a clear picture of your company's financial health.
Why is it important for a balance sheet to balance?

+
Ensuring your balance sheet balances is vital because it verifies that the company’s assets are correctly accounted for, showing the financial health and solvency of the business. If the balance sheet doesn’t balance, it can indicate errors in financial reporting or accounting, which can mislead stakeholders and affect decision-making.
What are the common assets listed on a balance sheet?

+
Common assets on a balance sheet include:
- Cash and Cash Equivalents
- Accounts Receivable
- Inventory
- Property, Plant, and Equipment
- Prepaid Expenses
How often should a balance sheet be prepared?

+
A balance sheet is typically prepared at the end of each financial reporting period, commonly on a monthly, quarterly, or annual basis. This frequency allows for timely analysis of the company’s financial health and for making informed strategic decisions.