5 Simple Steps to Alphabetize Your Excel Sheet

Excel is a powerful tool for data organization, but even with its capabilities, keeping your data in alphabetical order can greatly enhance your productivity and data management efficiency. In this guide, we'll delve into five simple yet effective steps to alphabetize your Excel sheet, making it easier to find and analyze information.
Step 1: Open Your Excel Workbook

Start by opening the Excel file where your data is located. Ensure that your data is formatted in a table or list, which will facilitate the sorting process. Here’s how:
- Open Microsoft Excel on your computer.
- Click on ‘File’ and then ‘Open’ to navigate to your workbook, or simply double-click the file if it’s on your desktop or accessible folder.
💡 Note: Ensure your Excel is up-to-date to avoid any compatibility issues with sorting features.
Step 2: Select the Range of Cells

Before sorting, you need to select the range of cells you want to alphabetize:
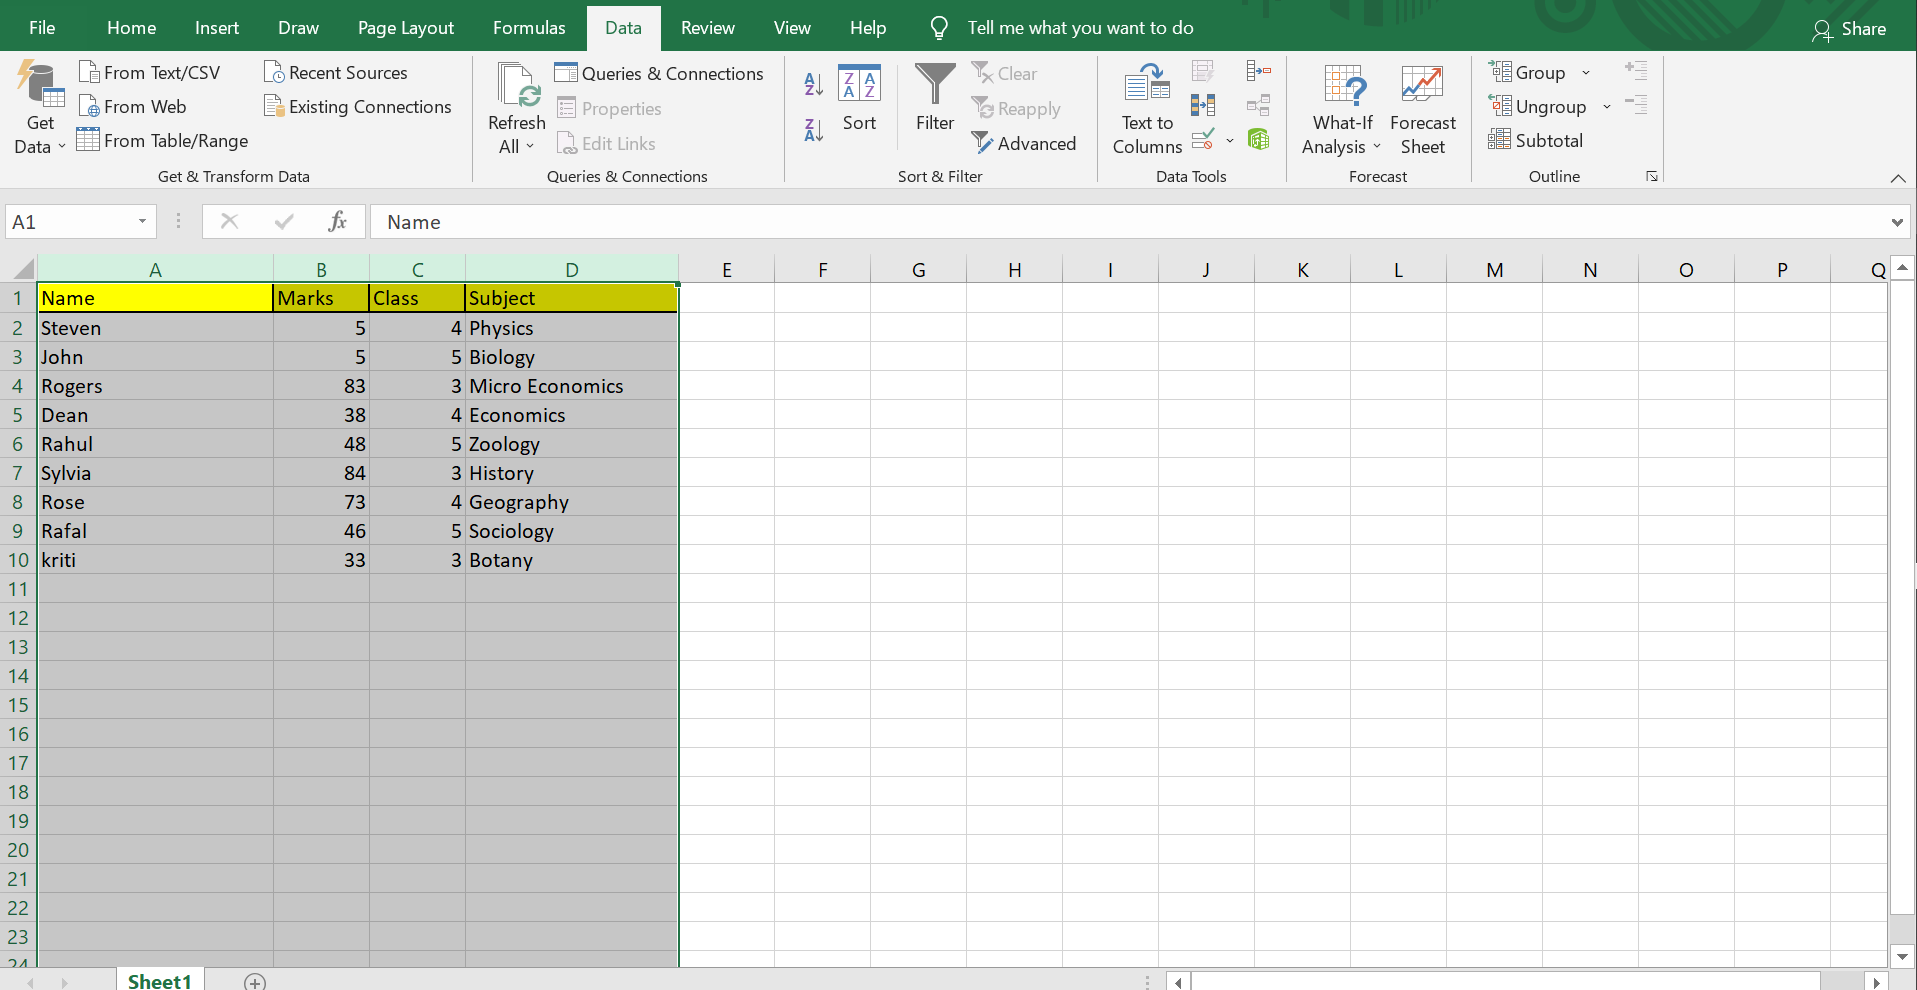
- Click and drag your mouse across the cells you wish to sort, or press Ctrl+A if you want to select all.
- Make sure to select both column headers and the data below them if your data includes headers.
📝 Note: If headers are not part of the initial selection, Excel might sort them as data, which can lead to confusion.
Step 3: Access the Sort Feature

To initiate the sorting process, follow these steps:
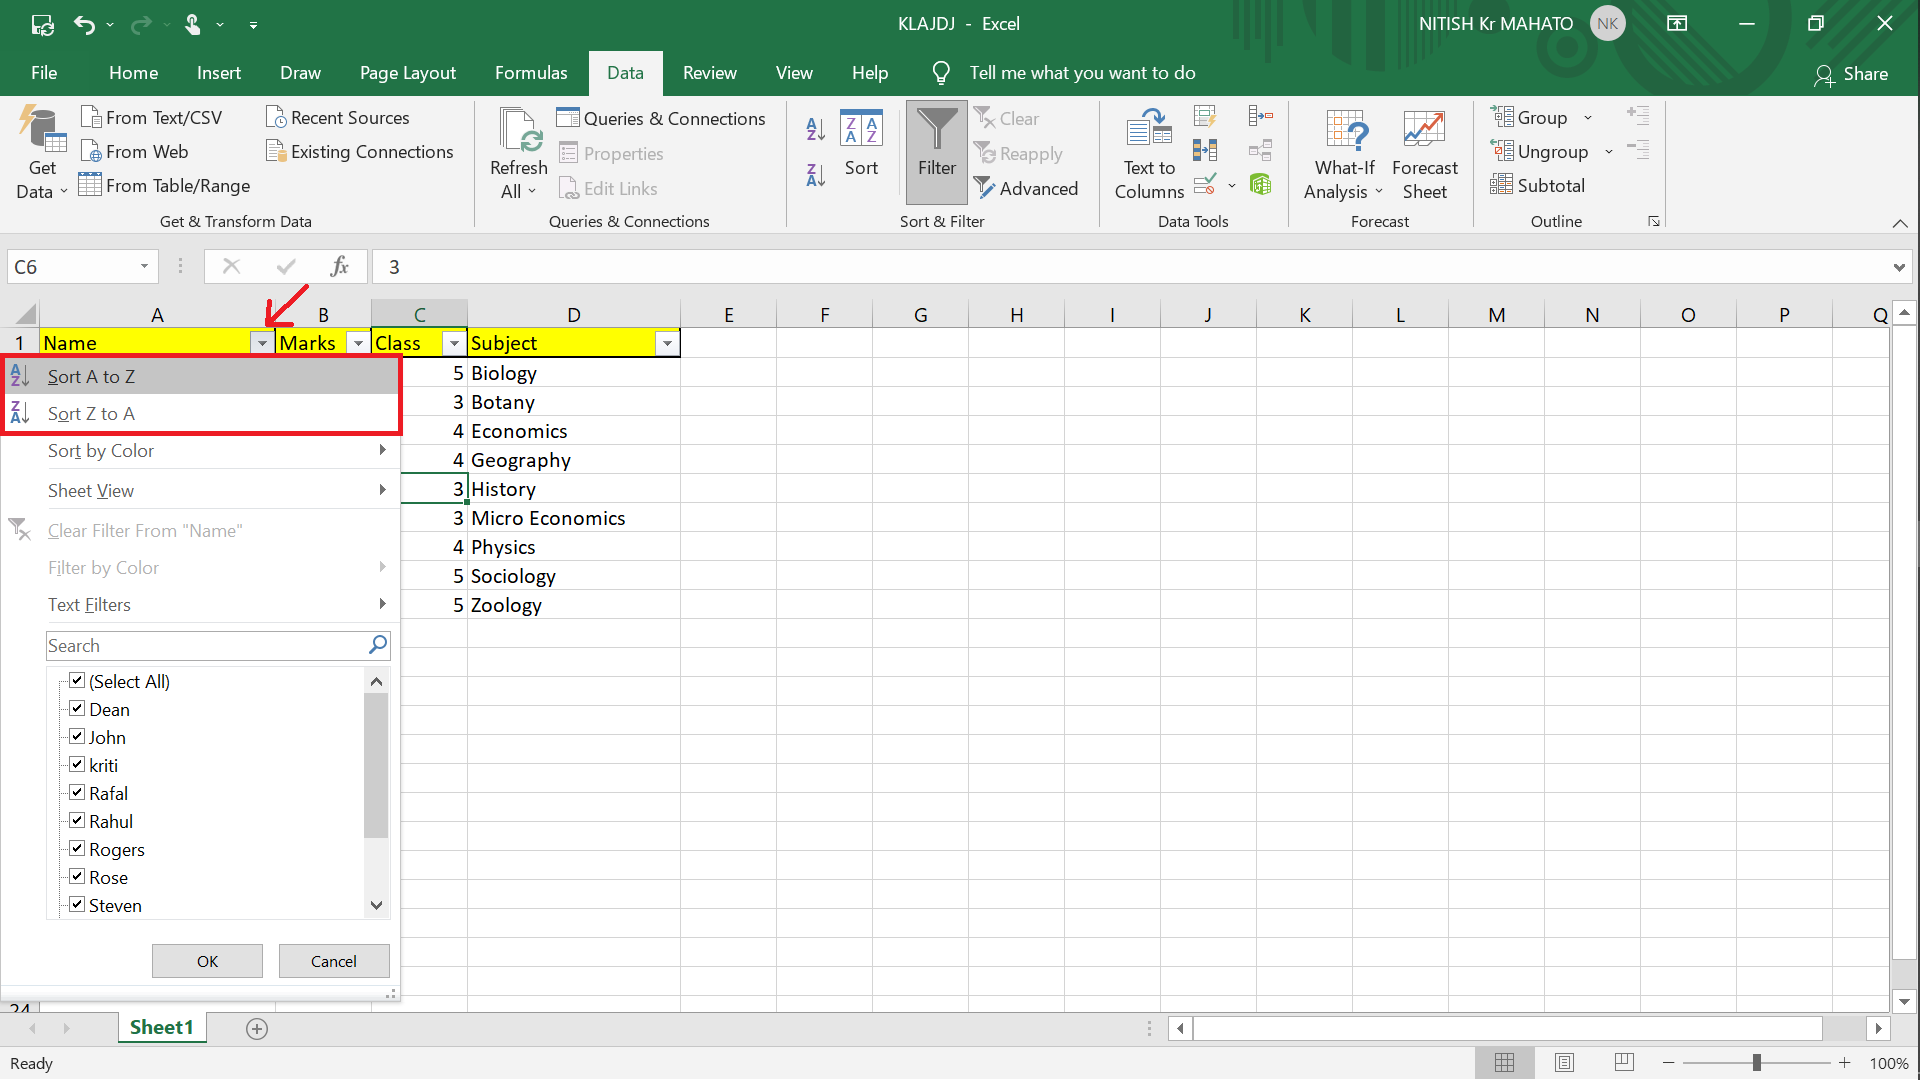
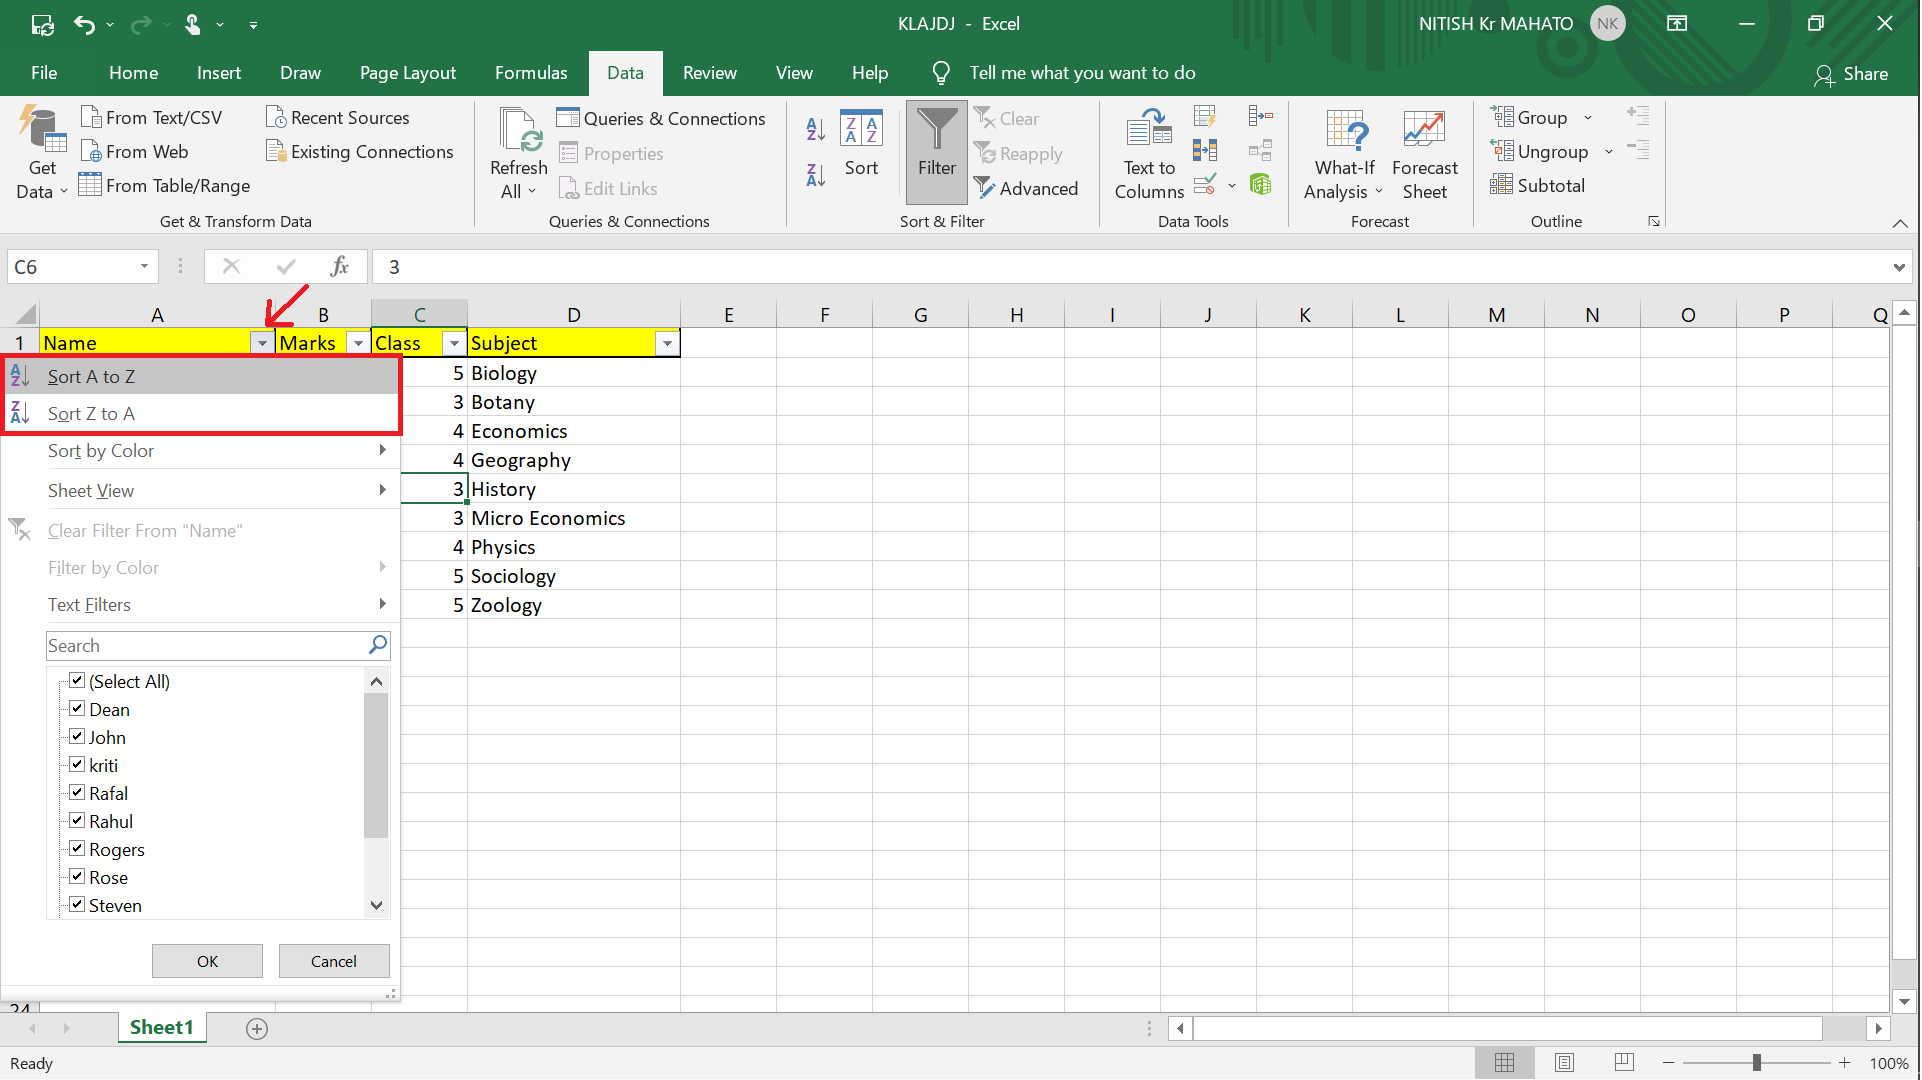
- Go to the ‘Home’ tab, click on the ‘Sort & Filter’ button, and choose ‘Sort A to Z’ for ascending order or ‘Sort Z to A’ for descending order.
- Alternatively, you can right-click on the selected cells and choose ‘Sort A to Z’ or ‘Sort Z to A’ from the context menu.
Step 4: Specify Sort Criteria

If you’re working with a more complex dataset:
- Choose ‘Custom Sort’ from the ‘Sort & Filter’ dropdown or access it via the right-click menu.
- In the dialog box, you can specify which column to sort by, choose whether headers are present, and even add multiple levels of sorting (primary, secondary, etc.).
| Option | Action |
|---|---|
| Add Level | Allows sorting by multiple columns in order of priority |
| Header Row | Indicate if headers are part of the selection |
| Sort On | Choose to sort by cell values, cell color, or font color |

🔎 Note: Multi-level sorting can be invaluable for organizing data in tables or for detailed data analysis.
Step 5: Execute the Sort

With your criteria set, it’s time to finalize the sorting:
- Review your sort options to make sure they’re correctly set for your needs.
- Click ‘OK’ to apply the sort. Excel will automatically update your sheet based on the sort order you’ve specified.
🛑 Note: Sorting can overwrite existing data, so always save a backup or use Excel's 'Undo' feature if you make a mistake.
In summary, mastering the art of alphabetizing your Excel sheet can make a world of difference in how quickly and effectively you can manage your data. By following these five straightforward steps, you can streamline your data organization process, making analysis and retrieval much more efficient. Keep in mind the notes for each step to avoid common pitfalls, and with practice, these steps will become second nature.
What if my data has headers?

+
Excel allows you to specify if your data includes headers when you’re setting up the sort criteria. Make sure to check this option to prevent your headers from being sorted as data.
Can I undo a sort in Excel?

+
Yes, if you’ve sorted your data and wish to undo it, simply press Ctrl+Z or go to ‘Undo’ in the quick access toolbar. If you’ve saved and closed the file, you’ll need a backup or manually rearrange the data.
How do I alphabetize only part of my spreadsheet?

+
To sort a specific range, select the cells you want to organize. Use the ‘Sort A to Z’ or ‘Sort Z to A’ options from either the ‘Sort & Filter’ menu or right-click context menu for that selected range.