5 Tips to Fit Excel Sheet on One Page

Printing your Excel spreadsheet in a manageable format can often be a challenge, especially if you're working with large sets of data. Ensuring your Excel sheet fits on one page not only makes your data look neater but also saves paper, time, and effort when printing. Here are five practical tips to help you master the art of fitting your Excel data onto a single page.
Fit Your Columns to a Specific Width

The key to fitting Excel data on one page often lies in managing the column widths effectively:
- Select the column or range of columns you want to adjust.
- Right-click and choose “Column Width” from the context menu.
- Enter a width value that allows your data to fit within the desired page layout. Remember, the standard paper sizes like A4 or Letter have specific width constraints.
🔍 Note: Keep an eye on the zoom level in Print Preview to ensure everything fits nicely within one page.
Adjust Row Heights

Just like with column widths, row heights can significantly affect how much data fits on a page:
- Right-click the row or range of rows.
- Select “Row Height” from the context menu.
- Set a height that optimizes your data without squashing it.
Don’t forget to test print settings to make sure your data is both legible and fits on a single page.
Optimize Margins and Orientation

Margins and page orientation can dramatically alter how your Excel data fits on a single page:
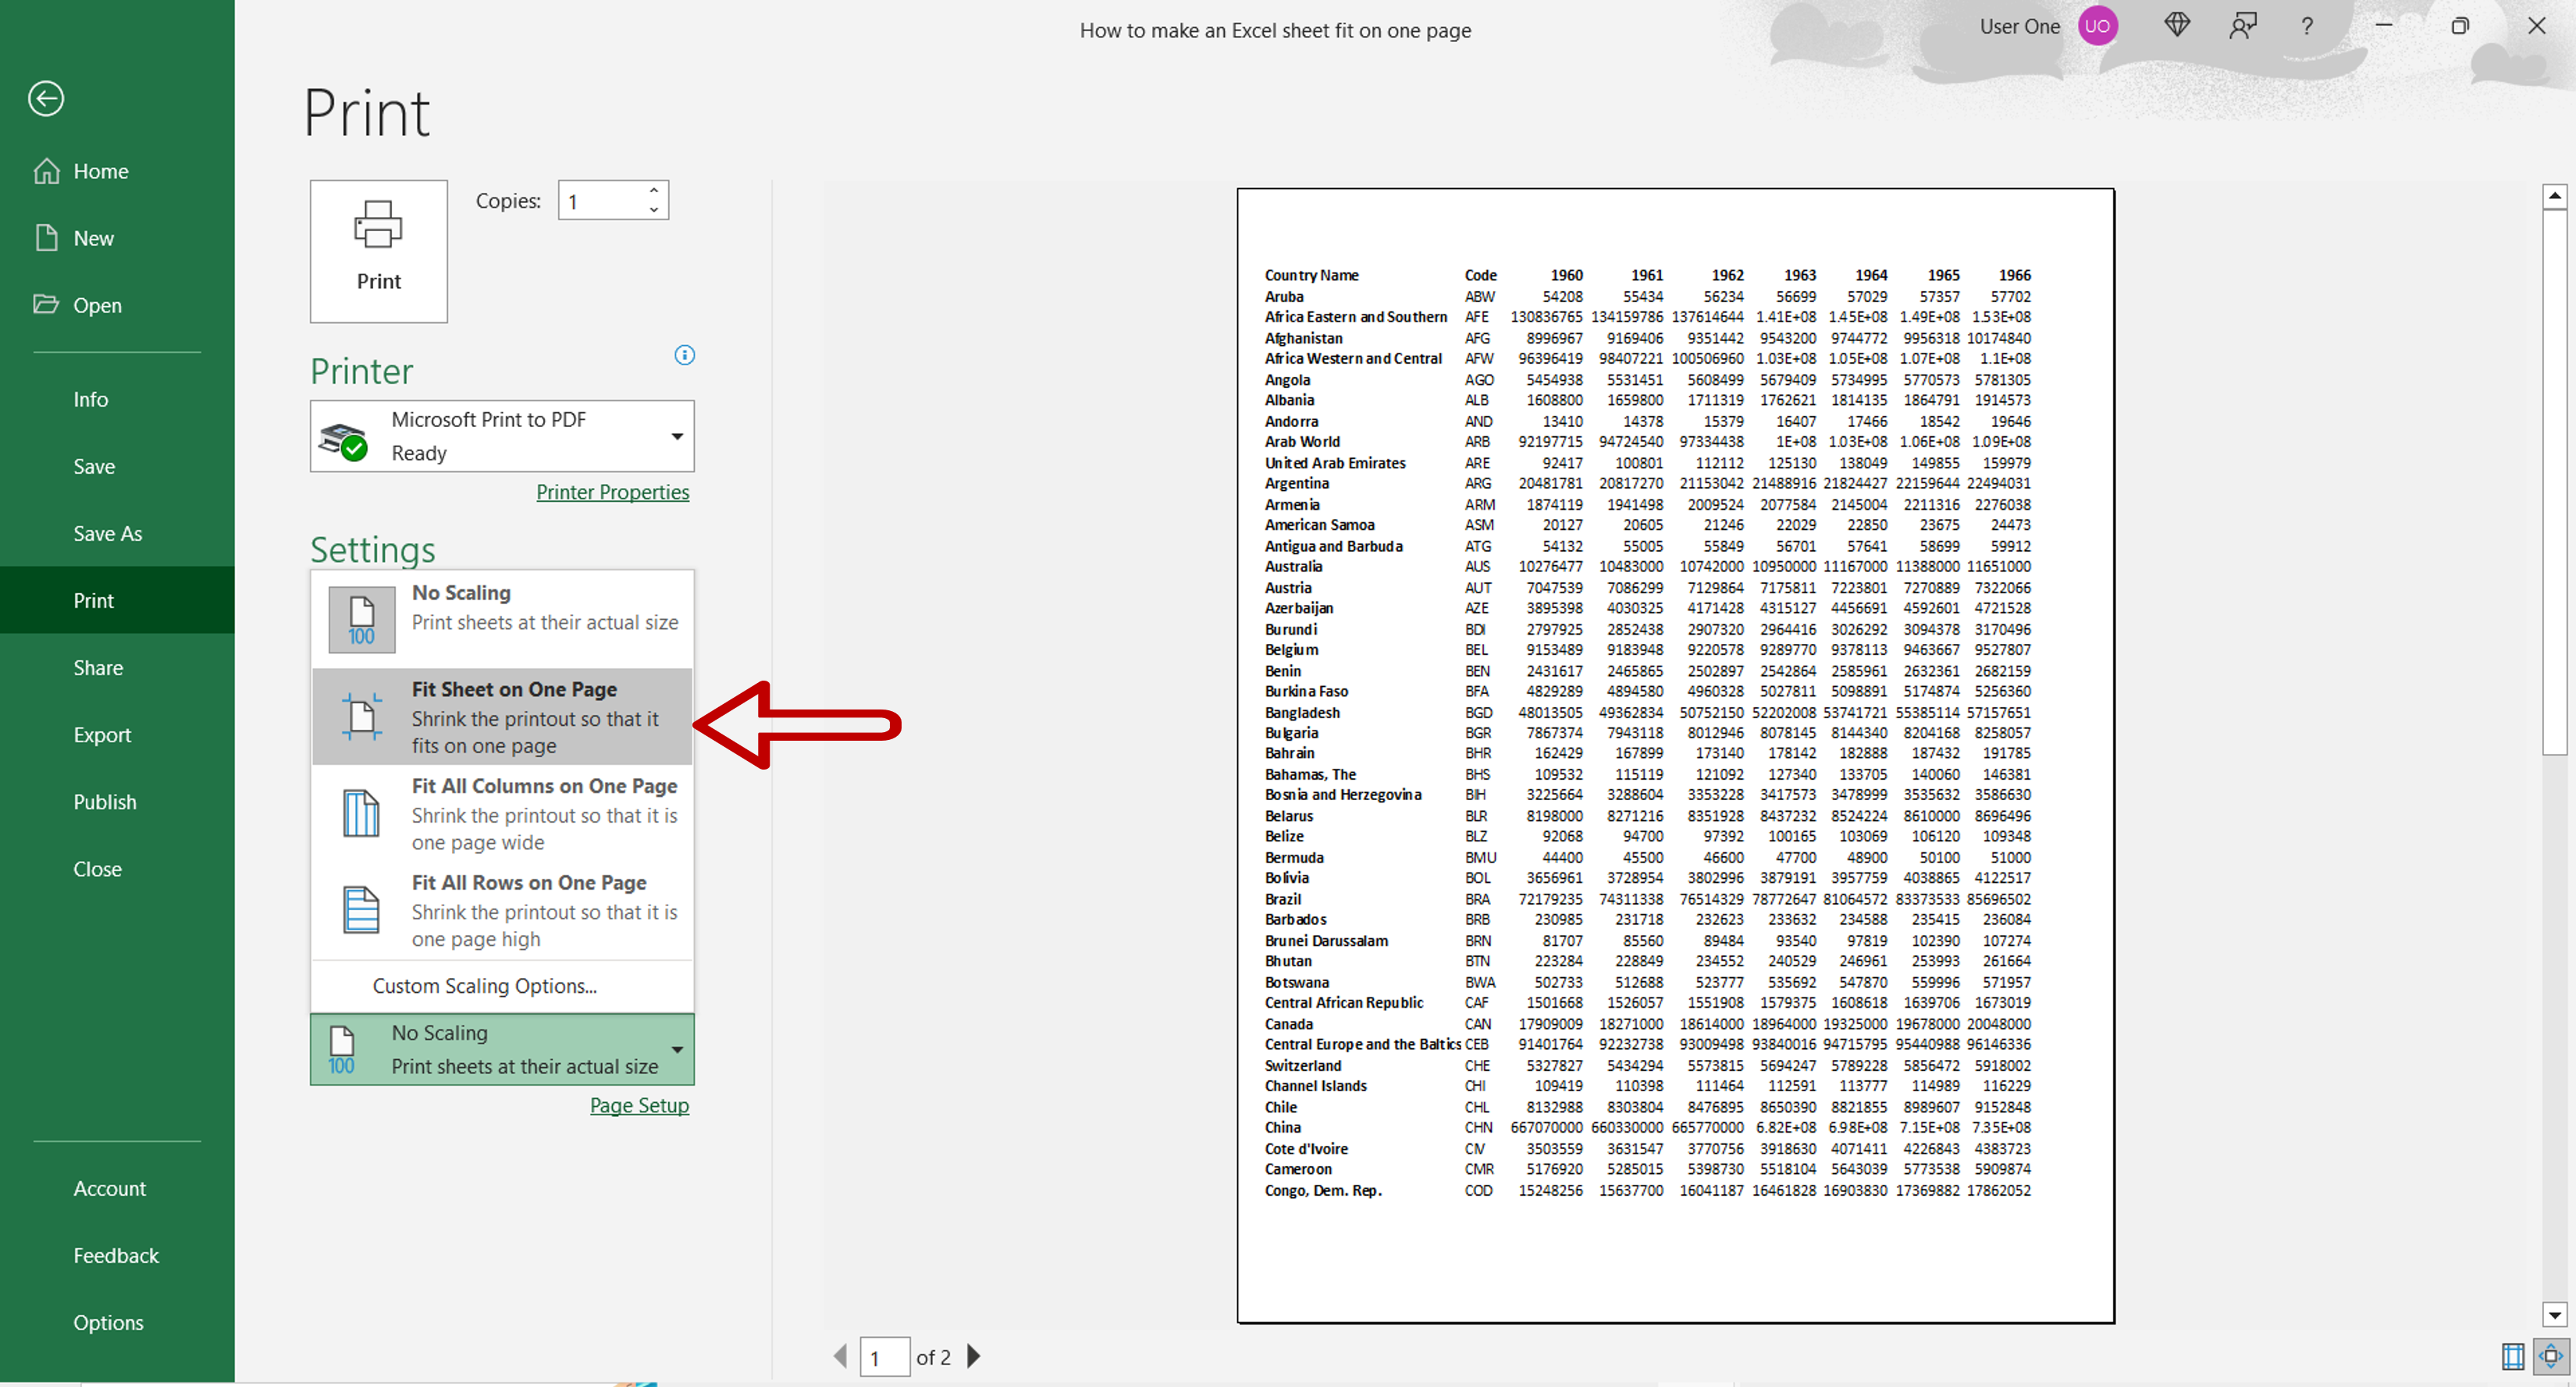
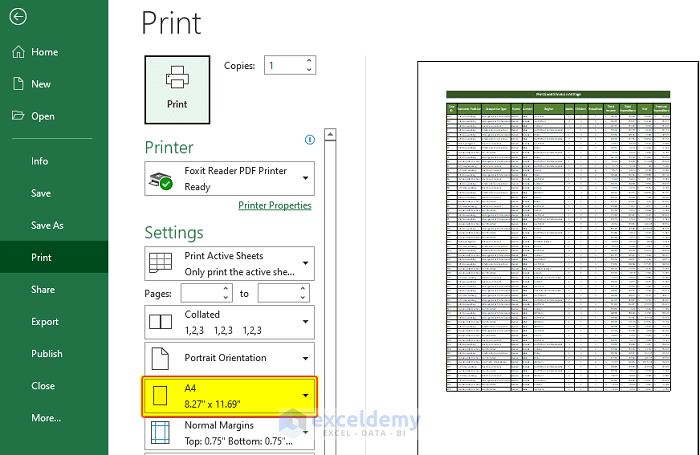
- Navigate to File > Print to access the Print settings.
- Adjust the margins to the smallest possible size.
- Consider changing the orientation to Landscape if you have more columns than rows or vice versa.
📏 Note: Landscape orientation often helps when you have wide spreadsheets.
Scale Your Data to Fit

If adjusting column widths and row heights isn’t enough, Excel’s Scale to Fit group can be a lifesaver:
- Go to Page Layout > Scale to Fit group.
- Adjust the scaling percentage in Scale. Excel will attempt to fit your data onto one page based on this percentage.
- Or, use Width and Height options to fit your data to one page by selecting “1 page” for each.
Use Page Break Preview

To ensure your adjustments are effective, use the Page Break Preview feature:
- Go to View > Page Break Preview.
- You’ll see blue dashed lines indicating page breaks. Drag these lines to control how data fits on each page.
- Keep in mind that these changes aren’t saved with your Excel file but can guide your data arrangement.
🔍 Note: The Page Break Preview can help visualize your print area and make necessary changes for optimal printing.
In summary, fitting an Excel sheet onto one page involves a blend of understanding your data’s layout and making smart adjustments within Excel’s printing settings. Here are the key takeaways:
- Manage column widths and row heights judiciously to ensure readability while fitting data.
- Use margin settings, scaling, and page orientation to optimize space use.
- Leverage the Page Break Preview to fine-tune your layout adjustments before printing.
How can I quickly fit an Excel sheet to one page?

+
You can use the Print Area feature or adjust the scale percentage in Page Layout > Scale to Fit group to fit your Excel sheet onto one page.
Does changing row heights affect data fitting on one page?

+
Yes, adjusting row heights can impact how much data fits on a page. Making rows too tall might require scaling or pagination to fit everything on one page.
Is it possible to fit large datasets onto one page in Excel?

+
With very large datasets, fitting everything on one page becomes challenging. In such cases, consider summarizing or using Excel’s built-in functions like Subtotal or PivotTable to display the most critical data.