Uniformly Format All Excel Sheets in One Go

Ever found yourself spending hours on end formatting multiple Excel spreadsheets only to wish there was a quicker, more efficient way? Well, the truth is, there is! Uniformly formatting all Excel sheets can save time, reduce manual errors, and maintain consistency across your workbooks. Here, we'll guide you through a step-by-step process to format your Excel sheets uniformly in one go.
Prerequisites

Before we jump into the formatting steps, make sure you have:
- Microsoft Excel installed on your computer.
- A basic understanding of Excel’s interface and functions.
- An Excel workbook open with multiple sheets you want to format.
Steps to Uniformly Format All Sheets

The following steps will help you apply a uniform formatting template across all sheets in your Excel workbook:
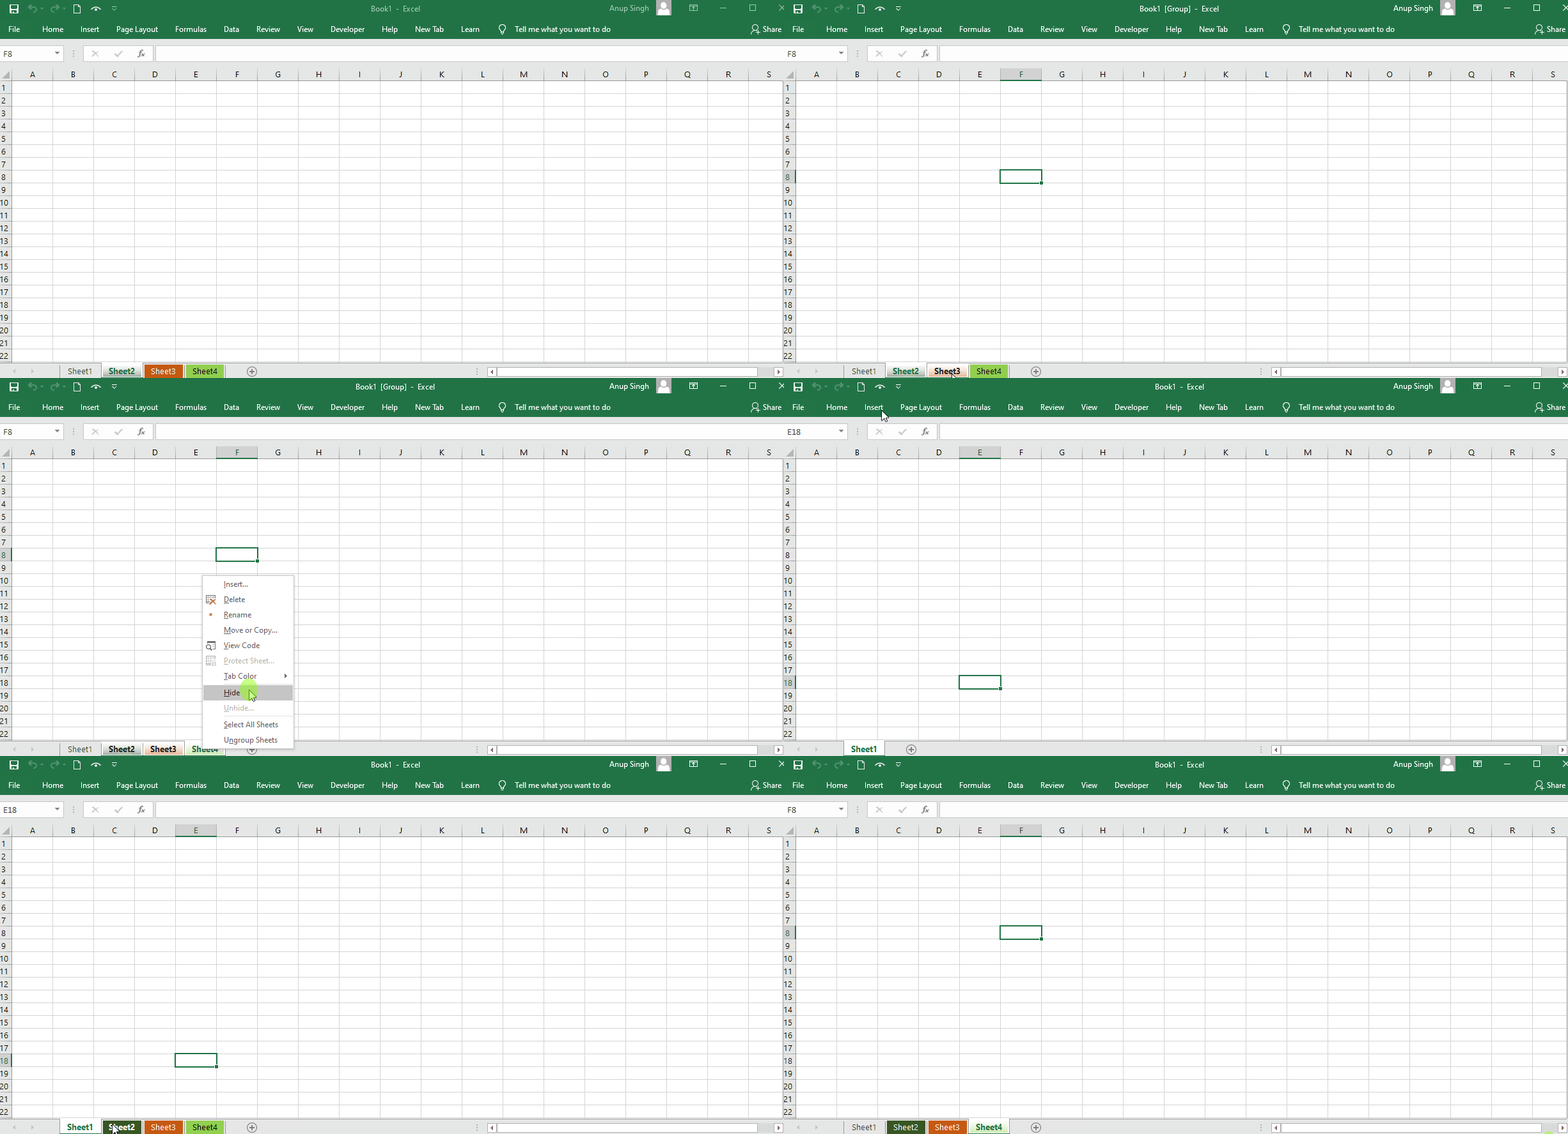
1. Use the Group Sheets Feature

The first step involves grouping all your sheets together:
- Click on the first sheet tab you wish to format.
- Hold down the Shift key.
- Click on the last sheet tab to select all sheets in between.
⚠️ Note: When sheets are grouped, any changes made will apply to all selected sheets.
2. Apply Your Desired Formatting

Now, with your sheets grouped, you can start applying your format:
- Set font styles, sizes, and colors for cells.
- Adjust row heights and column widths uniformly.
- Apply number formats, borders, and alignment settings.
- Insert headers or footers if required.
- Use Conditional Formatting to highlight data based on conditions.
✨ Note: Excel has many pre-defined styles that can save you time if you’re looking for consistency without the hassle of customizing everything from scratch.
3. Automate with VBA Macros

To speed up the process even more, you can write a VBA macro to automate repetitive formatting tasks:
- Press ALT + F11 to open the VBA editor.
- Select Insert > Module to create a new macro.
- Copy and paste the following code:
Sub UniformFormatting() Dim ws As Worksheet For Each ws In ThisWorkbook.Worksheets With ws.Cells .Font.Name = "Arial" .Font.Size = 12 .HorizontalAlignment = xlCenter .VerticalAlignment = xlTop .NumberFormat = "General" .WrapText = False End With ws.Rows(1).RowHeight = 30 ws.Columns("A:A").ColumnWidth = 25 ws.Columns("B:B").ColumnWidth = 15 Next ws End Sub- Close the VBA editor and return to Excel.
- Run the macro by pressing ALT + F8, select your macro and hit 'Run'.
🚀 Note: Macros are a powerful tool for efficiency, but remember to enable macros only from trusted sources to avoid security risks.
4. Un-group Sheets

Once you've finished formatting, you'll need to un-group your sheets:
- Right-click any of the selected tabs.
- Choose 'Ungroup Sheets' from the context menu, or
- Click on any non-grouped sheet tab.
Final Thoughts

The ability to uniformly format all Excel sheets in one go is not just about saving time; it’s about maintaining consistency and professionalism across your documents. This process reduces the chances of errors, ensures that data looks uniform across reports, and makes your work much more presentable. Implementing these steps can transform how you manage Excel workbooks, leading to increased productivity and better data presentation.
Can I apply different formatting for specific sheets?

+
Yes, you can. If you wish to apply different formatting for some sheets, you’ll need to apply uniform formatting separately to those sheets or customize the macro to include conditional formatting based on sheet names.
Will the macro work if new sheets are added later?

+
The macro provided in the example will apply formatting to all existing sheets in the workbook. If new sheets are added, you would need to run the macro again or modify it to include a check for newly added sheets.
Can I save my formatting as a template?

+
While you can’t save the macro itself as a template, you can save the workbook as a template (File > Save As > Excel Template). This way, when you start a new workbook from the template, it will include your macro. Remember to enable macros when opening the template for the macro to function.