5 Steps to Create a Weekly Excel Check Sheet

Creating a weekly Excel check sheet can significantly enhance your productivity, whether it's for personal tasks or project management at work. This guide will walk you through the process of setting up an Excel check sheet to monitor tasks and progress effectively over a week.
Step 1: Plan Your Layout

Before diving into Excel, take a moment to outline what you need. Here's what to consider:
- What tasks need tracking?
- Who is responsible for each task?
- How detailed should your check sheet be?
Once you have a clear idea, sketch a rough layout on paper or in a note-taking app:
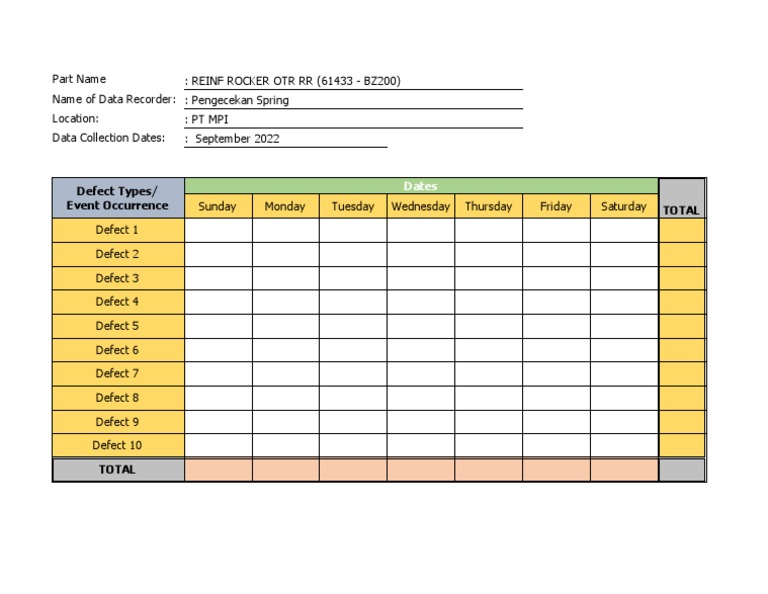
| Day | Task | Status | Assigned To | Notes |
|---|---|---|---|---|
| Monday | Task A | Not Started / In Progress / Completed | Person X | Any comments or notes |

📝 Note: Your layout should be straightforward, scalable, and intuitive for all users.
Step 2: Set Up Your Excel Sheet

Open Excel and begin setting up your weekly check sheet:
- Insert a new sheet: Choose a blank worksheet for your check sheet.
- Name your sheet: Rename it to something like "Weekly Check Sheet" for clarity.
- Structure your data: Fill in the cells with the headers from your layout plan:
- Use 'Day' for the column header of the day names.
- Merge and center the header cells as needed for a clean look.
- Format the 'Status' column with dropdown options.
📝 Note: Use Excel's formatting tools for visual appeal. Color-code cells or use borders to make the sheet more readable.
Step 3: Customize Your Check Sheet

Here, you'll tailor the Excel check sheet to your needs:
- Conditional Formatting: Use color changes to indicate status (e.g., red for 'Not Started', yellow for 'In Progress', and green for 'Completed').
- Data Validation: Set up dropdown lists for the 'Status' column to standardize entries.
- Formulas: Include formulas for automatic calculations like progress percentage or overdue alerts.
- Notes: Enable comments or notes for additional context or explanations.
📝 Note: Maintain consistency in your customizations to avoid confusion and ensure easy updates.
Step 4: Automate and Protect

Excel allows for some automation and protection features:
- Automation: Use macros or conditional formatting for updating tasks automatically.
- Protection: Protect cells to prevent accidental changes to the structure of your check sheet.
Remember, automation should reduce workload, not complicate it:
📝 Note: Avoid over-automation which might make the sheet hard to maintain or understand for others.
Step 5: Share and Collaborate

Once your weekly Excel check sheet is set up, it's time to share:
- Save and Share: Save the file in a common format or cloud storage to facilitate collaboration.
- Collaborate: Use shared workbooks or tools like Microsoft Teams to allow multiple users to edit simultaneously.
- Explain: Provide instructions on how to use the check sheet to ensure it's used correctly.
Lastly, make sure your team knows how to interact with the sheet:
📝 Note: Ensure all users have appropriate permissions to edit or view the check sheet, keeping data security in mind.
To wrap up, creating a weekly Excel check sheet requires thoughtful planning, customization, and proper implementation. This tool can transform your task management, ensuring everyone stays aligned, tasks are tracked effectively, and deadlines are met with ease. It simplifies collaboration and offers a visual overview of progress, making it an indispensable tool for both personal and professional organization.
How often should I update my Excel check sheet?

+
It’s advisable to update your Excel check sheet daily to keep track of progress and ensure tasks are on schedule. Weekly updates are crucial for reviewing the progress and planning ahead.
What if my tasks change frequently?

+
Design your Excel check sheet to be flexible. Use columns like ‘Notes’ to track changes and consider keeping a ‘Change Log’ within the sheet to monitor modifications to tasks and priorities.
Can I customize the check sheet for different types of tasks?

+
Absolutely. Customize headers, add or remove columns, use dropdown lists, and conditional formatting to suit your needs. Excel’s versatility allows you to adapt the sheet for various task types.
How do I manage permissions for team members?

+
Use Excel’s ‘Review’ tab to protect the workbook or specific sheets with passwords. Assign editing rights to team members based on their roles to prevent unauthorized changes.