5 Easy Steps to Create a Tick Sheet in Excel
Have you ever found yourself needing to track multiple tasks or items in a project? Creating a tick sheet in Microsoft Excel can be incredibly useful for managing tasks, inventories, or any list where you need a quick visual confirmation of completion. Here, we'll guide you through five easy steps to make your own tick sheet, ensuring your project management or tracking becomes more efficient and visually appealing.
What is a Tick Sheet?
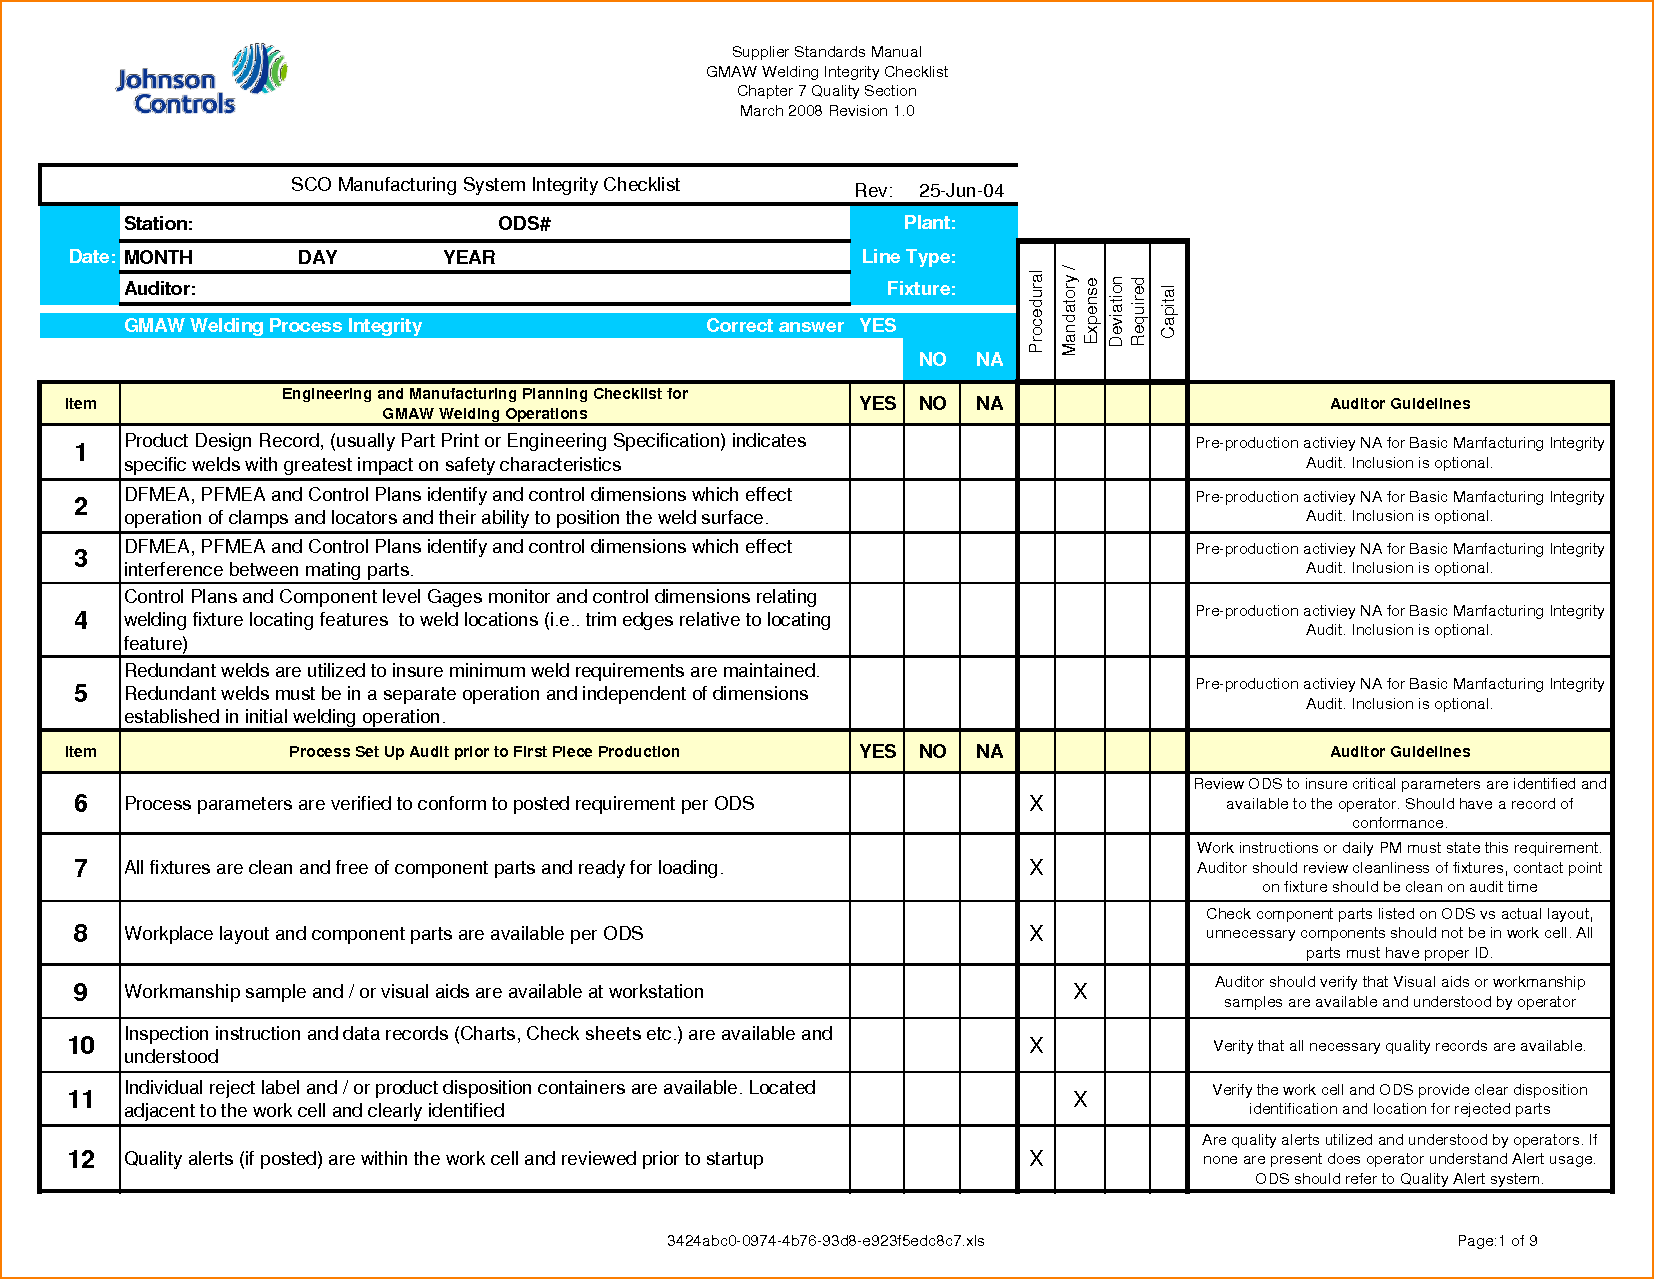

A tick sheet is essentially a checklist where you can mark or 'tick' off items as they are completed. This simple tool helps in visualizing progress, ensuring nothing is overlooked, and keeping your records organized. Below are the steps to craft a tick sheet that will work for your needs:
Step 1: Open Excel and Start with a Blank Workbook
- Launch Microsoft Excel on your computer.
- Select Blank Workbook from the templates or click on a new workbook icon.
💡 Note: Ensure that your Excel version is updated for the best functionality.
Step 2: Label Your Columns

| Column | Description |
|---|---|
| A | Item/Task |
| B | Assigned To |
| C | Due Date |
| D | Status (Complete/Incomplete) |
| E | Notes |

- Enter these headers into your worksheet to keep your tick sheet organized.
⚠️ Note: Adjust these headers as needed to fit your specific tracking requirements.
Step 3: Populate Your List

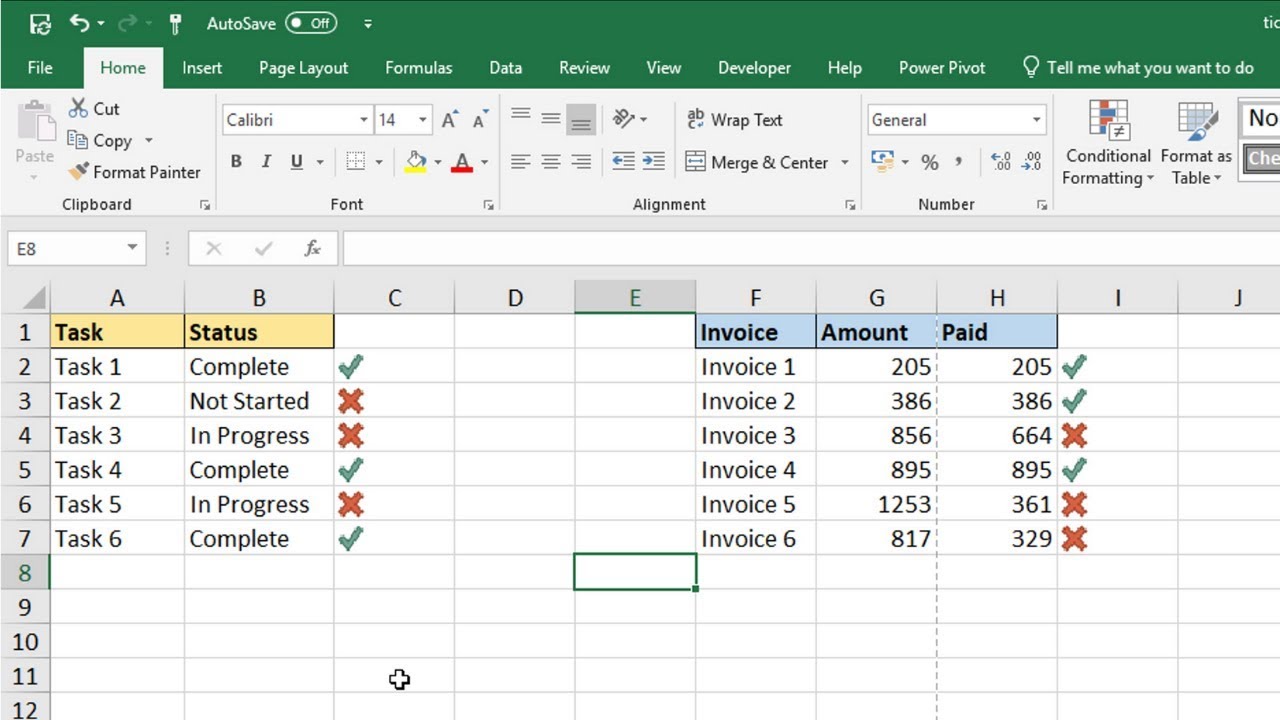
- Under each header, fill in the appropriate information for your tasks or items. Make sure the list is comprehensive to avoid missing anything.
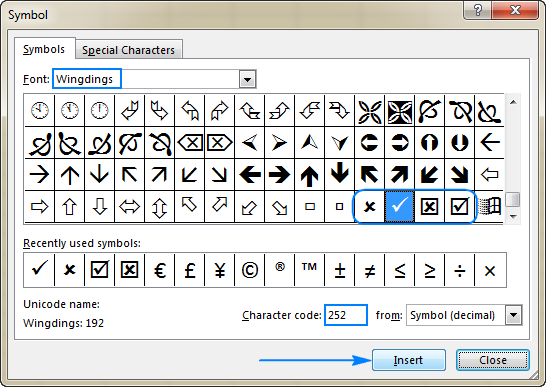
- Use the Status column to indicate whether the task is complete (e.g., with a checkmark) or not.
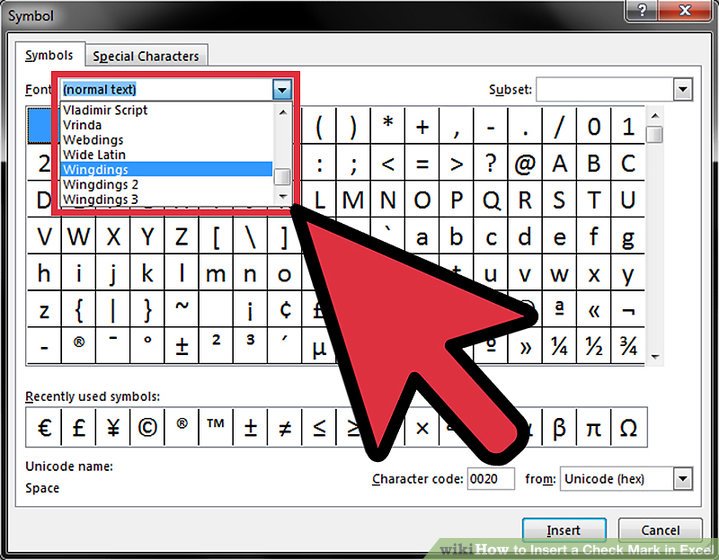
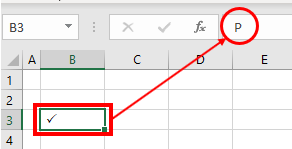
✍️ Note: For better clarity, you can use different symbols like ✓ or ✔ for completed tasks.
Step 4: Format Your Sheet

- Select the column headers and use Bold and Background Color to make them stand out.
- Use conditional formatting to automatically highlight completed items with a green fill or a checkmark.
    - Select Column D > Conditional Formatting > New Rule > Use a formula to determine which cells to format.
    - Enter formula: =IF($D2="Complete",TRUE,FALSE)
    - Click on Format… > Fill tab > Select Green > OK > OK
🛑 Note: Remember to save your formatting as a style if you plan to reuse it for similar sheets.
Step 5: Saving and Sharing Your Tick Sheet
- Save your workbook with a descriptive name for easy access later.
- Consider saving in a format that allows for cloud sharing or collaboration, like .xlsx or Google Sheets format if needed.
- Share the sheet with your team or stakeholders to keep everyone aligned on task completion.
📌 Note: For long-term use, consider creating a master sheet and having individual sheets for each project or phase.
To wrap up, creating a tick sheet in Excel is an effective way to manage tasks, projects, or inventories with ease. By following these steps, you'll have a dynamic tool that not only tracks progress but also visually communicates task completion through its design. Remember, the beauty of using Excel for a tick sheet lies in its flexibility; you can adapt, modify, and expand it to suit your unique needs. Whether for personal projects, work assignments, or event planning, your tick sheet will be a reliable companion in achieving efficiency and organization.
Can I use this tick sheet method for daily tasks?

+
Yes, absolutely. You can customize the columns to suit daily tasks, include sections for priority, or even use it as a daily to-do list. The format is highly flexible.
How do I share this tick sheet with my team?
+
You can share your Excel file via email or cloud storage services like Google Drive or OneDrive. Ensure your collaborators have the necessary permissions to view or edit the sheet.
Can I add additional columns to my tick sheet?

+
Yes, you can add as many columns as you need. Common additional columns might include ‘Resources Needed,’ ‘Estimated Time,’ or ‘Task Description’ for more detailed tracking.
What should I do if my team needs to update the sheet in real-time?

+
Consider using an online version of Excel or Google Sheets for real-time updates. Both platforms offer robust collaboration features for multiple users to edit simultaneously.
How can I keep my tick sheet organized over time?
+
Regularly update your sheet, archive completed tasks, or use separate sheets within the workbook for different time periods or project phases. This helps maintain organization and focuses on current tasks.