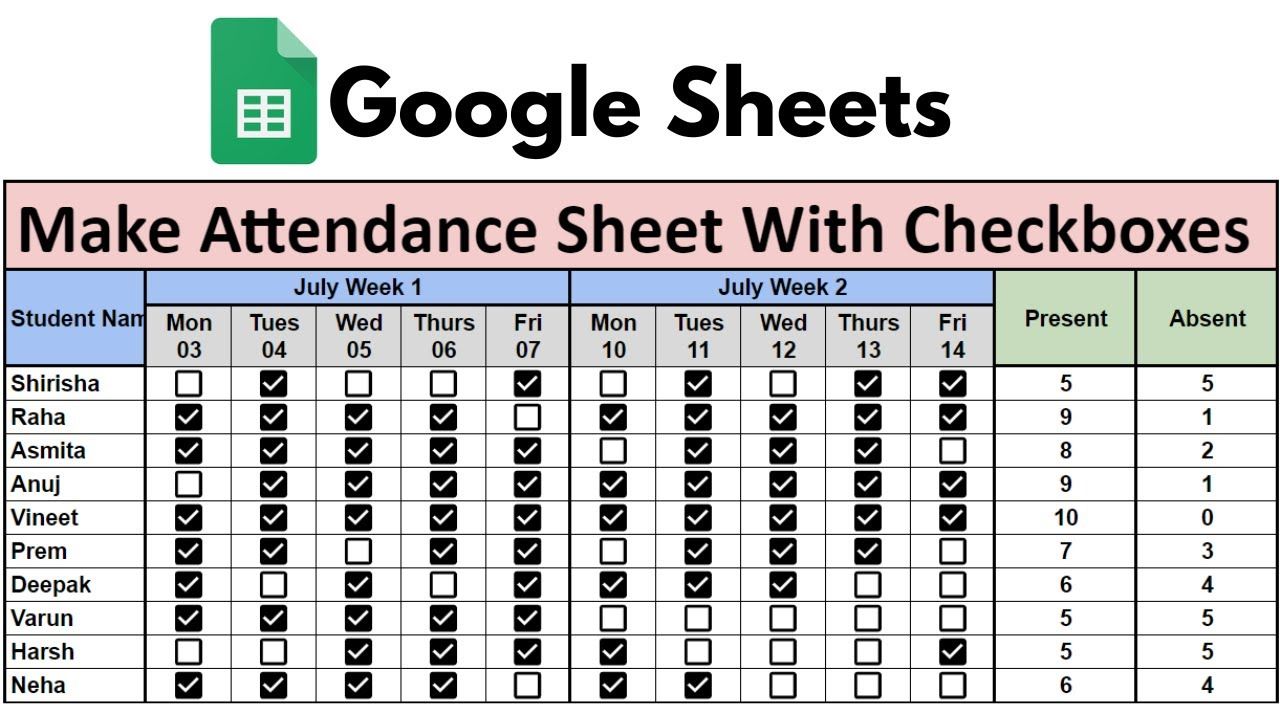
5 Simple Steps to Create an Attendance Sheet in Excel

Excel is an incredibly versatile tool that has become the go-to software for many when it comes to organizing data. One common yet crucial task many of us need to handle is tracking attendance, whether it's for a class, workshop, training session, or office hours. Creating an attendance sheet in Excel might seem daunting at first, but with a few simple steps, you can quickly set up a professional and functional attendance log. Here's how you can do it in 5 straightforward steps:
Step 1: Open Excel and Set Up Your Sheet
- Launch Microsoft Excel on your computer. A blank workbook should open automatically.
- Name your first sheet 'Attendance Sheet' by right-clicking on the sheet tab at the bottom and selecting 'Rename'.
- Adjust the width of the columns to make room for all the necessary information. Click and drag the column borders to your preferred width or double-click for auto-fit.
💡 Note: The exact layout depends on your needs, but we'll outline a typical setup for a basic attendance sheet.

Step 2: Structure Your Attendance Sheet

Now, let's structure your sheet:
- Headers: In row 1, enter the following headers across the columns:
- Column A: Name
- Column B: Date
- Columns C onwards: Days of the Month (1 to 31)
- Formatting: Use the format painter or manually format the headers:
- Select row 1 and apply a fill color to distinguish it from the rest of the table.
- Bold the text for better visibility.
- Center-align the text for a neat look.
Step 3: Enter Attendee Names

Your next task is to populate the attendance sheet with names:
- Start from row 2 and enter each person’s name under the 'Name' header in column A.
- Leave the 'Date' column (column B) empty for now. You will enter the date when you update attendance for each session.
- Ensure there's a space for the maximum number of attendees you anticipate.
Step 4: Customize and Add Formulas

Now, customize the sheet to make it more useful:
- Date Auto-Input: Use the 'TODAY()' function in cell B1 to automatically display the current date. This can be useful if you want to print or save a daily report.
- Attendance Markers: You can use 'P' for present, 'A' for absent, or 'L' for late. Color-code these entries for quick visual reference.
- Conditional Formatting: Use conditional formatting to highlight attendance or absence. For instance:
- Go to 'Home' > 'Conditional Formatting' > 'New Rule'.
- Select 'Use a formula to determine which cells to format'.
- Enter '=A2="P"' and choose a green fill color for cells that show 'P'.
- Repeat for 'A' and choose a red fill color for absences.
Step 5: Finalize and Use Your Attendance Sheet

With your sheet set up, here's how you can use it effectively:
- Data Entry: Enter attendance data at the end of each session or day.
- Printing: If you need a physical copy, print the sheet by selecting 'File' > 'Print'. Ensure your printer settings align with your sheet's layout.
- Saving: Save your workbook frequently, especially after significant updates. Use the 'Save As' feature to keep backups or versions of your attendance data.
- Data Security: If your attendance data is sensitive, consider password-protecting your Excel file.
The simplicity of Excel allows you to extend and customize this basic attendance sheet in many ways. For instance, you could add features like:
- Adding a total column to count the number of attendances for each person.
- Using data validation to restrict entries in the attendance cells to 'P', 'A', or 'L'.
- Creating a summary sheet to pull data from all sheets in a workbook for an overall view.
📚 Note: Always remember to backup your data or use cloud storage solutions like OneDrive to prevent data loss.
In conclusion, creating an attendance sheet in Excel not only streamlines the process of tracking attendance but also provides flexibility for customization to suit different needs. From basic tracking to integrating complex formulas for reporting, Excel can cater to it all. With this knowledge, you're now equipped to manage attendance efficiently, ensuring accuracy and organization in any setting where this task is required.
Can I use this Excel attendance sheet for weekly tracking?

+
Yes, you can adapt the sheet to track weekly attendance by adjusting the headers to days of the week instead of the month. Simply change the column headers from ‘1’ to ‘7’ or use day names like ‘Monday’ to ‘Friday’.
How do I lock certain cells to prevent changes?

+
To lock cells, first select the cells you want to protect, right-click, choose ‘Format Cells’, go to the ‘Protection’ tab, and uncheck ‘Locked’. Then, protect the sheet by going to ‘Review’ > ‘Protect Sheet’. Now, only the cells you’ve left unlocked can be edited.
Can I share this attendance sheet online?

+
Absolutely! You can upload your Excel file to cloud storage like OneDrive or Google Drive, then share a link with collaborators. Ensure you set appropriate permissions to control who can edit or view the document.