5 Ways to Create an Excel Sign-in Sheet Easily

Excel is a powerful tool for various administrative tasks, including creating sign-in sheets for events, meetings, or office use. Here are five efficient methods to set up a user-friendly Excel sign-in sheet that can be tailored to fit any scenario:
Method 1: Using Tables for Sign-In Sheets

- Open Microsoft Excel.
- Select Insert from the toolbar and then click on Table.
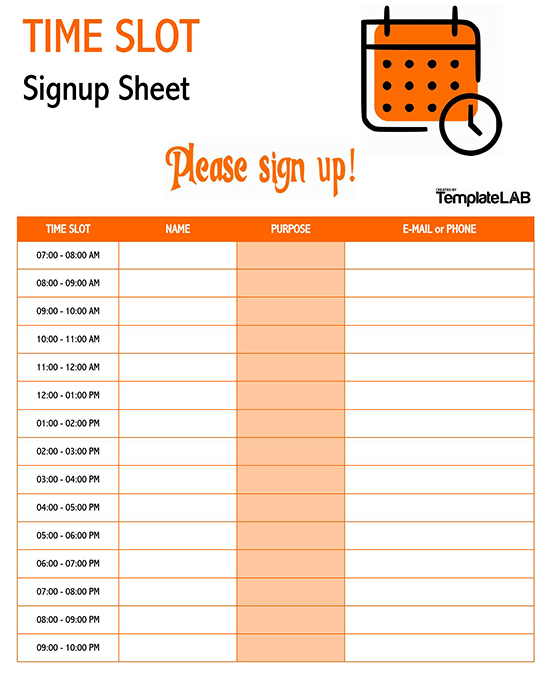
- Enter column headings like Name, Time In, Signature, etc.
Using tables provides:
- Easy Navigation: Tables allow for easy data management and sorting.
- Formatting: Alternating row colors for better readability.
- Autofill: Columns for dates or times can be auto-filled to reduce repetitive input.
Additional Features

- Add a logo or header for branding.
- Protect certain cells to prevent alterations to important details.
⚠️ Note: Always ensure the table headers and format are well-defined to prevent confusion or misentry by users.
Method 2: Utilizing Forms for Data Entry

- Set up a sheet for data storage.
- Create an Excel Form by going to Developer Tab, then Form Controls, and select Insert > Button.
- Link the button to ShowForm.
Forms:
- Data Entry: Simplifies the process, reducing errors.
- Validation: Set rules to ensure data integrity.
- Tab Order: Guide users through entries in a logical manner.
🆘 Note: Excel Forms are not supported in all Excel versions, so check your version’s compatibility before use.
Method 3: Time Stamp Automation

- Use the Now() function or a VBA macro for automatic timestamps.
- Set up a column for Time In with the formula =NOW().
This method:
- Saves Time: The time is automatically recorded when a user signs in.
- Accuracy: Ensures every entry has the correct time stamp.
- Customization: VBA can be used for more complex automation.
Method 4: Drop-Down Lists and Data Validation

- Use Data Validation to create dropdown lists for predefined entries like names, departments, or purposes.
- Go to Data > Data Tools > Data Validation and set up your dropdown options.
Benefits:
- User Friendly: Guides users to select from predefined lists, reducing errors.
- Consistency: Ensures all data entries are uniform.
- Efficiency: Speeds up the sign-in process.
💡 Note: Remember to update these lists regularly if they involve changing elements like staff names or departments.
Method 5: Printing and Layout Considerations

- Design the sheet in Excel to fit onto a single page for easy printing.
- Adjust Page Layout settings to optimize for printed output.
Considerations:
- Margins: Ensure there's enough space for handwriting.
- Print Area: Define the area to be printed.
- Scaling: Fit content to a single page to avoid multiple printouts.
To summarize, creating an Excel sign-in sheet can be both simple and sophisticated, depending on your requirements. Whether you're looking for basic manual entry or advanced automated solutions, Excel has the tools to make the process efficient and error-free. The key is to:
- Choose the right method or combination of methods that best suits your event or workplace needs.
- Ensure readability and user-friendliness by organizing data and using features like formatting, protection, and data validation.
- Keep the sheet updatable and easily maintainable for future use.
Can I customize these sign-in sheets for different events?

+
Absolutely, you can tailor Excel sign-in sheets to reflect the nature of the event, including adding specific columns for event details or branding elements like logos or event titles.
How do I add timestamps to a sign-in sheet?

+
Use the Excel formula =NOW() for real-time timestamps or use VBA for more automated solutions like buttons that add time stamps on click.
Can I limit the number of sign-ins per person?

+
Yes, you can use Data Validation with conditional formatting to highlight or restrict entries when a user has already signed in.


