5 Simple Steps to Create an Excel Sheet Fast

Microsoft Excel has become an essential tool for data organization, analysis, and presentation in both personal and professional settings. Whether you're managing finances, tracking inventory, or organizing event planning, Excel's versatile grid system offers countless ways to manage your information efficiently. However, getting started with Excel can be overwhelming for new users due to its wide array of features. In this blog, we'll guide you through five simple steps to create an Excel sheet quickly, ensuring that you can start leveraging its capabilities in no time.
Step 1: Open Excel and Create a New Workbook

- Launch Microsoft Excel on your computer.
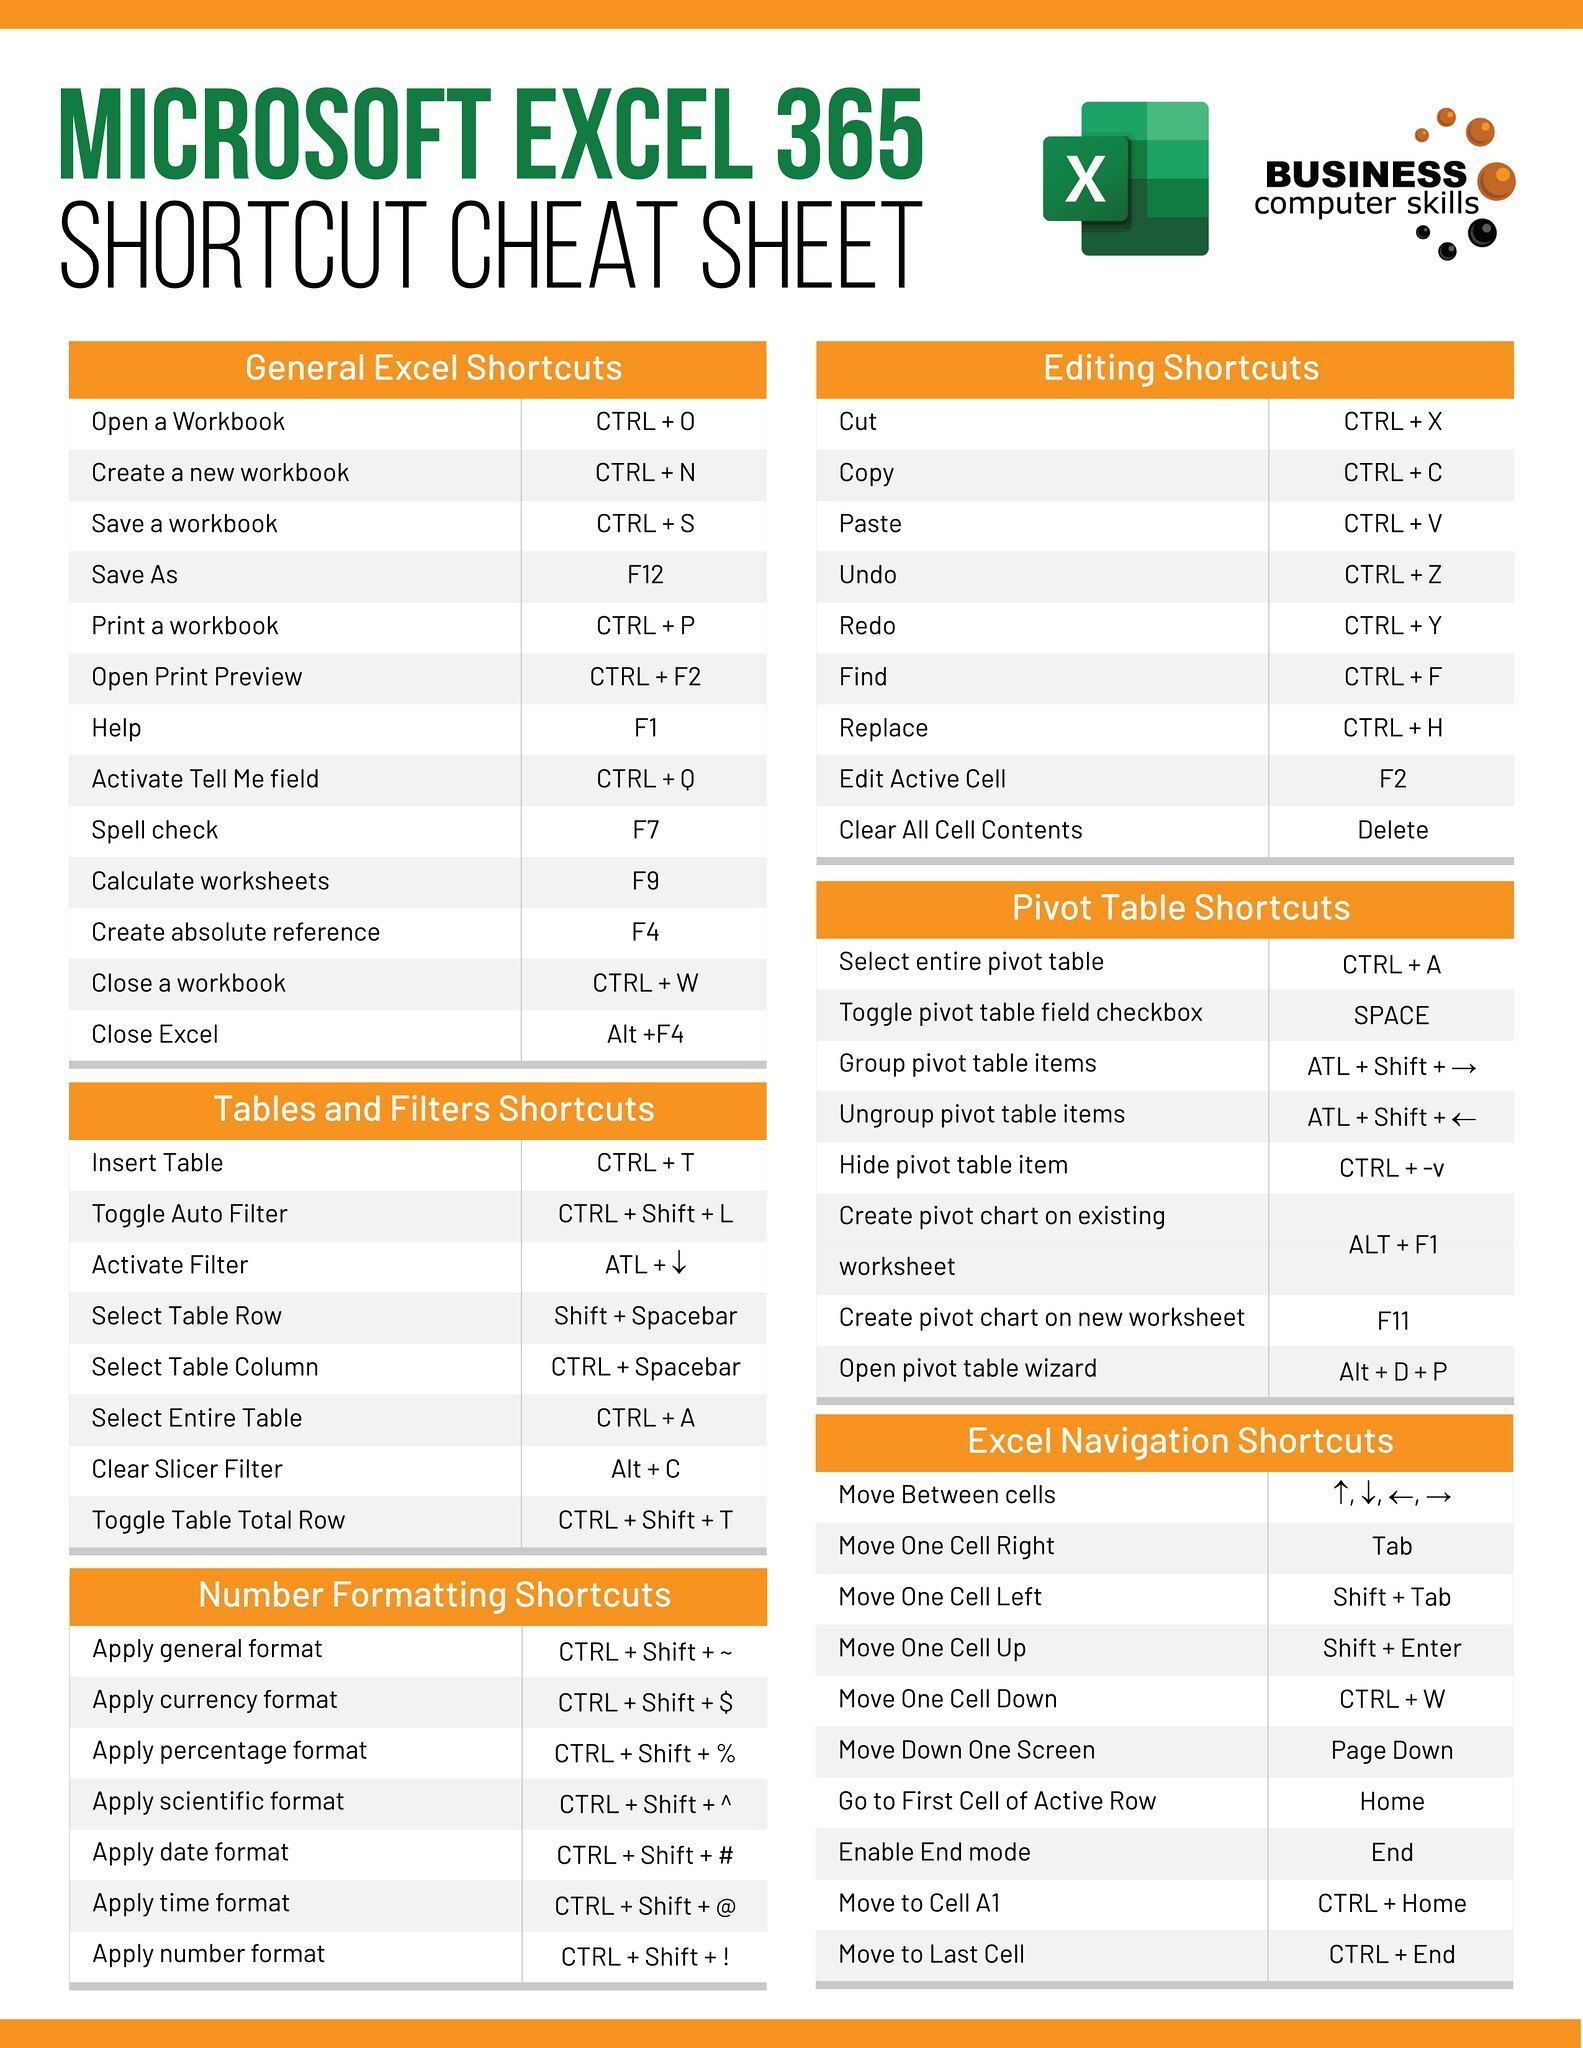
- Click on ‘File’ in the top-left corner, then select ‘New Workbook’ or press Ctrl + N to open a new blank workbook instantly.
This first step gets you a clean slate where you can begin entering your data. The Excel interface will welcome you with a grid of rows and columns, known as cells, where you can input data.
Step 2: Plan Your Sheet Layout

Before you fill in the cells with your data:
- Decide on the purpose of your sheet. Are you tracking sales? Budgeting for a project? Planning a schedule?
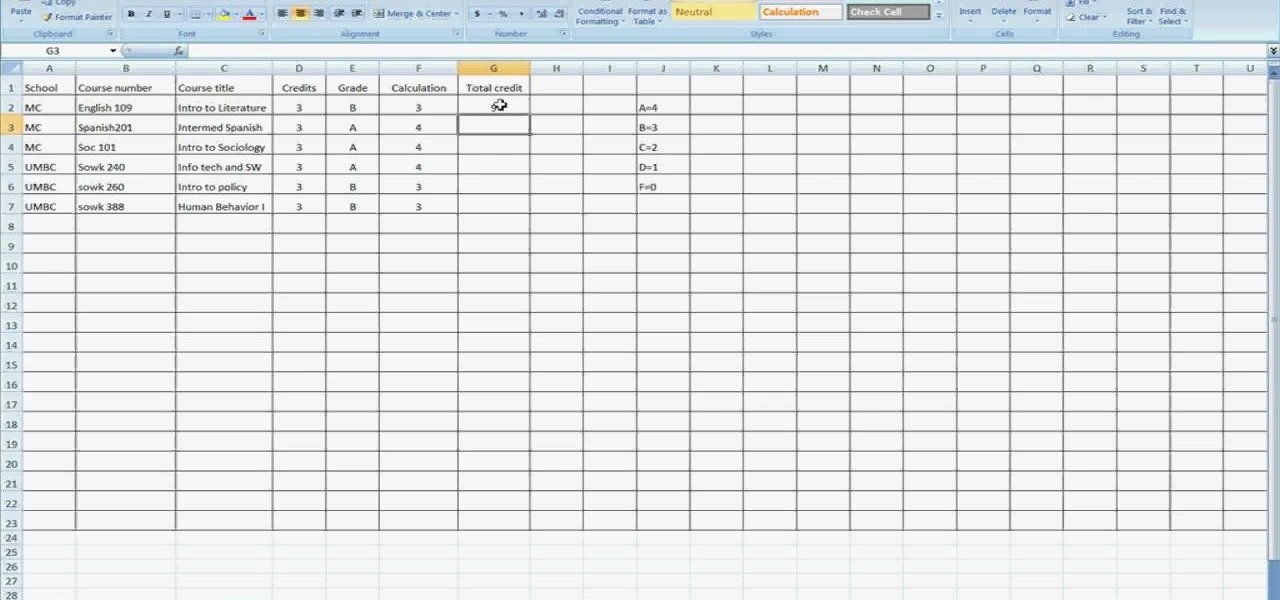
- Outline the columns you’ll need. For instance, if you’re tracking sales, you might want columns for ‘Date’, ‘Item’, ‘Quantity’, ‘Unit Price’, and ‘Total Price’.
- Think about how you’ll organize your rows. Rows can represent individual transactions, tasks, or entries depending on your sheet’s purpose.
💡 Note: A well-planned layout saves time later by reducing the need for reorganization.
Step 3: Input Your Data

Begin entering your data into the cells:
- Click on the cell where you want to start your data entry. Type your information and press Enter or use the Tab key to move to the next cell.
- Use the header row to label each column. This not only helps with organization but also makes it easier to analyze data with Excel’s features like sorting and filtering.
- Remember to use appropriate formatting for different types of data:
- Numbers should be entered without commas or currency symbols (e.g., 1500 instead of $1,500).
- Dates should follow the format that Excel expects (e.g., mm/dd/yyyy).
- Text data should be as concise as possible.
📌 Note: Excel will automatically adjust the cell width based on its content. If needed, you can manually adjust the column width by dragging the column header.
Step 4: Basic Data Manipulation and Formatting

Now that you have your data in place:
- Format Your Cells:
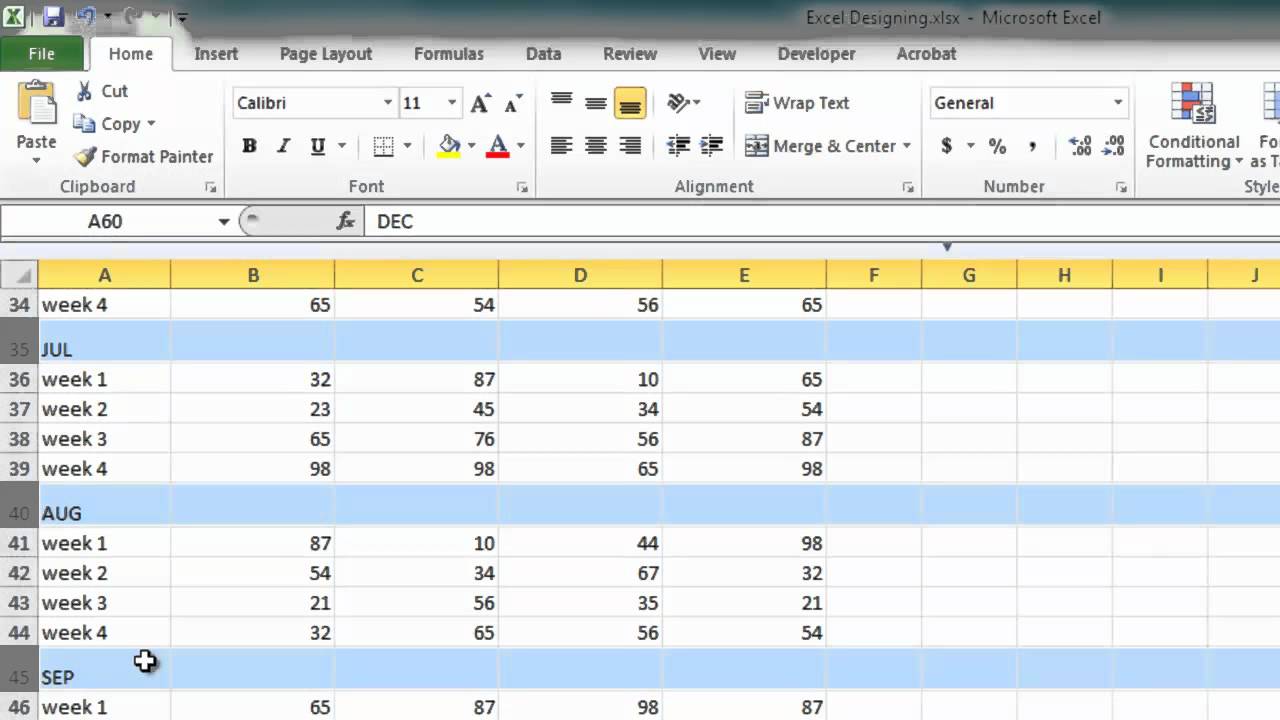
- Change font styles, sizes, or apply colors to make your sheet visually appealing and easier to read.
- Use bold, italic, or underline to emphasize headers or important data.
- Apply number formats like currency or percentage where appropriate.
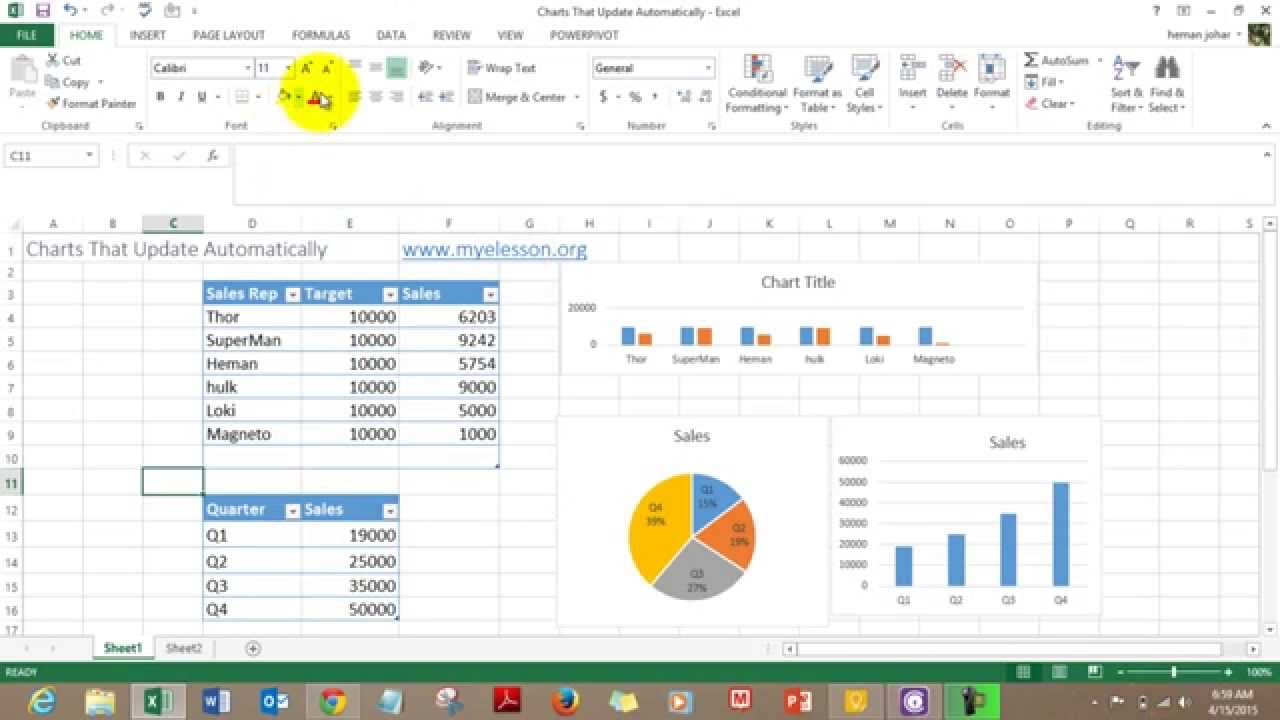
- Use Formulas and Functions: Excel’s power lies in its ability to perform calculations automatically. Start with simple formulas:
- Basic arithmetic formulas like
=A1+B1to add values. - Built-in functions like
SUM,AVERAGE, orCOUNT.
- Basic arithmetic formulas like
- Sort and Filter: Enhance your data analysis by sorting columns or using the Filter option to show only specific entries.
💡 Note: Excel formulas are dynamic; if you change data in a referenced cell, the formulas using that data will automatically update.
Step 5: Save and Share Your Excel Sheet

After you’ve created and organized your Excel sheet:
- Click on ‘File’ in the top left and then ‘Save As’ to save your workbook.
- Choose the location where you want to save your file, give it a meaningful name, and select the Excel Workbook (*.xlsx) as the file type.
- To share your workbook:
- You can send the entire workbook file via email.
- Or, if your workbook is online in Microsoft OneDrive, you can share it with others by granting them access.
- Remember to password-protect or encrypt sensitive files if necessary.
By following these five steps, you've now created a functional Excel sheet that can serve as a starting point for all your data organization needs. Whether it's for simple list making or complex data analysis, Excel's intuitive interface and powerful tools make it an invaluable ally.
Remember that while these steps provide a fast way to create an Excel sheet, mastering Excel involves exploring its many features like conditional formatting, pivot tables, and macros. However, as you become more familiar with the basics, you'll find that Excel's versatility and power will become your greatest asset in data management.
What are some common mistakes to avoid when setting up an Excel sheet?

+
Common mistakes include not labeling columns clearly, inputting data inconsistently, neglecting to use headers, and overlooking Excel’s formatting capabilities to enhance readability.
Can I create an Excel sheet on my mobile device?

+
Yes, Microsoft offers Excel apps for both iOS and Android devices. These apps provide a touch-friendly experience and basic features to create and manage Excel sheets on the go.
How do I deal with large datasets in Excel?

+
Excel offers tools like filters, pivot tables, and the ability to split data into multiple sheets. Also, for extremely large datasets, consider using Power Query or Power Pivot for more efficient data handling.