7 Ways to Create an Expense Sheet in Excel

Mastering the art of managing finances is crucial in both personal life and business operations. One of the most effective tools for this purpose is Microsoft Excel, a robust spreadsheet application known for its versatility in handling complex data. Here, we'll explore seven distinct ways to craft an expense sheet in Excel, each tailored to different needs and levels of complexity. Whether you're a freelancer tracking sporadic expenses or a business owner with a large financial workflow, Excel's customizable features can streamline your financial management.
1. Using Basic Tables

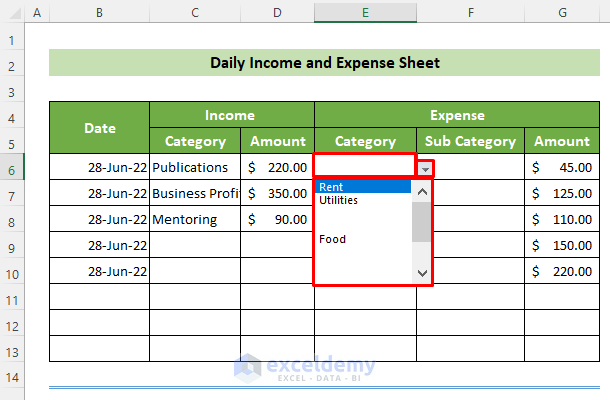
The simplest method to create an expense sheet in Excel involves using basic tables. Here’s how you can set one up:
- Open Excel and select a blank workbook.
- In cell A1, type ‘Date’, B1 for ‘Category’, C1 for ‘Description’, D1 for ‘Amount’, and E1 for ‘Notes’.
- Fill in your expenses for each row below these headers. This method allows for quick visual categorization and summary.
📌 Note: Basic tables are great for small-scale tracking but might become unwieldy with increased data volume.
2. Utilizing Excel’s AutoFill Feature

Excel’s AutoFill feature can simplify the process:
- Create headers as outlined above.
- Enter initial dates in the ‘Date’ column (e.g., January 1st in A2).
- Use Excel’s AutoFill (drag down from the bottom-right corner of the cell) to populate subsequent dates or sequential data.
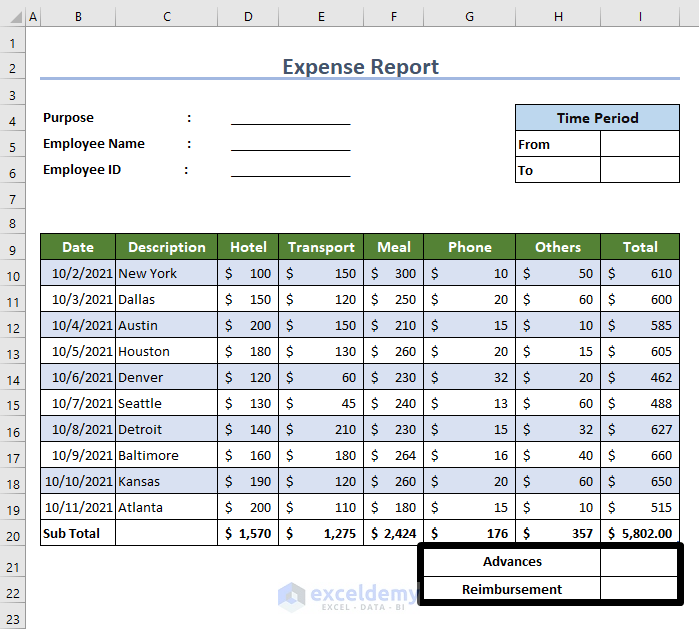
3. Leveraging Built-In Excel Templates

Excel provides numerous pre-built templates:
- Click ‘File’, then ‘New’, and search for ‘expense tracker’ or similar terms.
- Choose an appropriate template that matches your needs.
- Customize the template by adding or removing fields, formatting, or adjusting formulas.
4. Applying Conditional Formatting

Conditional formatting adds visual cues to your expense sheet:
- Set up your basic table or template.
- Use ‘Conditional Formatting’ from the ‘Home’ tab to highlight cells based on criteria (e.g., expenses exceeding a certain threshold can be in red).
5. Incorporating Charts for Visual Insights

Visual representation aids in understanding trends:
- Input your data and select it.
- Go to the ‘Insert’ tab, choose ‘Chart’, and select a type like pie chart or line chart.
- Customize the chart’s appearance, labels, and data series for clear expense analysis.
6. Utilizing Pivot Tables for Detailed Analysis

Pivot Tables offer a powerful analysis tool:
- Enter your expense data into an Excel sheet.
- Go to ‘Insert’ and click on ‘PivotTable’. Select your data range.
- Drag fields to various areas in the PivotTable Field List to view summary reports by different categories or time frames.
7. Creating Macros for Automation

Automate repetitive tasks with Excel macros:
- Enable the ‘Developer’ tab in Excel settings.
- Record a macro to automate tasks like formatting, data entry, or report generation.
- Customize and run the macro when needed, significantly reducing manual work.
These seven methods provide various solutions for creating an expense sheet in Excel. From simplicity for small-scale tracking to advanced analysis for complex financial systems, Excel's tools cater to all levels of users. As you become more comfortable with Excel, you can combine these methods or explore more intricate features for enhanced productivity and insight.
How often should I update my expense sheet?

+
It’s recommended to update your expense sheet daily if possible, to ensure accuracy. Weekly updates can suffice for personal use, whereas businesses might need more frequent updates, depending on the volume of transactions.
What’s the benefit of using a template over creating a sheet from scratch?

+
Templates provide a pre-designed structure, saving time on setup and ensuring consistency. They often come with pre-built formulas and formatting which can be complex to replicate manually.
Can I share my Excel expense sheet?

+
Yes, Excel allows you to share and collaborate in real-time through OneDrive or by exporting to PDF for security or viewer-specific purposes.
How secure is my financial data in Excel?
+
Excel files can be password protected, and when stored online with services like OneDrive, they benefit from cloud security measures. Always ensure you follow best practices for data security like regular backups and secure sharing methods.