3 Simple Steps to Create an Excel Dropdown List

Creating a dropdown list in Microsoft Excel can significantly enhance your data entry efficiency, making it easier for users to select from predefined options, reducing errors, and ensuring data consistency. Whether you're managing inventory, tracking expenses, or organizing any kind of data, a dropdown list can streamline your workflow. Here, we'll guide you through three simple steps to create a dropdown list in Excel.
Step 1: Prepare Your Data

Before you can create a dropdown list, you need to prepare your data:
- Define Your List: Decide what options should appear in your dropdown list. This could be categories, names, numbers, or any other relevant data.
- Source List: Enter your list options in a separate area of your worksheet or another worksheet within the same workbook. Keep it organized and label it clearly. For example:
| Category |
|---|
| Electronics |
| Clothing |
| Books |
| Furniture |

💡 Note: Make sure there are no duplicate items in your source list to maintain data integrity.
Step 2: Define the Source for Your Dropdown

Once you have your data ready, follow these steps to define the source for your dropdown list:
- Select the cell or cells where you want the dropdown list to appear.
- Go to the Data tab on the Ribbon.
- Click on Data Validation in the ‘Data Tools’ group.
- In the Data Validation dialog box:
- Under the ‘Settings’ tab, change the ‘Allow’ drop-down to ‘List’.
- Now, in the ‘Source’ field, either manually enter the range of cells containing your list items or click on the small arrow to select the range directly from your worksheet. For example, if your list is in cells A1:A4, you would input “=A1:A4”.
- Check the ‘In-cell dropdown’ option to display the list icon in the cell.
- Optionally, you can set error alerts or input messages for user guidance.
- Click ‘OK’ to apply your settings.
🖊️ Note: Make sure you’re selecting a valid range or your dropdown list will not function correctly.
Step 3: Use Your Dropdown List

Your Excel worksheet now has an operational dropdown list:
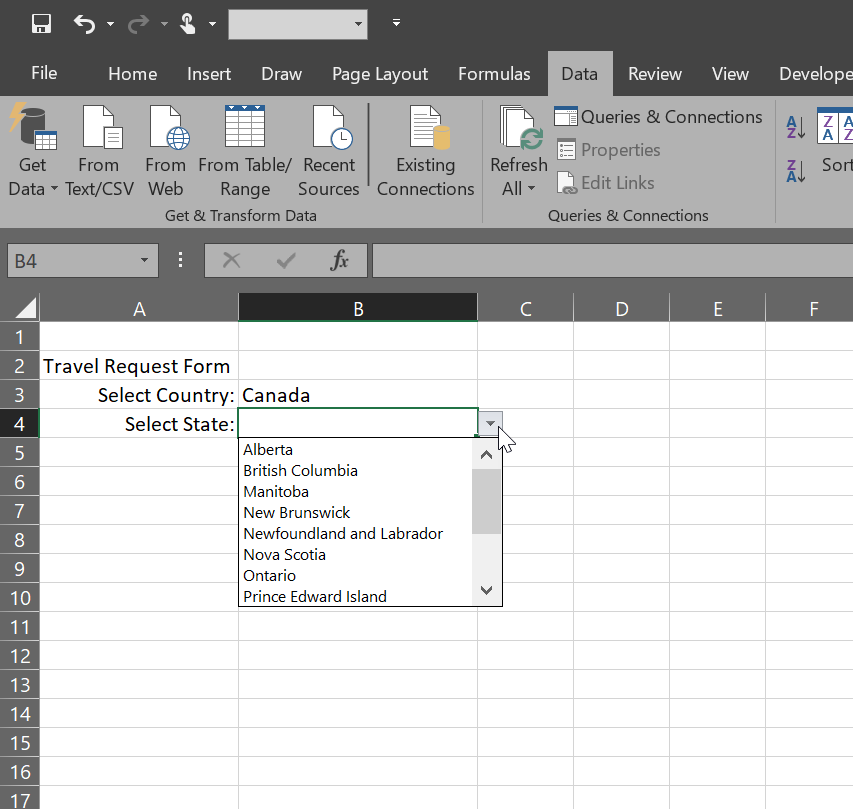
- When you click on the cell, an arrow will appear, allowing you to select an item from your predefined list.
- Users can now choose from the list by clicking the arrow, enhancing data entry efficiency and accuracy.
⚠️ Note: If you modify the list source, update the cell references in the Data Validation settings.
Implementing a dropdown list in Excel not only streamlines data entry but also ensures consistency in your data collection process. It's a powerful tool for those dealing with large datasets, where standardization is crucial. By following these three simple steps, you can create dropdown lists that cater to your specific needs, making your spreadsheets more interactive and user-friendly.
Can I use multiple ranges for one dropdown list?

+
Yes, you can use multiple non-adjacent ranges by separating them with a comma in the ‘Source’ field, like “=A1:A2,C1:C2”.
How do I make my dropdown list expand automatically as new items are added?

+
You can define a named range using Excel’s OFFSET function combined with COUNTA to dynamically resize the range based on non-empty cells.
What happens if someone types a value not on the list?

+
By default, Excel will reject entries not in the list if you set up Data Validation with error alerts. However, you can adjust this in the ‘Error Alert’ tab of Data Validation settings.