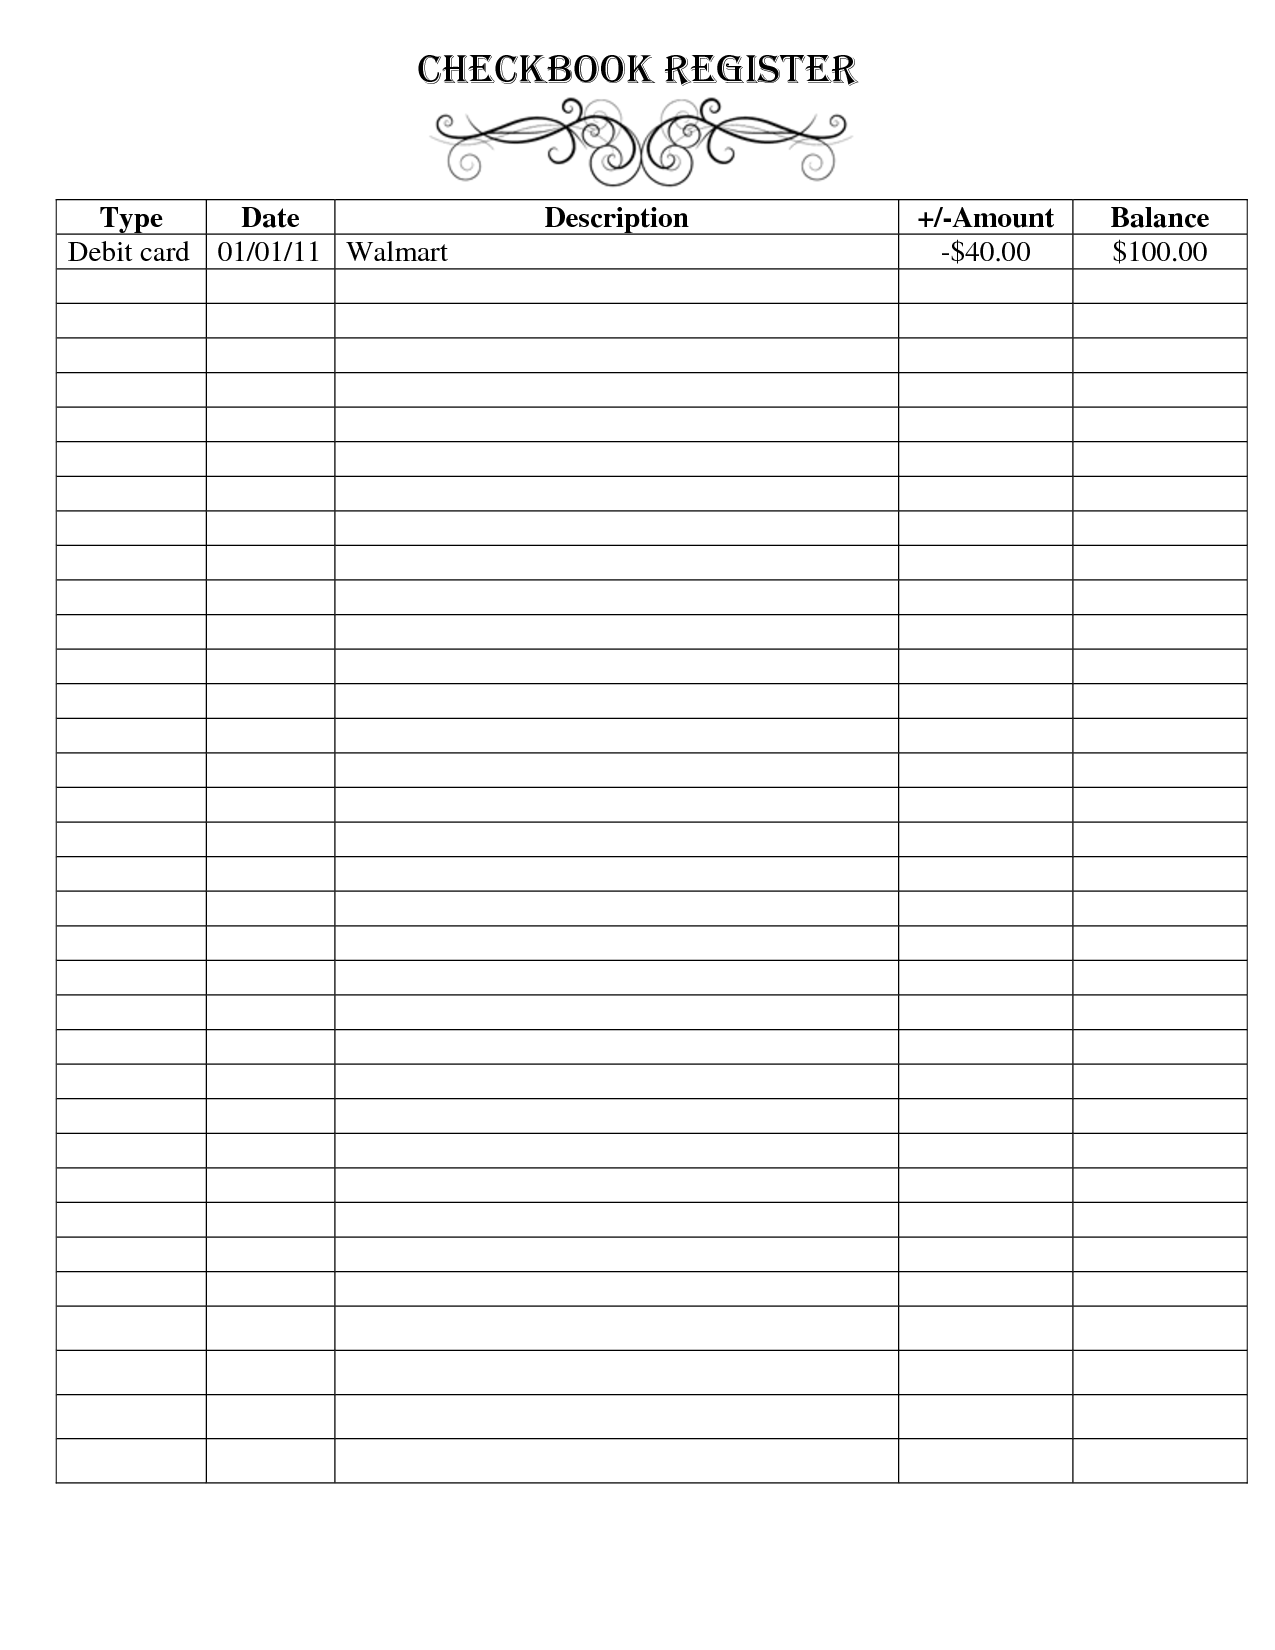
Creating Your Checkbook Balance Sheet in Excel Easily

Managing your finances meticulously is critical for sound financial health. A checkbook balance sheet in Excel can help you keep track of your financial activities with simplicity and efficiency. Whether you're a seasoned spreadsheet user or a newcomer to Excel, creating a well-organized balance sheet doesn't have to be daunting. In this guide, we will walk through the steps to create a checkbook balance sheet in Excel, from setting up your workbook to tracking and updating your transactions.
Step-by-Step Guide to Setting Up Your Checkbook Balance Sheet

Here’s how you can set up your checkbook balance sheet in Excel:
1. Open Excel and Create a New Workbook

Launch Microsoft Excel and open a new workbook.
2. Structure Your Workbook

Before diving into the data entry, let’s lay out the structure of your balance sheet:
- Column A: Date
- Column B: Check #
- Column C: Description
- Column D: Debit
- Column E: Credit
- Column F: Balance
Make the headers bold and adjust their size for visibility.
3. Customize Your Template

Now, personalize your balance sheet:
- Format cells to display dates correctly.
- Align text to the right for currency values.
- Use borders to separate rows and columns for clarity.
4. Data Entry

Begin entering your initial balance in the first row under ‘Balance’:
- Enter the starting date in column A.
- Leave the check number field blank.
- Type “Initial Balance” in the description.
- Enter your starting balance as a credit in column E.
- Calculate the balance in column F (Formula:
=E2)
For subsequent transactions, follow these steps:
- Enter the date of the transaction.
- Provide the check number (if applicable).
- Add a brief description.
- Enter amounts under either debit or credit, leaving the other column blank.
- Calculate the new balance (Formula:
=F2+D3-E3)
📝 Note: Ensure that debit and credit are entered as positive values to simplify the balance calculation.
5. Formatting for Clarity

To enhance readability and ensure your balance sheet is easy to navigate:
- Use color coding for different types of transactions (e.g., red for debits, green for credits).
- Highlight the balance column in bold.
- Add borders and conditional formatting for negative balances to warn of potential overdrafts.
6. Tracking and Updating

Keeping your checkbook balance sheet up-to-date is key:
- Enter transactions daily or as they occur.
- Review for reconciliation with bank statements.
- Include pending or cleared transactions as needed.
In this guide, we've covered the essential steps to create a user-friendly checkbook balance sheet in Excel. By implementing these steps, you're setting yourself up for better financial management. Remember to regularly update your sheet, reconcile with bank statements, and customize it to fit your financial tracking needs. Doing so will not only keep your financial records organized but also give you peace of mind knowing exactly where your money is going.
Can I import my bank statements into Excel for my balance sheet?

+
Yes, many banks offer options to export account activity directly into CSV or Excel files, which you can then import into your balance sheet for easier data entry.
What if my checkbook balance doesn’t match the bank statement?

+
This could be due to outstanding checks, bank fees, or errors in data entry. Review your transactions, ensure all have been recorded, and adjust for any discrepancies.
How often should I update my checkbook balance sheet?

+
For the most accurate financial tracking, update your balance sheet daily or immediately after each transaction. At the very least, reconcile it with your bank statement monthly.