5 Easy Steps to Create Check-Off Sheets in Excel

Check-off sheets, or checklists, are invaluable tools for managing tasks and ensuring that nothing falls through the cracks. Whether you're planning an event, managing a project, or just trying to keep your daily tasks in order, Excel provides a user-friendly platform to create customized check-off sheets. In this guide, we will walk you through five easy steps to create check-off sheets in Excel, enhancing your productivity and organization.
Step 1: Open Microsoft Excel and Set Up Your Workbook

Begin by opening Microsoft Excel. A blank workbook will automatically load, ready for your customization. Here’s how to set it up:
- New Workbook: If you’re starting from scratch, click on ‘Blank Workbook’ from the start screen.
- Change Views: Switch between normal view, page layout, and page break preview to get the best visual setup for your project. Normal view is most suitable for our purpose.
💡 Note: Ensure that Excel is set to the default settings to avoid any unexpected formatting issues.
Step 2: Design Your Checklist Header

Creating a compelling header not only makes your checklist more visually appealing but also more functional. Here’s what to do:
- Select Cells: Click on the top row or merge cells if you want a broader header.
- Insert Text: Type the title of your checklist. For example, “Event Preparation Checklist.”
- Formatting: Use the Home tab to change the font size, style, and color. Consider adding a background color or borders for visibility.
- Add Logo: If your checklist is for business or professional use, insert your logo via the Insert tab > Pictures.

Step 3: List Tasks and Add Checkboxes

Now, let’s populate the checklist with tasks:
- Enter Tasks: In the rows below your header, start listing all the tasks that need to be completed.
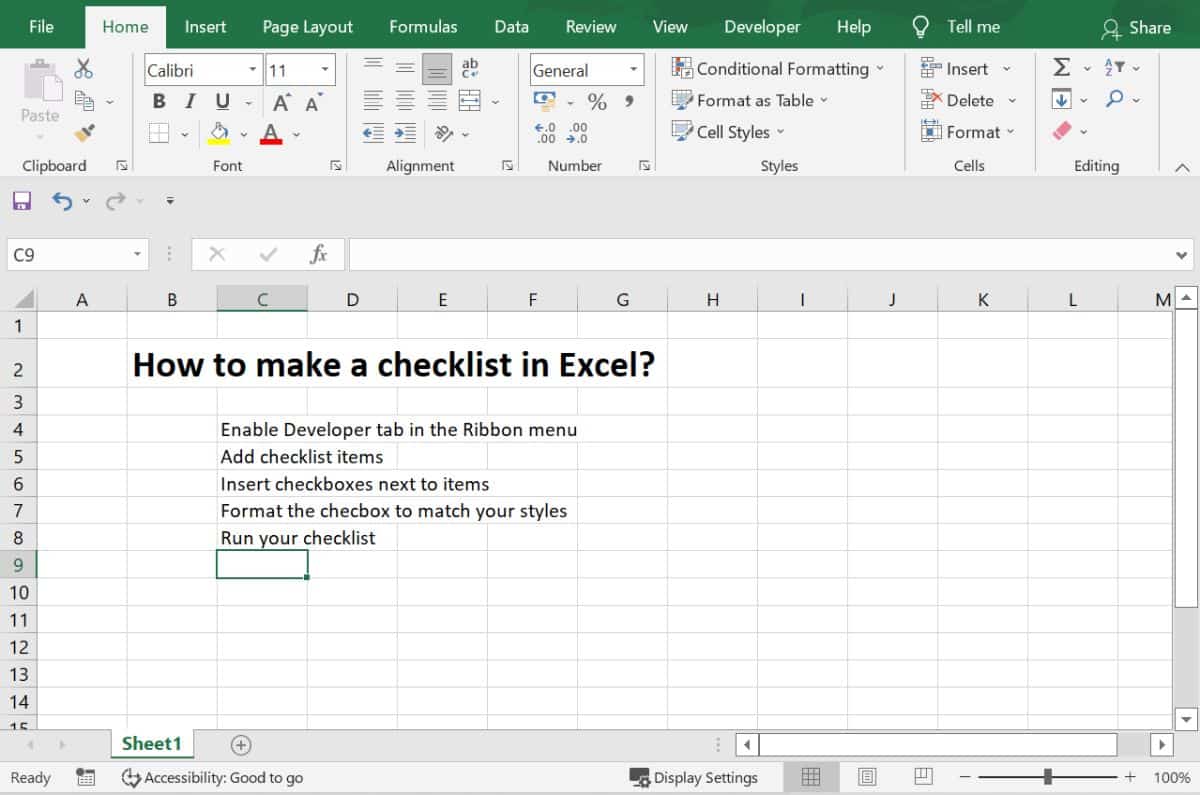
- Checkboxes: Select the cells next to each task where you want checkboxes. Navigate to the Developer tab. If the Developer tab isn’t visible, enable it from File > Options > Customize Ribbon > Developer. Then, go to Developer > Insert > Form Controls > Check Box (Form Control).
- Adjust Checkbox: Drag the checkbox over the desired cell. Right-click to adjust size and properties, ensuring the checkbox aligns well with the task.
| Task | Checkbox |
|---|---|
| Prepare venue | ☐ |
| Send invitations | ☐ |

📌 Note: When adjusting the checkbox, make sure it stays within the cell to keep alignment consistent.
Step 4: Customize and Format

This step involves refining your checklist for better functionality:
- Columns for Details: Add columns for due dates, priority, or status to make your checklist more comprehensive.
- Formatting: Use conditional formatting to change the color of cells or text based on task completion or due dates.
- Freeze Panes: To keep your checklist header in view while scrolling, use the View tab > Freeze Panes > Freeze Top Row.
Step 5: Save and Share Your Checklist

After designing your checklist:
- Save File: Save your file. Consider saving it in both Excel format (.xlsx) and PDF format for easy sharing and printing.
- Share: Share your checklist via OneDrive, email, or other collaboration tools directly from Excel.
In closing, creating a check-off sheet in Excel is straightforward and empowers you with a powerful tool to manage tasks effectively. By following these five steps, you can streamline your planning process, track progress visually, and ensure nothing is overlooked. Whether for personal use or professional purposes, Excel's flexibility allows you to tailor your checklists to fit any need, enhancing productivity and organization.
Can I make my checklist in Excel accessible on mobile?

+
Yes, you can access and edit your Excel checklists using the Microsoft Excel mobile app, available for iOS, Android, and Windows mobile devices. Ensure your workbook is saved on OneDrive or SharePoint for seamless syncing.
How do I add automatic check-offs for certain tasks?

+
Excel doesn’t support automatic check-offs natively, but you can use VBA (Visual Basic for Applications) to create macros that can check boxes based on criteria or dates.
What should I do if my checkboxes are misaligned?

+
If your checkboxes are misaligned, ensure that the cells are not merged, and the checkbox size is adjusted to fit within the cell. Right-click the checkbox, select ‘Format Control’, and adjust the alignment and size accordingly.


