5 Simple Steps to Create an Excel Calendar

Why Create an Excel Calendar?

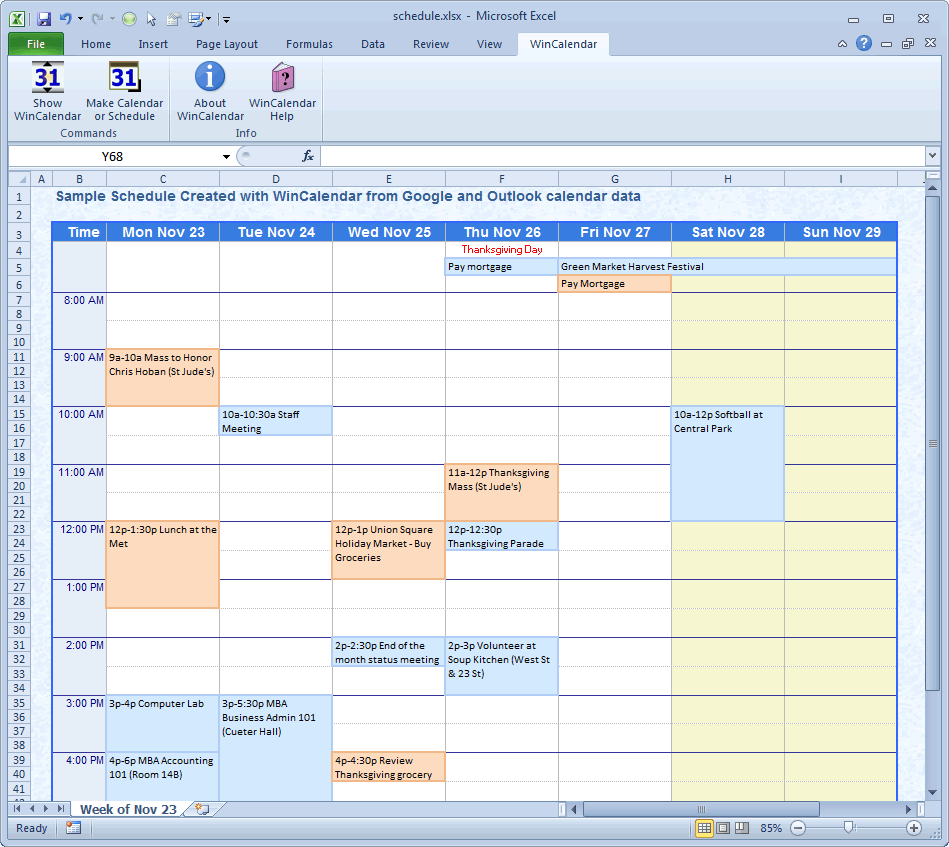
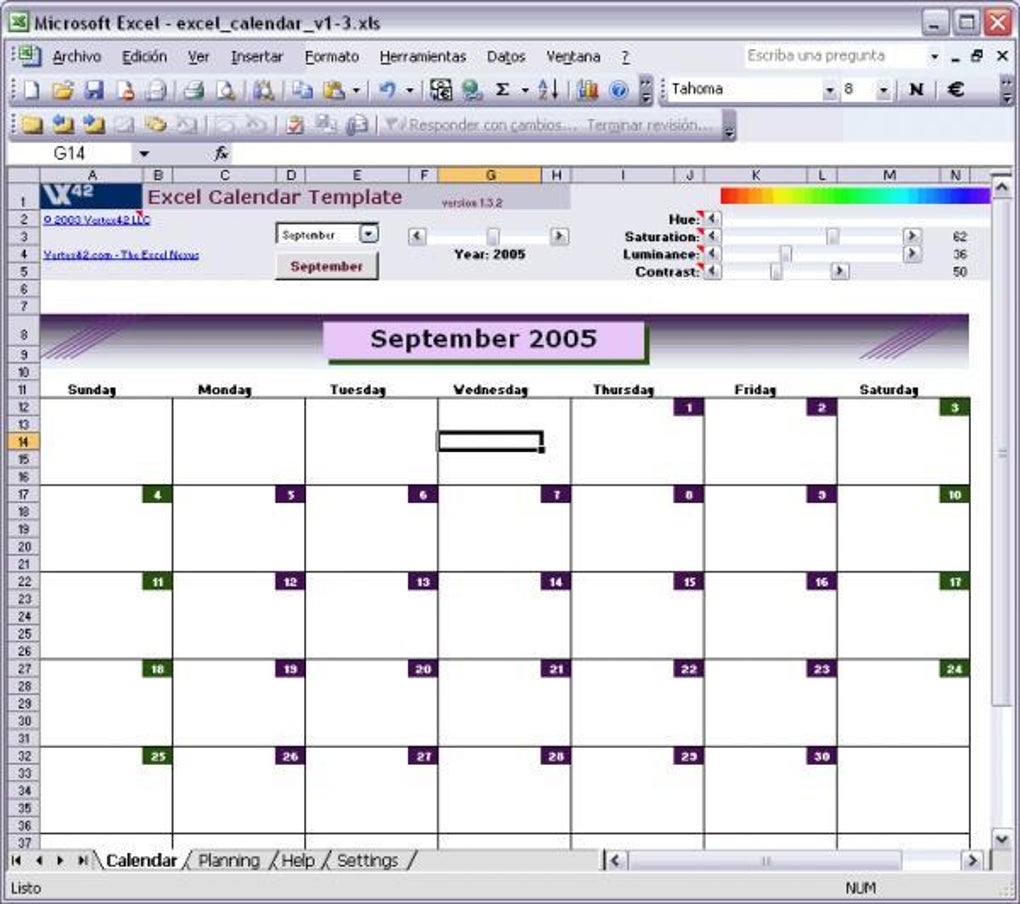
An Excel calendar offers a dynamic way to organize your schedule, manage projects, or track important dates and events. It’s easily customizable, flexible, and most importantly, you can share it with others for collaborative planning. Creating an Excel calendar involves setting up a framework for any length of time—from a daily planner to an annual overview. Here’s how you can craft your own in just 5 simple steps.
Step 1: Open a New Excel Workbook

Begin by opening Microsoft Excel. A new blank workbook will greet you, which is the perfect canvas for your calendar. If you already have a template in mind, you can select “File > New from Template,” and find a calendar template to customize.
🔔 Note: Using a template can save time, but it may limit customization compared to starting from scratch.
Step 2: Set Up Your Grid Layout

To start, select the range of cells where your calendar grid will fit. Here’s how:
- Select cells from A1 to G7 for a simple monthly calendar layout.
- Merge cells at the top row for the month name (like A1:G1).
- Format cells in row 2 for days of the week (like A2:G2).
- Use the rest for the dates of the month.
Ensure to:
- Adjust column widths for a visually pleasing layout.
- Set row heights if needed.
- Add borders to define the cells clearly.
Step 3: Fill in the Month and Day Names

First, input the name of the month in the merged cells. Then, fill in the days of the week in the second row. Remember, you might want to:
- Use the Format Cells dialog box to change the font style or size for clarity.
- Ensure that the days are correctly aligned with the start day of the month.
Step 4: Add Dates and Formatting

Here comes the crux of your calendar:
- Enter the dates in the correct cells, aligning them with the days of the week.
- Use formulas or manual input to number the days:
=DATE(YEAR(TODAY()),MONTH(TODAY()),1)-WEEKDAY(DATE(YEAR(TODAY()),MONTH(TODAY()),1)-1)+ROW(A1)-2
Adjust this formula for different starting points or years. - Apply conditional formatting for a more visually appealing calendar.
Step 5: Customize Your Calendar

Personalization is key to making your calendar both functional and visually appealing:
- Select colors for weekends, holidays, or important events.
- Add text boxes or notes for reminders.
- Consider using Excel’s drawing tools for symbols or icons.
- Explore Excel’s features like drop-down lists for repeating events or tasks.
📝 Note: Excel has a wealth of customization options, so take your time to explore and adjust your calendar to meet your needs.
Now, after creating your calendar, there are a few points to keep in mind:
🌐 Note: Ensure all hyperlinks and icons are tested before sharing or using your calendar.
🔧 Note: If using formulas for date calculations, double-check their accuracy, especially at the start and end of each month.
In this post, we've guided you through the creation of an Excel calendar. This tool can revolutionize how you manage time, ensuring you never miss an important date or event. Excel's flexibility allows you to tweak and adjust your calendar until it fits your unique organizational needs. Whether it's color-coding your schedule, adding a task list, or simply having a clean layout, your Excel calendar can be your ultimate productivity tool.
Can I use Excel for an annual calendar?

+
Yes, you can easily create an annual calendar by setting up a single sheet for each month, or use a larger grid format to display multiple months on a single sheet.
How can I make my Excel calendar more interactive?

+
You can add drop-down lists for event types, use checkboxes for task completion, or even incorporate VBA for automated tasks like opening linked documents or sending reminders.
Is it possible to print my Excel calendar?

+
Absolutely. Go to File > Print, adjust your print settings, and ensure the calendar fits the paper size you’re using.
Can I share my Excel calendar?

+
Yes, you can share your calendar via email, cloud storage, or through OneDrive to work on it collaboratively with others.
What if I need a calendar for a different year?

+
Adjust your date formulas to reflect the desired year, or manually change the year in your calendar.