5 Easy Steps to Create a Billing Sheet in Excel

Introduction to Billing Sheets

A billing sheet in Excel is an indispensable tool for businesses of all sizes to track invoices, manage payments, and maintain financial records efficiently. Whether you’re a freelancer or run a large company, understanding how to craft a billing sheet can streamline your financial processes. In this guide, we’ll walk through five easy steps to create your own billing sheet in Excel, optimizing your workflow and enhancing your billing accuracy.
Step 1: Set Up Your Excel Workbook

Begin by opening Microsoft Excel:
Create a New Workbook: Start by launching Excel and creating a new workbook. This will be your canvas for the billing sheet.
Define Workbook Structure: Use multiple sheets to organize different aspects of your billing process, such as:
- Sheet for Monthly Invoices
- Sheet for Payment Tracking
- Sheet for Monthly Summaries
Here’s a suggested setup:
<table border="1">
  <tr>
    <th>Sheet Name</th>
    <th>Function</th>
  </tr>
  <tr>
    <td>Invoice Details</td>
    <td>List of all invoices with details</td>
  </tr>
  <tr>
    <td>Payment Status</td>
    <td>Track payment status of invoices</td>
  </tr>
  <tr>
    <td>Monthly Summary</td>
    <td>Summary of billing for the month</td>
  </tr>
</table>
⚙️ Note: Keeping different sheets for different purposes can significantly reduce confusion and improve the organization.
Step 2: Design the Invoice Template

Now, navigate to the first sheet where you’ll create your invoice template:
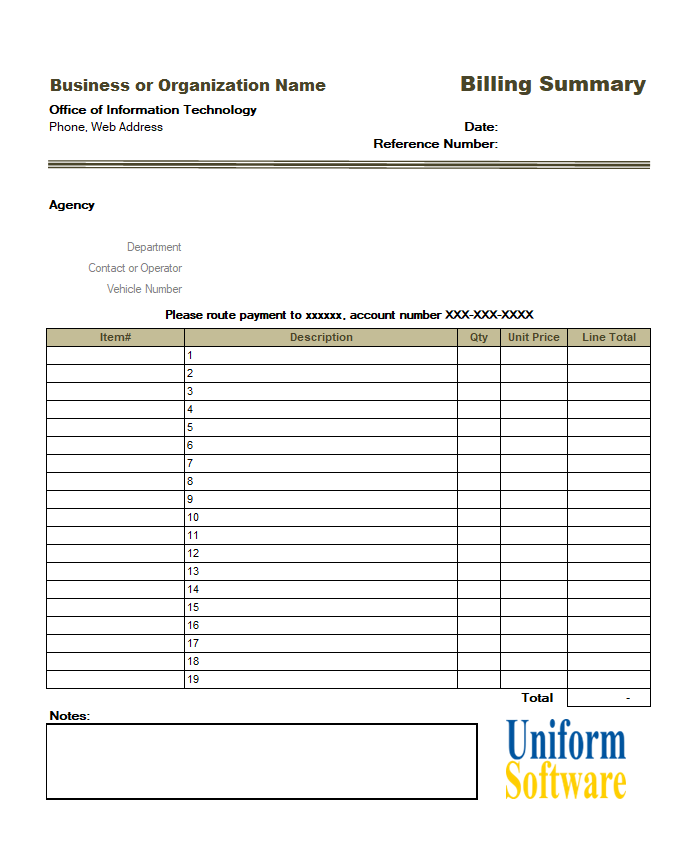
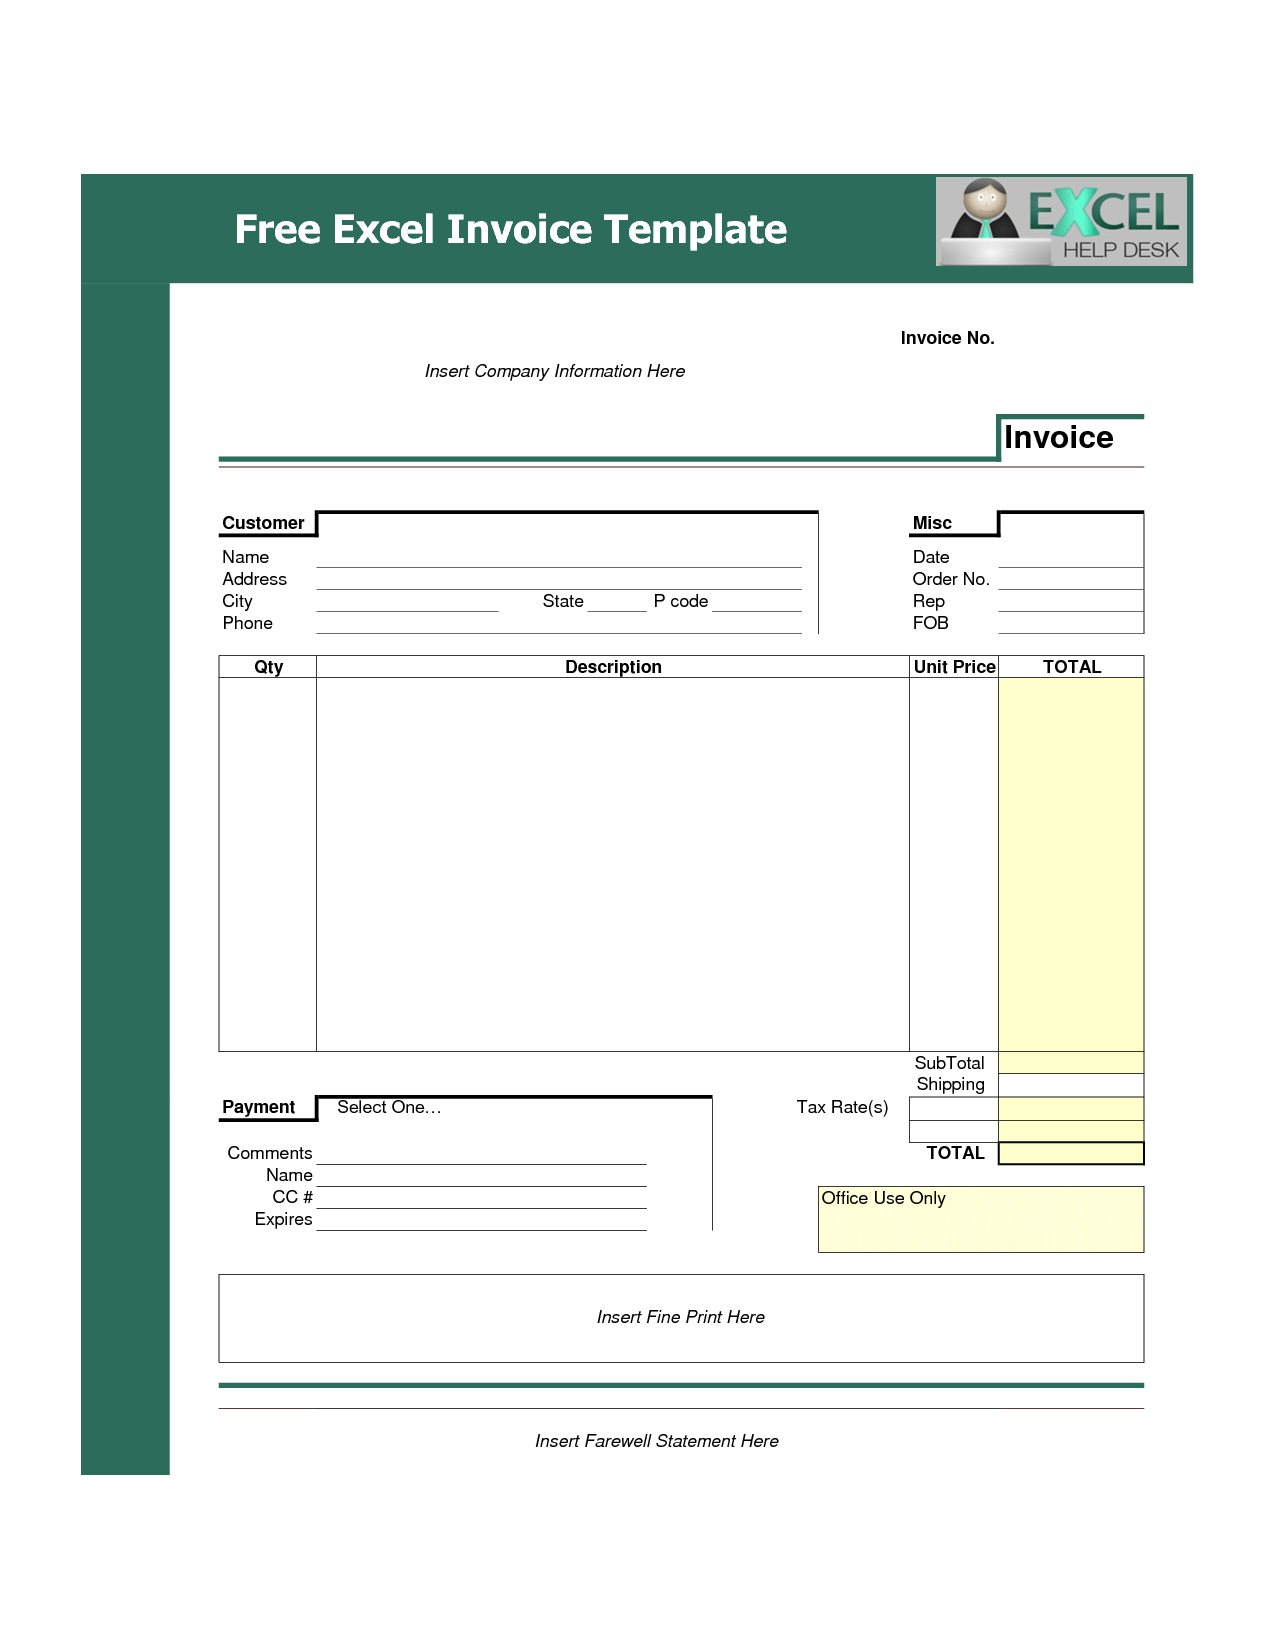
Invoice Heading:
- Set up your company’s logo, address, and contact details at the top.
- Include the invoice number, date, due date, and client’s information.
List Items:
- Use columns to denote the product/service description, quantity, unit price, and total price for each item.
Summary Section:
- Calculate the subtotal, tax, and total amount.
- Include any necessary notes or terms of service.
- Customization Tips: Use Excel's formatting tools to ensure readability:
- Use different fonts and colors for headings.
- Apply borders to separate sections clearly.
- Utilize conditional formatting for overdue invoices.
Step 3: Enter Billing Data

Now you have your template, begin entering data:
Billing Details: Fill in the items, their quantities, and prices. Ensure data is entered accurately.
Formulas for Calculations:
- Use Excel functions to calculate totals automatically. Here are some key formulas:
=SUM(A2:A10)  // Total items billed
=B2*C2        // Cost for a single item
=D2*0.08      // Calculate 8% Sales Tax
=E2+F2        // Add Sales Tax to Subtotal
Link Sheets: If your workbook includes multiple sheets, link data using cell references for dynamic updates:
='Invoice Details'!D5 // Reference from another sheet
Step 4: Format for Clarity

Formatting is crucial for user-friendliness:
Headings and Titles:
- Make headings stand out with larger fonts and bold text.
Detail Formatting:
- Right-align number data for a clean look.
- Use borders or background colors to define sections.
Data Validation:
- Add dropdown lists or error alerts to prevent data entry mistakes.
Step 5: Automate and Finalize

The final touches involve automation:
Use Macros: Create macros for tasks like generating invoice numbers or applying templates to new sheets.
Protect Your Work: Set permissions to prevent accidental changes to formulas or billing data.
Review and Test:
- Thoroughly check your sheet for functionality and errors.
🚀 Note: Automating repetitive tasks can save significant time in the long run.
In summary, crafting a billing sheet in Excel involves setting up your workbook structure, designing a functional invoice template, entering accurate billing data, formatting for clarity, and utilizing automation for efficiency. This guide ensures your billing process is not only organized but also tailored to your business’s needs, making financial management a breeze.
Can I customize the billing sheet for different clients?

+
Yes, you can customize the billing sheet by adjusting templates or using macros to autofill client details or using different templates for different client types.
What if I need to change prices or item descriptions often?

+
You can set up a separate sheet with all product or service details. Link your billing sheet to this data sheet to auto-update with any changes in pricing or descriptions.
Is there a way to prevent unauthorized changes to the billing sheet?

+
Yes, Excel allows you to lock cells or sheets with a password, protecting sensitive data from accidental or unauthorized edits.