5 Simple Ways to Lock Cells in Excel

In Microsoft Excel, locking cells can significantly enhance the functionality of your spreadsheets by protecting critical data and formulas from accidental changes. Whether you're a business owner managing financial documents, a teacher grading student assignments, or anyone in between, knowing how to lock cells effectively is a pivotal skill for maintaining the integrity of your data. Here are five straightforward methods to lock cells in Excel, ensuring your data remains safe:
Method 1: Locking Specific Cells

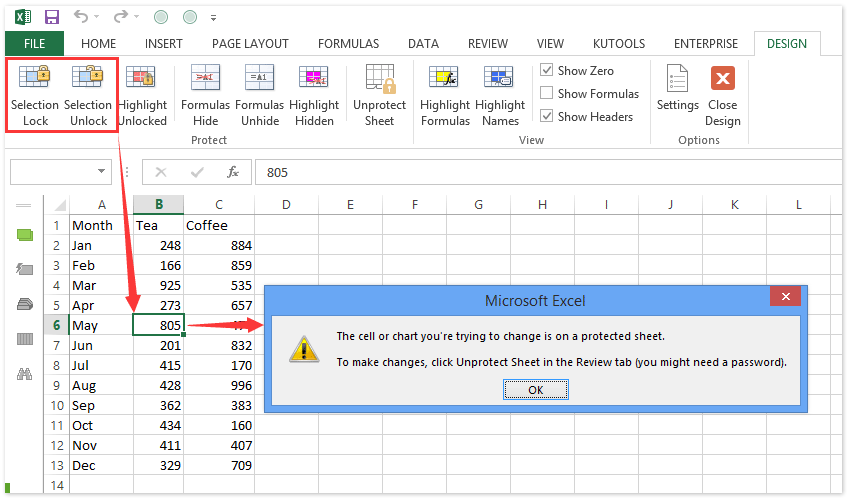
Excel, by default, locks all cells when you protect a worksheet. However, to lock specific cells, follow these steps:
- Select the cells you want to remain unlocked.
- Right-click and choose ‘Format Cells’ from the dropdown menu.
- In the ‘Protection’ tab, ensure the ‘Locked’ checkbox is unchecked.
- Now, go to the ‘Review’ tab and click on ‘Protect Sheet.’
- Provide a password (if desired) and select the actions users can still perform.

🔒 Note: Only cells that are not locked will be editable when the sheet is protected.
Method 2: Locking an Entire Worksheet

To quickly lock all cells in a worksheet:
- Go to the ‘Review’ tab on the Ribbon.
- Click on ‘Protect Sheet.’
- Optionally set a password.
- Choose the permissions for what users can do while the sheet is locked.
Method 3: Using Conditional Formatting for Locking

This method uses conditional formatting to indicate which cells should be locked:
- Select the cells you want to lock.
- Navigate to ‘Home’ > ‘Conditional Formatting’ > ‘New Rule’.
- Set a rule to change the cell color when locked (e.g., red fill).
- Then follow the steps from Method 1 to lock these cells.
Using conditional formatting helps in visually identifying locked cells.

Method 4: Locking Cells Based on User Input

Here’s how to lock cells that depend on user input:
- Utilize Data Validation to set conditions that, once met, can trigger cell locking.
- Create a simple VBA script to lock cells based on criteria.
Sub LockCellsByCriteria()
    If ActiveCell.Value = “Lock” Then
        ActiveSheet.Unprotect
        ActiveCell.Locked = True
        ActiveSheet.Protect
    End If
End Sub
💡 Note: Automating cell locking requires understanding VBA and modifying workbook security settings.
Method 5: Advanced Protection Techniques

For more robust cell protection, consider these advanced options:
| Technique | Description |
|---|---|
| VBA Macros | Automate the locking of cells based on complex conditions. |
| Protect Workbook Structure | Prevent changes to sheets, order, or the ability to insert new ones. |
| User-Level Permissions | Assign different editing rights to different users. |

Advanced protection ensures your data is secure from sophisticated users or external tampering.
Incorporating cell locking in your Excel workbooks not only safeguards your data but also streamlines workflow by allowing controlled editing. These methods cater to different levels of Excel proficiency, ensuring everyone from beginners to experts can maintain data integrity. The customization of permissions and the use of visual cues through conditional formatting make managing and sharing Excel files easier and more secure.
Can I lock cells in Excel Online?

+
Yes, you can protect cells in Excel Online, although the process is slightly different and less customizable compared to the desktop version. You can only protect the entire sheet.
What if I forget the password to unprotect the sheet?

+
Microsoft does not store these passwords, so if you forget, the workbook will remain protected. You might need to recreate your worksheet or seek external help to remove the password.
Can I still sort or filter data in locked cells?

+
Yes, if you allow these actions when you protect the worksheet. Users can sort and filter data in locked cells if you select those options under the ‘Protect Sheet’ settings.


