Lock Excel Rows Easily: Step-by-Step Guide

If you work extensively with Excel spreadsheets, knowing how to lock rows can greatly enhance your efficiency and accuracy. Locking rows in Excel prevents accidental changes, thereby preserving crucial headers or specific data sets. This guide will take you through the process of locking rows in Microsoft Excel step by step.
Why Lock Rows?

Before diving into how to lock rows in Excel, let's explore why you might want to do this:
- Preserve Headers: Ensures that titles, labels, and other important data remain constant, even as you scroll through large datasets.
- Prevent Unintended Changes: Keeps certain information safe from edits, especially in collaborative environments.
- Data Integrity: Ensures the integrity of specific rows when sharing or distributing spreadsheets.
Steps to Lock Rows in Excel

Step 1: Open Your Spreadsheet

Open Excel and load the spreadsheet you wish to work with. If you haven't created one yet, now's the time to set up your data.
Step 2: Select the Rows to Lock

To select rows:
- Click on the row number to select the entire row.
- To select multiple rows, hold down Shift or Ctrl while clicking on additional row numbers.
Step 3: Navigate to the Protection Tab

Go to the Home tab, find the Cells group, and click on Format. Then, under Protection, you'll find options for locking cells or rows.

Step 4: Apply Cell Protection

In the dialog box:
- Check Locked to protect the selected rows.
- Ensure Hidden is unchecked unless you want to hide the contents of these cells.
- Click OK.
Step 5: Protect the Sheet

To make the locked status effective:
- Go to Review > Protect Sheet.
- Set a password if required (recommended for sensitive data).
- Ensure the options like Select locked cells and Select unlocked cells are checked if you want users to still navigate through the sheet.
- Click OK.

Notes on Row Locking

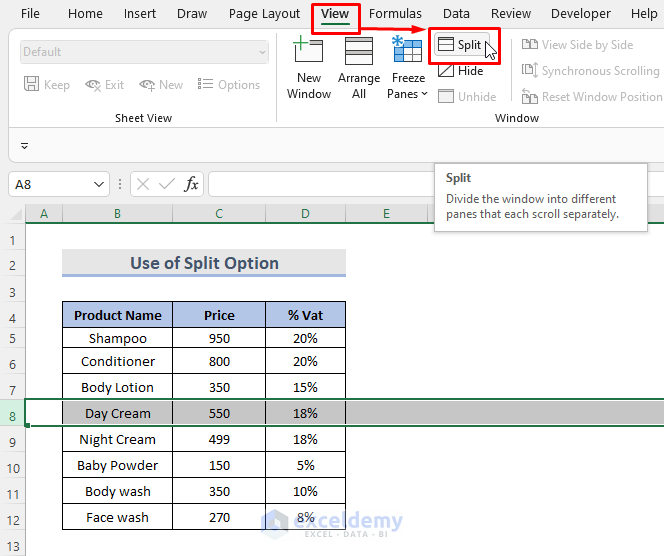
🚧 Note: Locking rows doesn't freeze their position on the screen. If you need to freeze panes, use the "View" tab's Freeze Panes feature.
🔒 Note: Even with rows locked, users can still copy or format cells unless you specifically restrict these actions.
Unlocking Rows

If you need to unlock rows:
- Unprotect the sheet by going to Review > Unprotect Sheet.
- Select the rows you want to unlock.
- Go to Format > Protection and uncheck Locked.
- Reprotect the sheet if necessary.
Throughout this process, ensuring you understand how to efficiently manage spreadsheet security will significantly improve your work with Excel. Remember, while locking rows is useful, it’s also important to balance security with usability for optimal productivity.
Can I lock specific cells within a row in Excel?

+
Yes, you can lock individual cells. Simply select the cells you want to lock, go to the Format menu under the Home tab, choose Lock Cell, and then protect the sheet.
What happens if I forget the password for a protected sheet?

+
If you forget the password, you won’t be able to unprotect the sheet. There are third-party tools that can sometimes bypass this, but these aren’t official Microsoft solutions.
How do I know if a row or cell is locked?

+
Locked status doesn’t visibly change anything unless the sheet is protected. To check, go to Format > Protection, and see if the ‘Locked’ option is checked.